 Accidentally deleted a file with Shift + Delete? Or maybe you emptied your Recycle Bin without realizing it still contained files you needed. Either way, those files are now considered permanently deleted.
In this case, permanent doesn’t literally mean permanent. The files are still recoverable, in most cases. We’ll show you how to recover data on Windows 11, even if it has been “permanently” deleted.
To give yourself the best chance at recovering the permanently deleted files, you should stop using the drive until you’ve finished reading this article. Further use could overwrite the data, rendering it unrecoverable.
How to Search for Files and Folders on Windows 11
Before you attempt to recover your files, make sure they’re not just hidden in a folder somewhere. Windows 11 gives you two ways of searching for files on your computer: Search and File Explorer, also found on Windows 10. We’ve also included another option that applies to Microsoft 365 business users.
Use Search
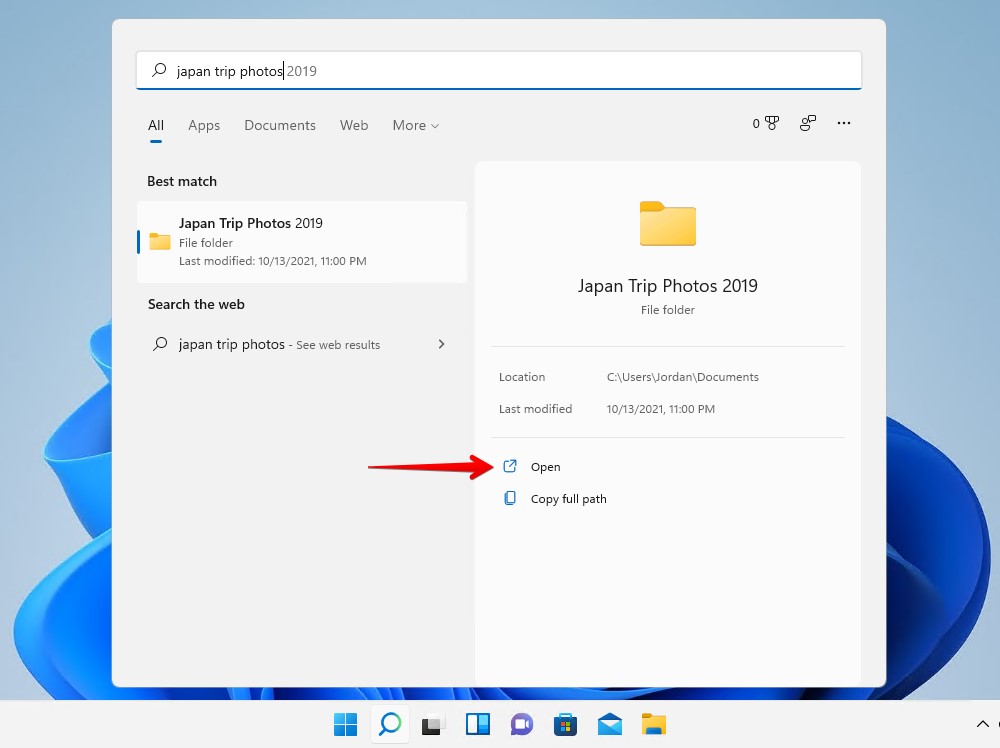
Next to the Start button, you will find the Search icon, represented by a magnifying glass. You can use it to scan your computer for your file or folder by name, as well as applications. It has been given a design overhaul, but the functions remain the same.
- Click the Search icon.

- Enter the name of your file and folder and click Open if found.
Use File Explorer
File Explorer also includes a search function that you can use to search for files and folders on your Windows 11 computer. This has also received a design change, with a lot of functions being represented by icons only rather than with names.
- Open File Explorer.
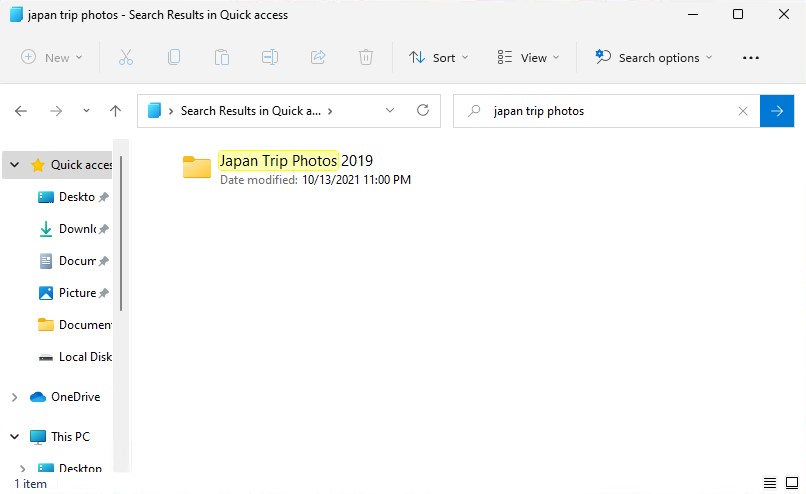
- Search using the name of your file or folder.
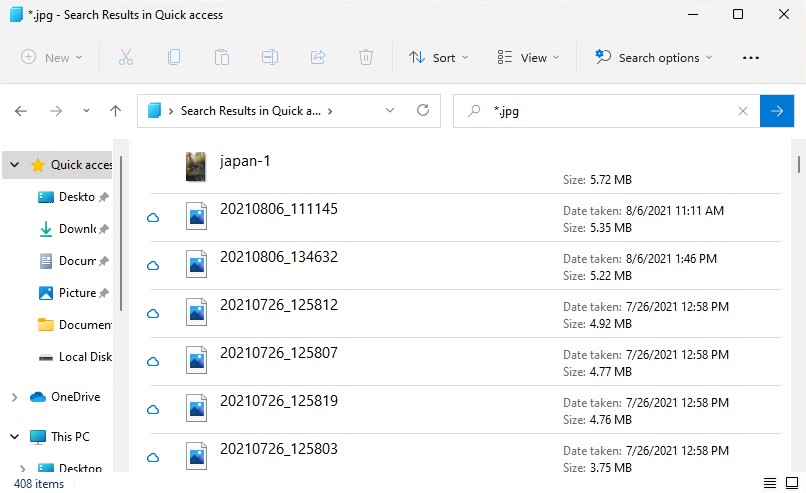
- If you don’t recall the name, you can search for file types by putting an asterisk, then the file extension. For example: *.jpg.
Utilize the Search Bar in Microsoft 365
If you have a business edition of Microsoft 365 and you’re trying to recover (or rather, find) a file, Microsoft Search is a useful option. Microsoft Search scans everything your organization has stored in Microsoft 365, including Office 365, SharePoint, Microsoft Exchange, and, more importantly, OneDrive. Therefore, it’s much more comprehensive than the local search function, which may overlook files that are stored remotely.
You can access Microsoft Search in any Office app, like Word, Excel, PowerPoint, Outlook, and OneNote. Here’s how:
- Open a blank document in any Microsoft 365 application.
- Use the search bar at the top of the page to search for documents using keywords.
If you’ve been unable to find your files, then the next step is to attempt recovery. Read on to find out what you can do to recover lost or deleted files on Windows 11.
How to Recover Deleted Files on Windows 11
The exact way you go about recovering your deleted files depends on a few factors, like what caused the files to be deleted, how long ago it happened, and whether a backup is available. Given that, we’ve included several recovery options on how to recover a deleted file in Windows 11, so you have the best chance of succeeding no matter the situation.
Method 1:Undo (CTRL + Z)
The classic Undo function still works well if you need to undelete a recently deleted file. This can be done by simply pressing CTRL + Z on your keyboard or by following the instructions below to recover a recently deleted file using the user interface.
- Navigate to the folder that contained the now deleted file.
- Right-click an empty space in the folder and click Undo Delete.
Doing this will restore the recently deleted file back to its original location. Note, however, that this method is only possible if deleting the file was your last action. Moreover, this isn’t possible if you’ve restarted your computer since deleting the file.
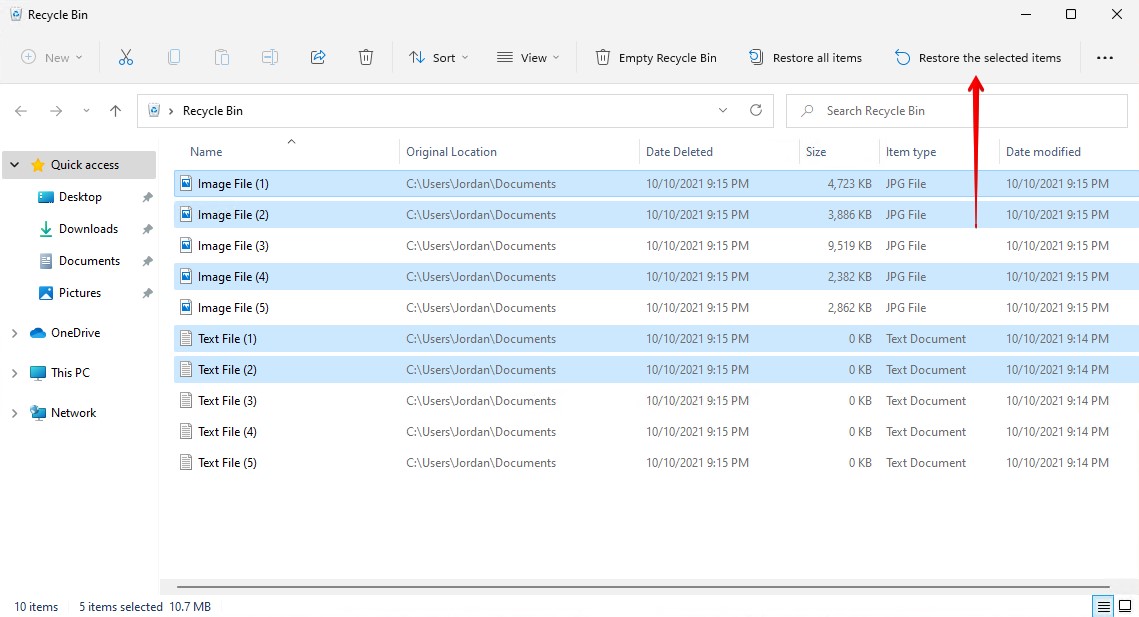
Method 2:Restore from Recycle Bin
When you delete a file, it’s sent to the Recycle Bin (barring instances where the file is too large, it was deleted with Shift + Delete, or the Recycle Bin was disabled). Until the Recycle Bin is emptied, your deleted files will reside here.
If you deleted your files, use the instructions below to recover deleted files from the Recycle Bin in Windows 11:
- On your Desktop, open the Recycle Bin.

- Select the files you want to restore. You can select multiple files by holding CTRL while you click them. When ready, click Restore the selected items. The files will be restored back to their original location.
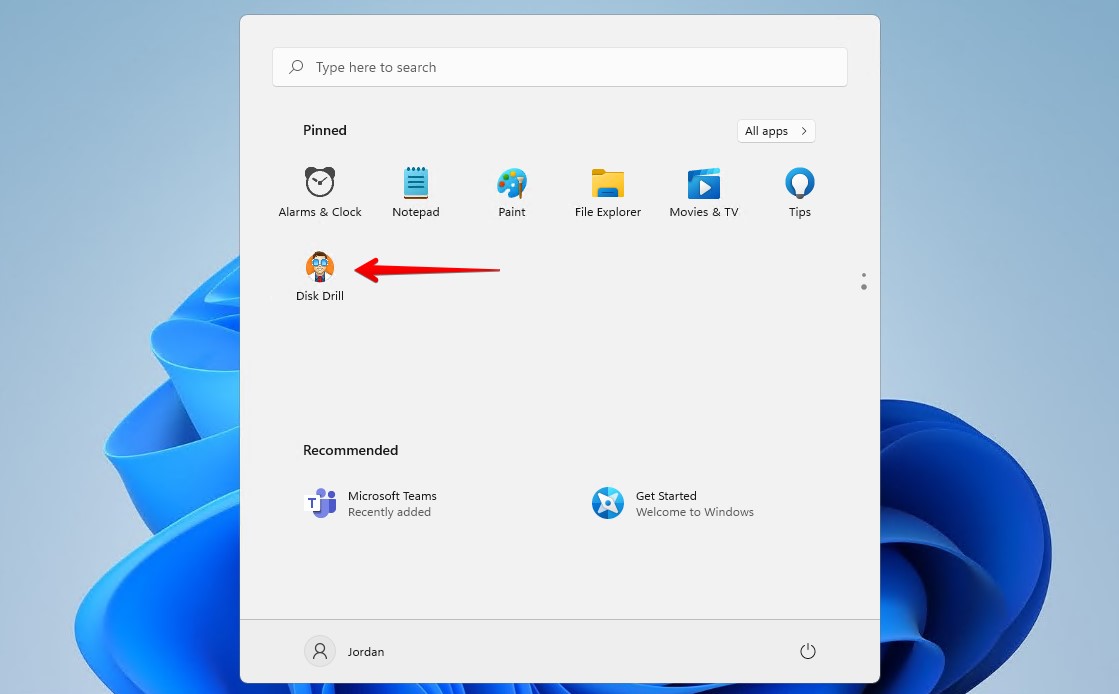
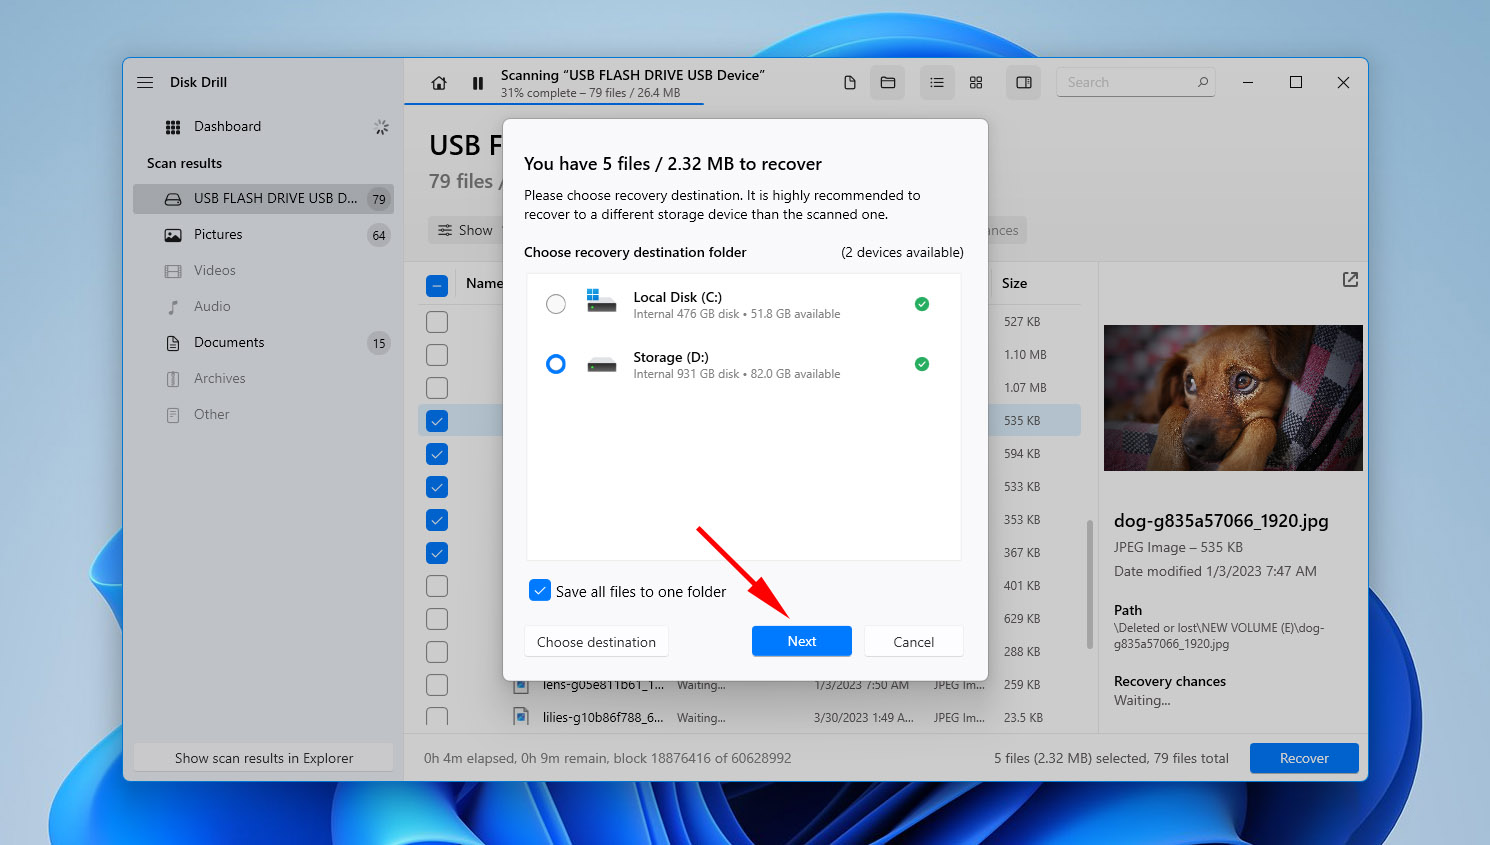
Method 3:Recover Using Disk Drill
Even after a file is deleted, it physically resides on the drive until overwritten by new data. In this state, data recovery software can scan the drive, locate the data, and recover it. However, not all data recovery tools are created equal, and the one you choose can have a significant impact on your success.
For this case, we prefer Disk Drill for a few reasons, including the fact that it displays both existing and deleted data, supports a wide range of file types, and is capable of recovering data by file signature – improving your odds of overall recovery. If what you’re recovering is below 500 MB, the free version will suffice. Anything more will require a Disk Drill PRO license, but you can still scan and preview the data for free.
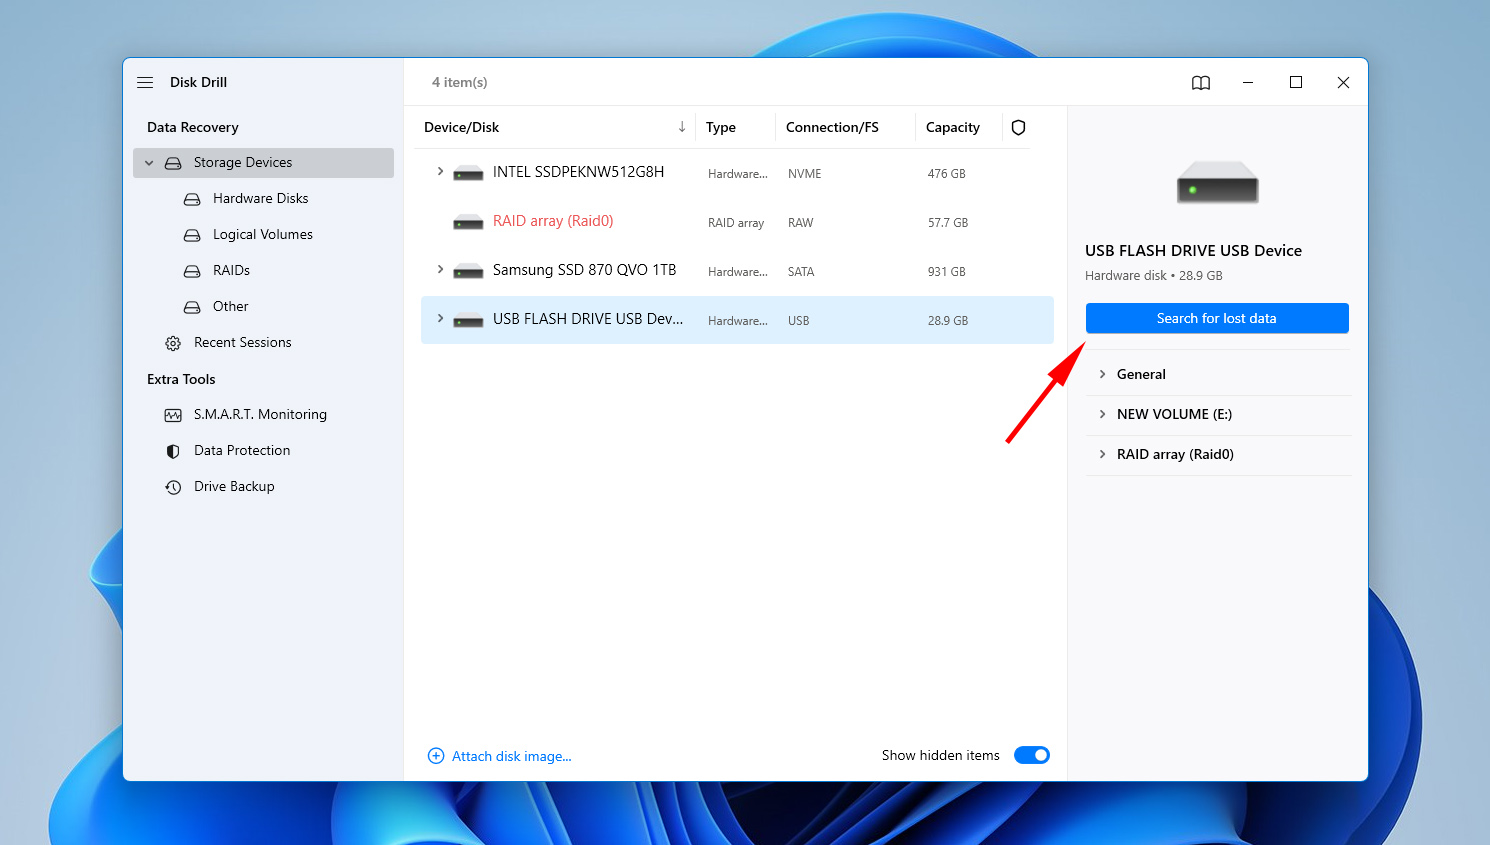
Follow these steps to recover permanently deleted files using Disk Drill:
- Download Disk Drill. Install it, then open it. If prompted by UAC to allow permission, click Yes.
- Select the drive that suffered from data loss, then click Search for lost data.
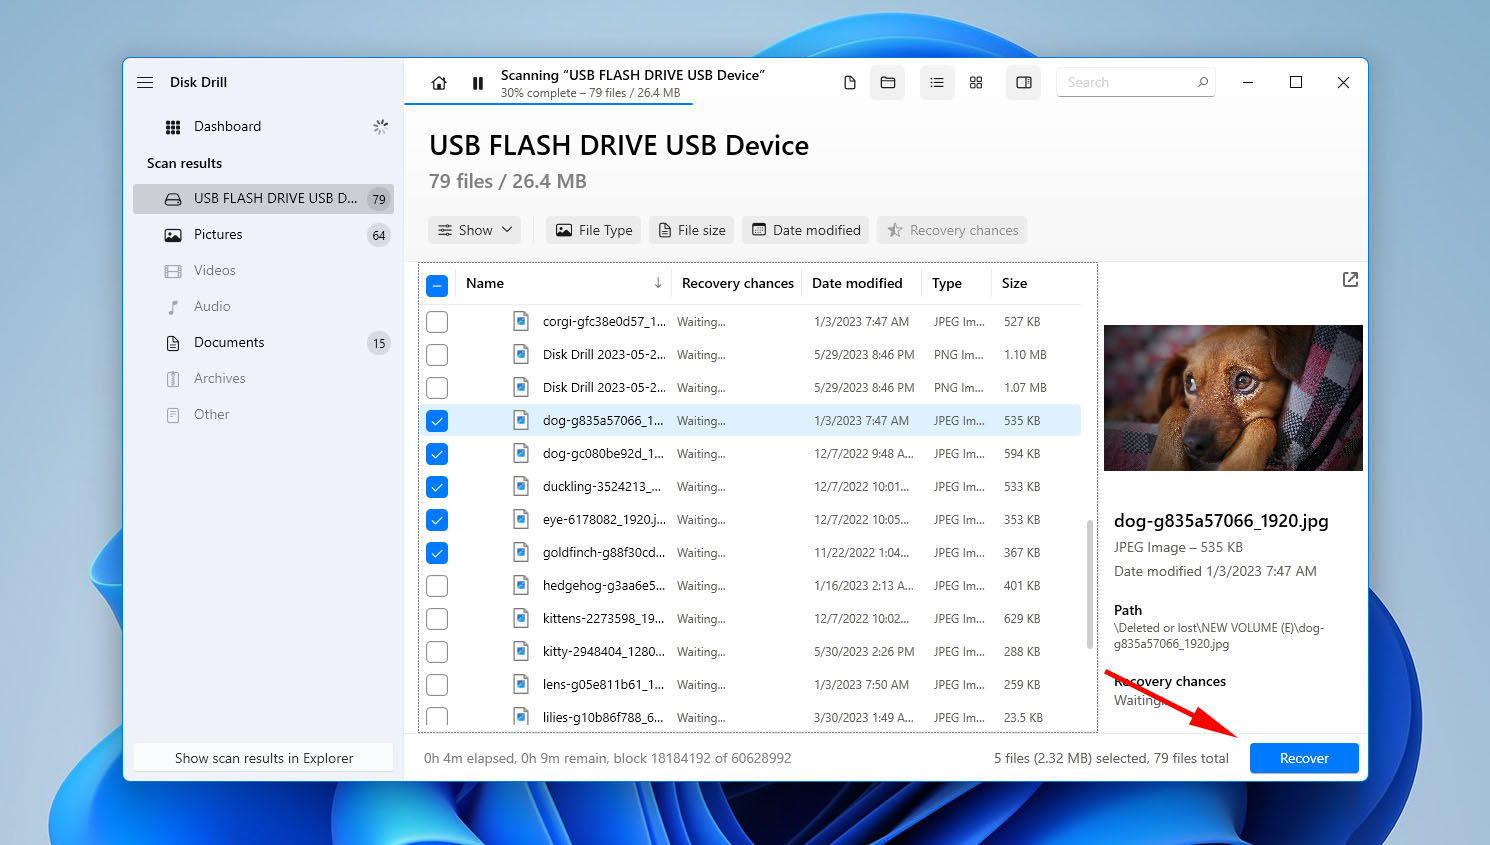
- When the scan is complete, click Review found items to see what Disk Drill discovered.

- Checkmark what files you want to recover. The Recovery chances column indicates your chances of successfully recovering that file. When ready, click Recover.
- Select an output location on a separate physical disk to reduce the risk of corrupting your data. Click Next.
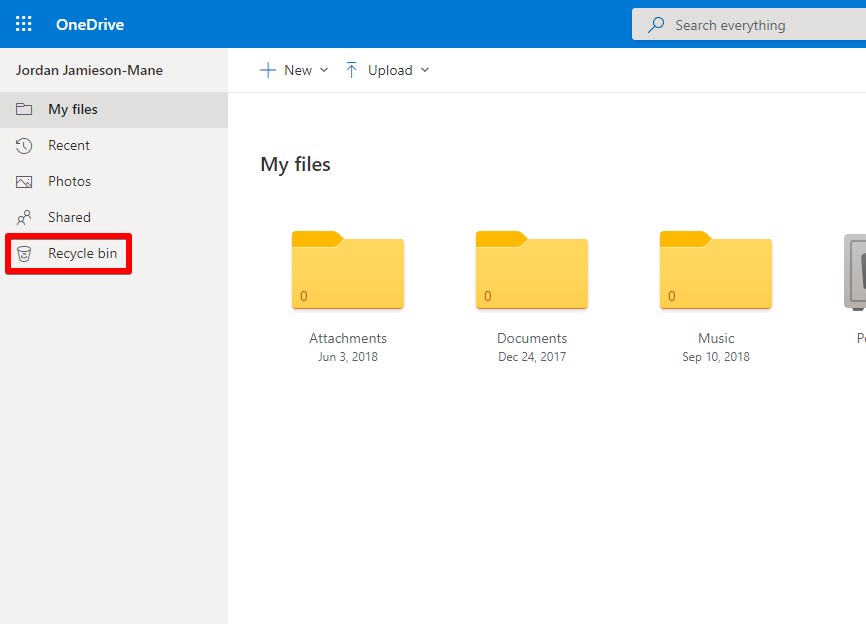
Method 4:Restore from OneDrive Recycle Bin
OneDrive is Microsoft’s cloud storage service. Given that it’s included with Windows by default and how much it’s recommended throughout the operating system (OS), it’s worth mentioning here. If you’ve set up OneDrive to sync files with your computer, there’s a chance that your now deleted file is sitting in the OneDrive recycle bin. Unlike the Windows Recycle Bin, however, these files will only remain for 30 days before they’re gone for good.
This is how you restore deleted files from the OneDrive recycle bin:
- Sign-in to your Microsoft account.
- Click on the Recycle bin.
- Right-click on the file or folder you want to restore, then click Restore.
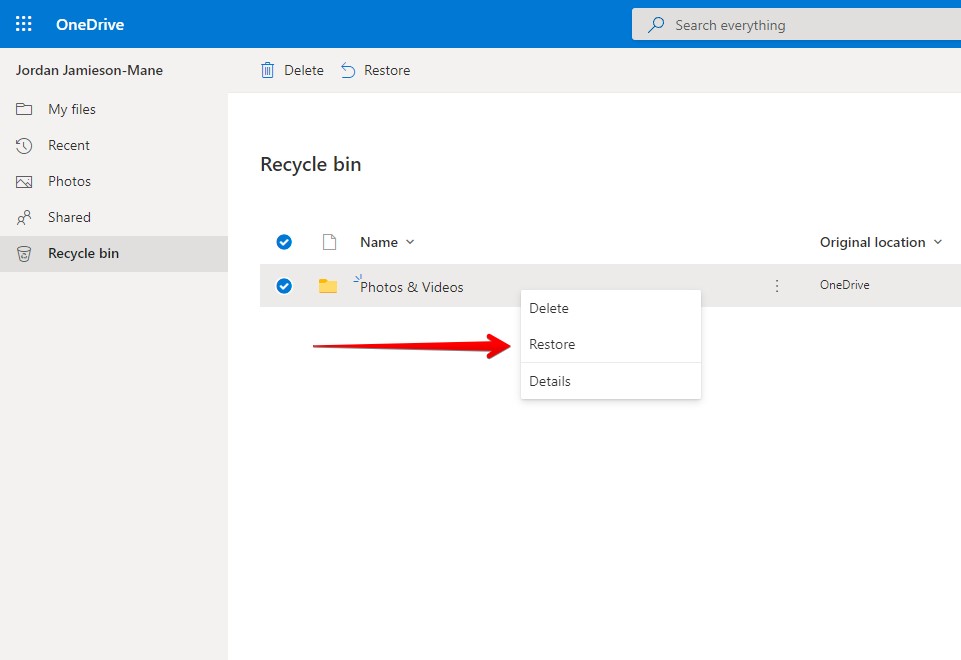
Files in the OneDrive Recycle Bin will remain there for 30 days before they’re permanently deleted.
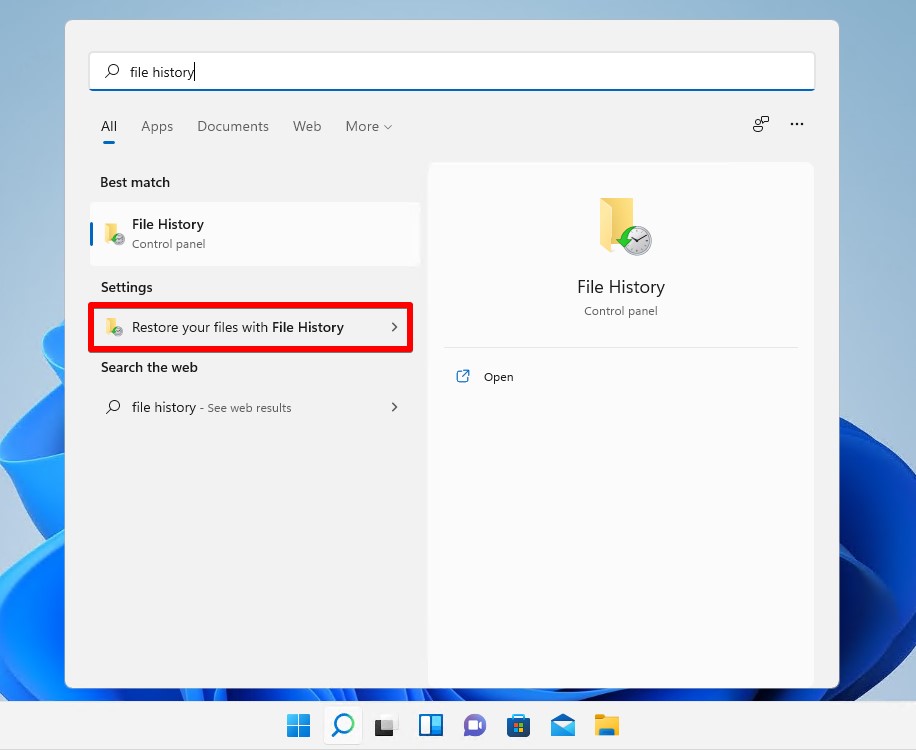
Method 5:Restore Using File History
File History is the primary backup solution for Windows. When enabled, it makes copies of your files periodically so you don’t need to do it manually. This allows you to recover replaced files in Windows 11 if they were previously overwritten with a new version. By default, it only makes copies of files in the Desktop, Documents, Pictures, Videos, and Music folders, but you’re also able to specify other folders to back up.
If it was configured prior to the loss of your data, it will hold copies of your data and allow you to recover permanently deleted files in Windows 11 without software. Therefore, it’s worth checking, even if you don’t remember setting it up.
These instructions show you how to restore files with File History:
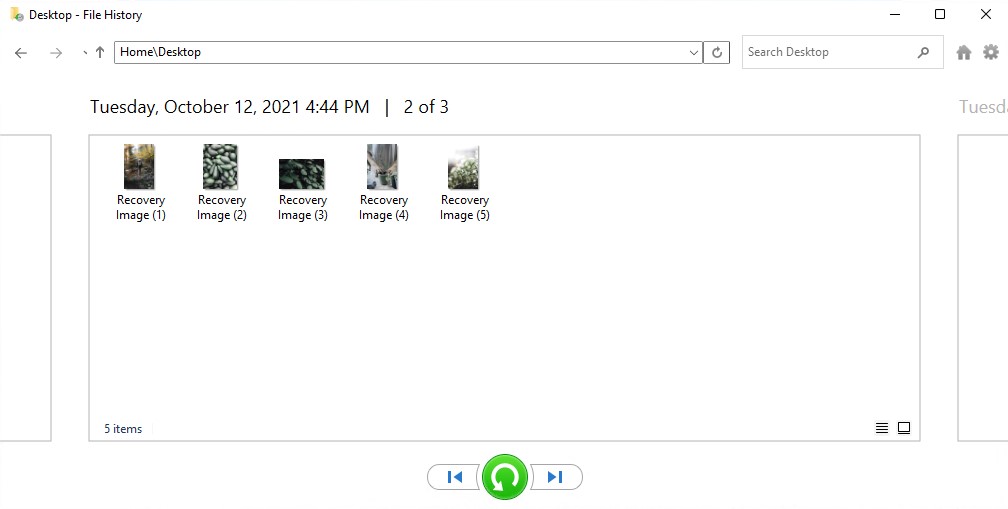
- Press Windows Key + S and search File History. Click the option that reads Restore your files with File History.
- Navigate to the folder that previously contained your deleted files. You can view the different versions of the backed up folder by using the left and right navigation buttons.
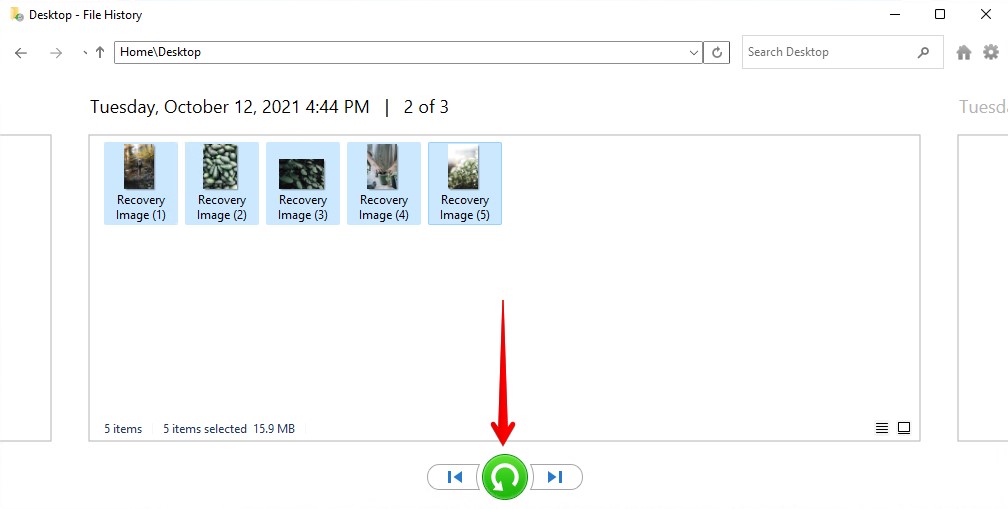
- Select what files you want to recover, then click the green button to Restore. If you want to restore them to a different location, right-click the green button instead and click Restore to.
Method 6:Restore a Previous Version
Windows allows you to restore files to a previous, backed-up version. Typically, this is through the use of File History. However, if you didn’t have it enabled, there is a chance you can restore it from a shadow copy created by VSS (Volume Shadow Copy Service).
This method is really only applicable to the recovery of system files. Unless you had File History or another VSS-aware backup tool enabled, user data is unlikely to be included in shadow copies unless manually specified.
This is how you check to see if a previous version of your data is available:
- Navigate to the folder where the deleted file was once stored.
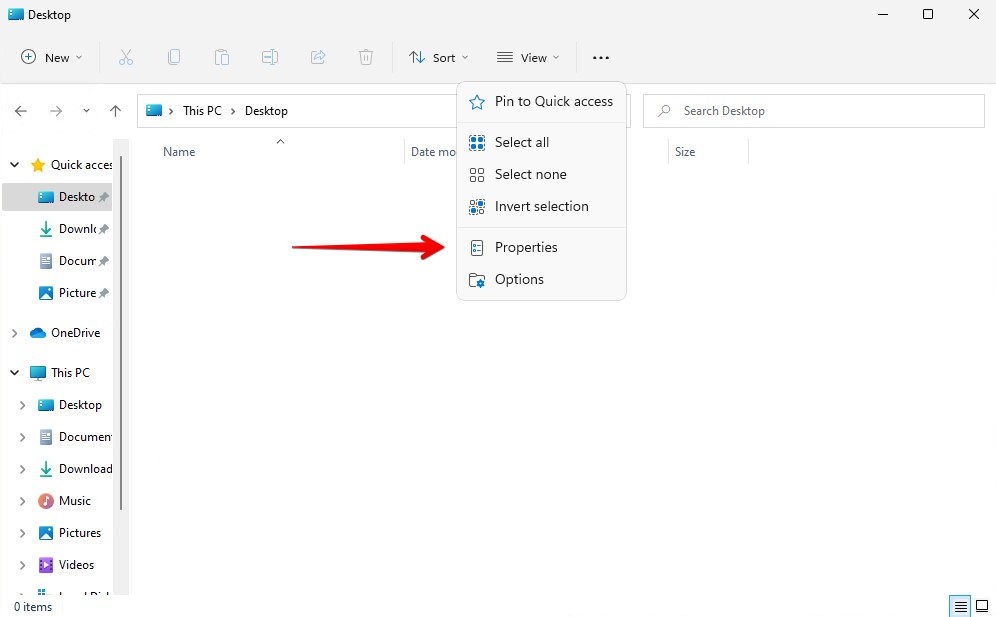
- Click the three dots at the top of the window, then click Properties.
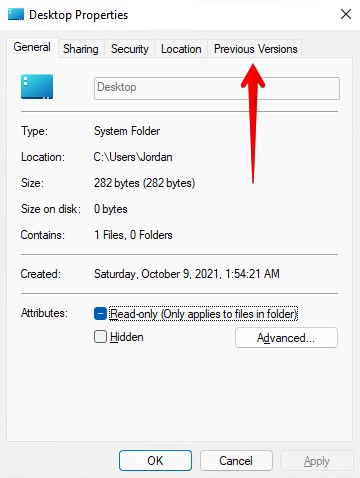
- Go to the Previous Versions tab.
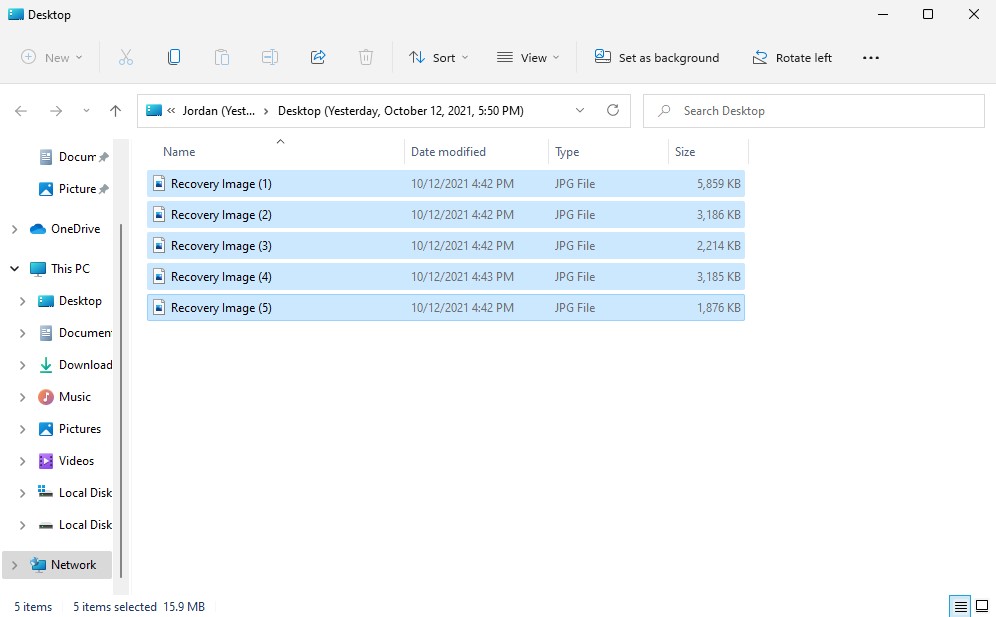
- Select a folder version that has a date/time where the file was still there. Click Open.
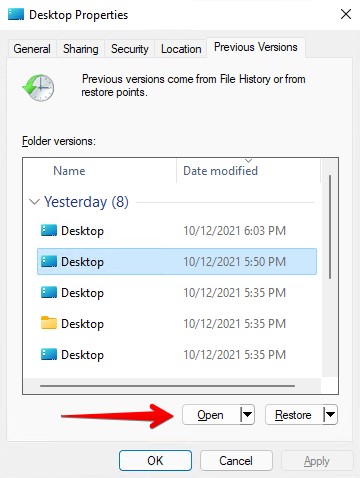
- Select the files and drag them to another folder to restore them.
Method 7:Restore Using Backup and Restore
Backup and Restore is the old backup utility for Windows, and the predecessor to File History. It’s still included with Windows both for the sake of backwards compatibility and due to the fact that you can configure it to create a backup of the system files needed to boot the OS – something File History does not do.
Again, like File History, Backup and Restore should have been configured prior to your data becoming lost or deleted. If it wasn’t, this won’t be a viable recovery method for you.
These steps show you how to restore files using Backup and Restore:
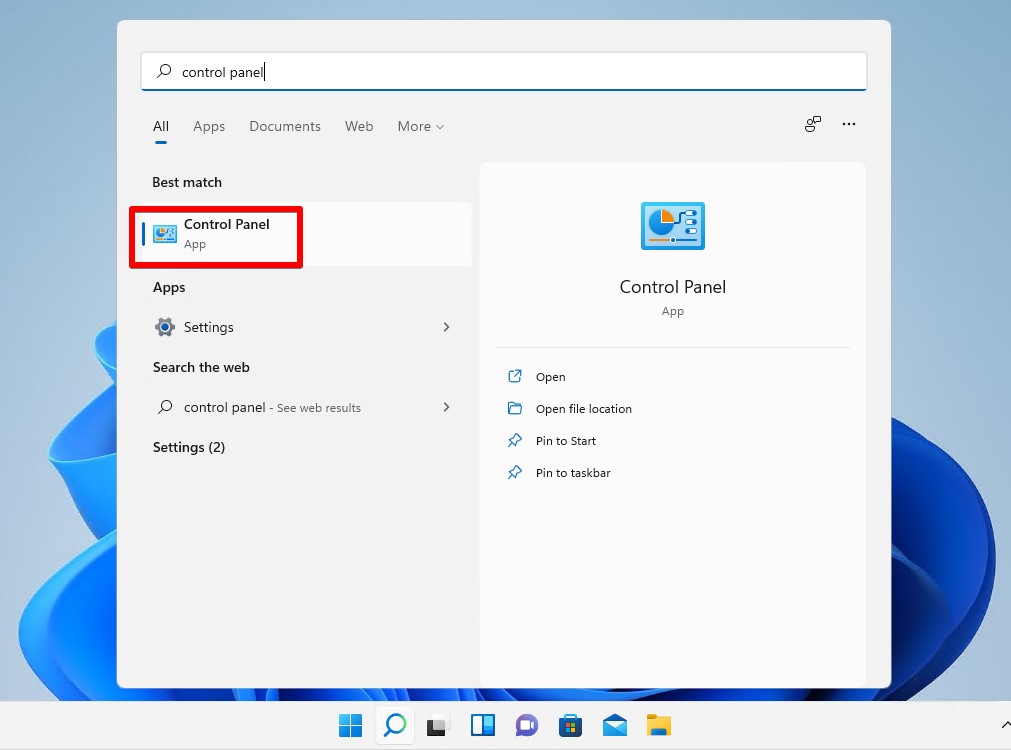
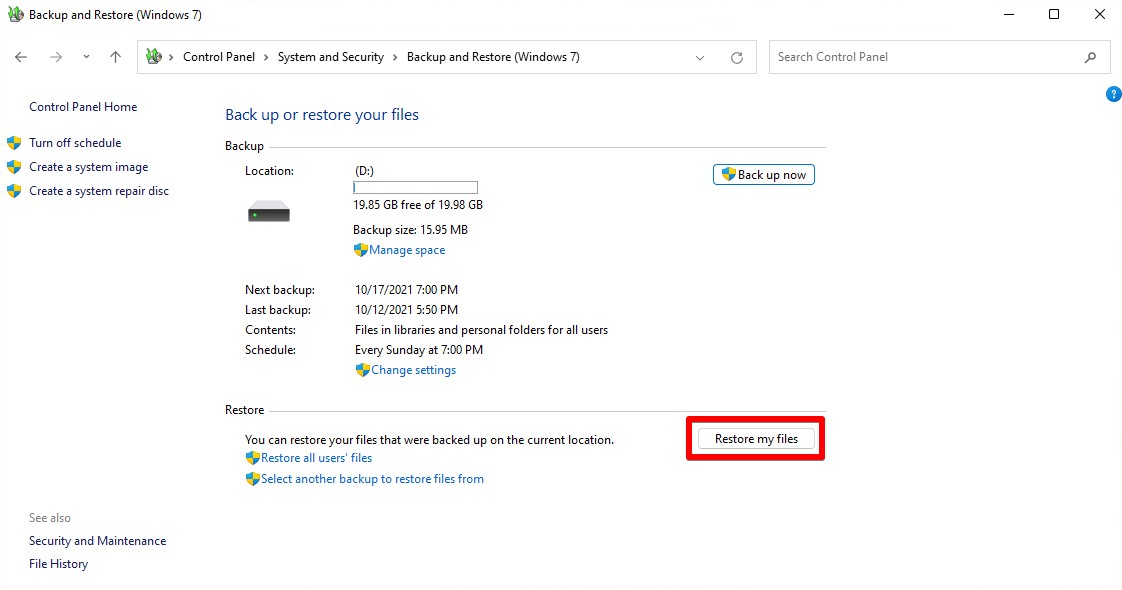
- Press Windows Key + S and search Control Panel. Open the first result.
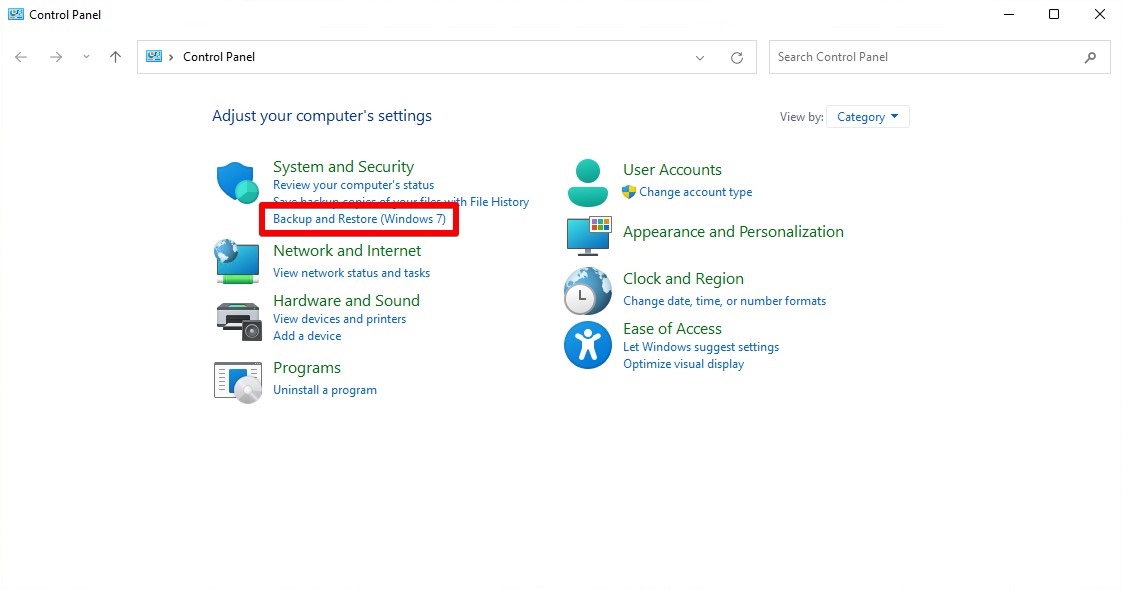
- Click Backup and Restore (Windows 7).
- Click Restore my files.
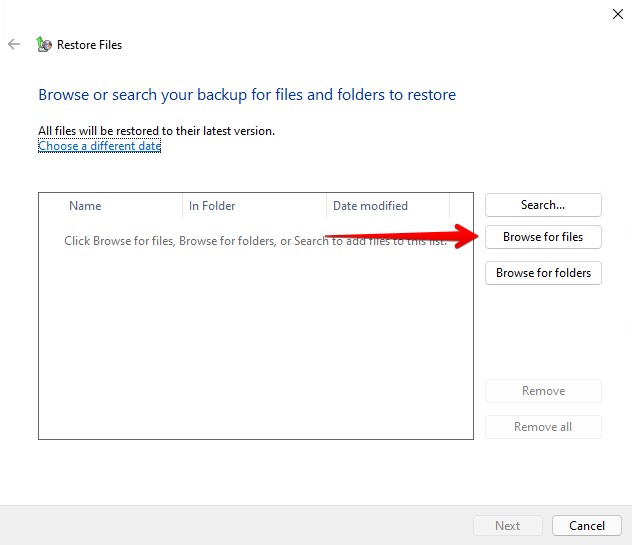
- Click Browse for files and choose what files you want to restore. Click Add files when finished.
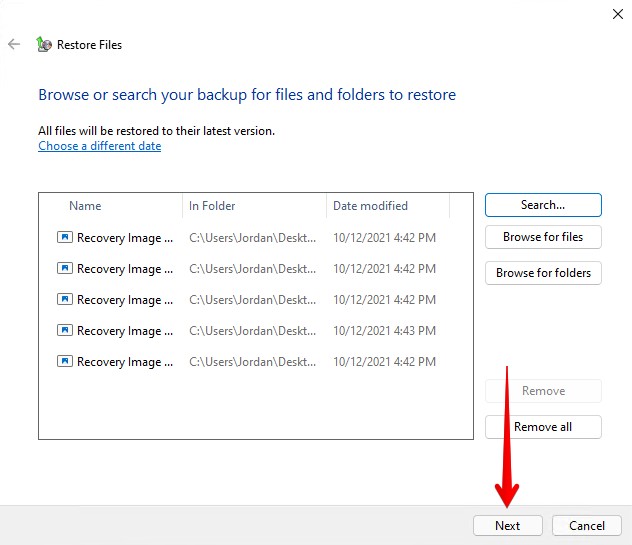
- Click Next.
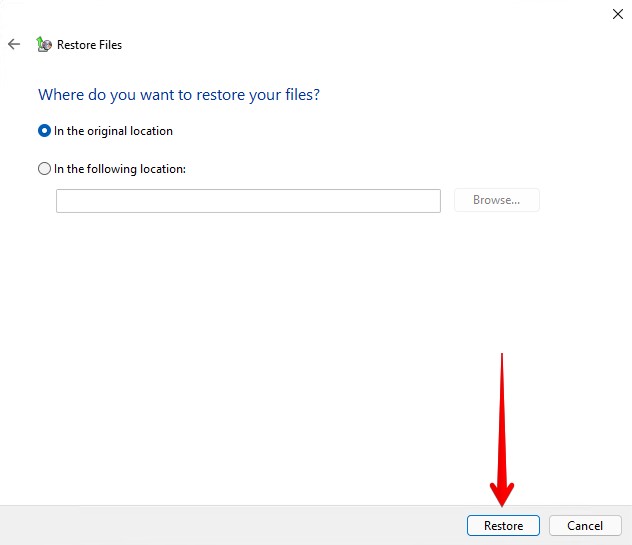
- Click Restore. If you want to restore your files to a different location, specify the output folder using the In the following location option.
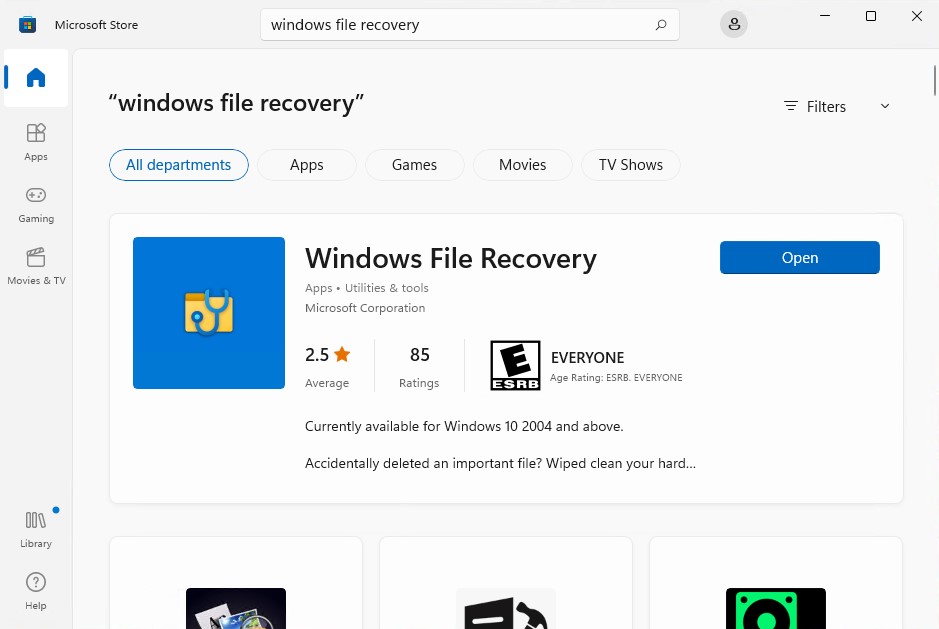
Method 8:Recover Using Windows File Recovery (CMD)
Windows File Recovery is the official recovery tool developed by Microsoft. It was developed for Windows 10, but upon testing it with Windows 11, the application still runs fine and the recovery functions still work. It uses the Command Prompt interface instead of a graphical user interface to recover deleted files in Windows 11. It’s a completely free recovery tool, only requiring a Microsoft account. It can be used to recover files after factory resets, hard drive crashes, and virus attacks.
In order to perform recovery, you will need a separate physical drive to store the restored files. Windows does not allow you to restore to the same physical partition at risk of corrupting your data.
Here’s how you recover permanently deleted files on Windows 11 with Windows File Recovery:
- Download Windows File Recovery from the Microsoft Store. Open it. If prompted by UAC to allow access, click Yes.
- Type
winfr C: D:RecoveredFiles /regular. Replace C: with the drive you want to scan and recover files from. Replace D:\RecoveredFiles with the path of your desired output folder. When ready, press Enter.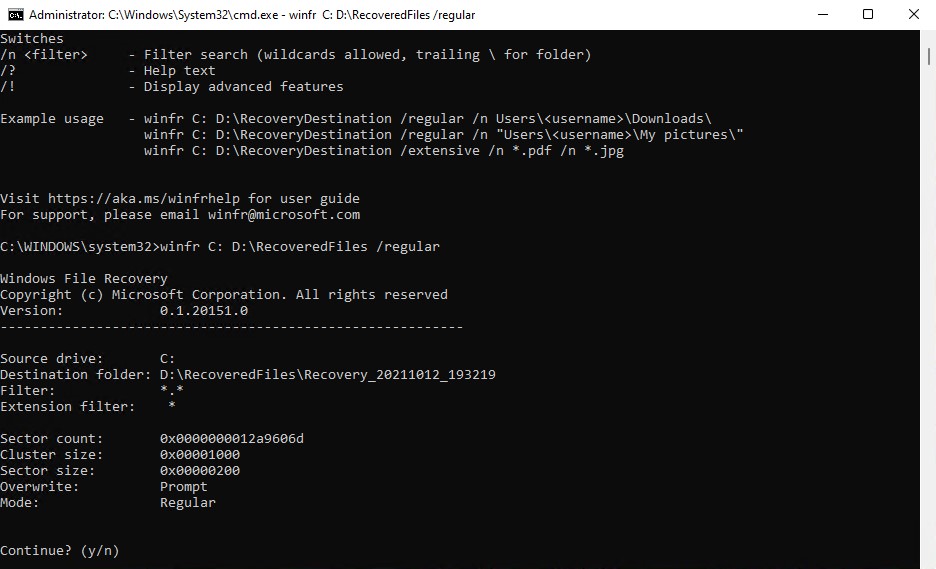
- If prompted to confirm, press Y.
Conclusion
After recovering your permanently deleted files, your next step should be to implement a reliable backup solution that can help you recover from data loss situations a lot faster. After all, data loss is not something you can prevent entirely, and the only 100% reliable way of recovery is keeping a backup.
The 3-2-1 backup is a simple yet effective backup solution that involves keeping 3 backups on 2 different storage devices, ensuring 1 backup is kept offsite. Or, you could make it easier and just store everything in the cloud, but this can get costly. For now, though, simply copying your important data to another separate drive is a good solution that will work in the short-term.


good