Do you own an SD card, USB flash drive, or some other storage device manufactured by Transcend? Many people do, and some have been unfortunate enough to experience data loss.
If you’re among them, and you’re looking for a comprehensive Transcend data recovery guide, then you’re in the right place. In this article, we review Transcend’s own data recovery software and provide step-by-step instructions that you can easily follow to recover lost data from any Transcend storage device.
Is it Possible to Recover Data from Transcend Devices?
Yes, it’s possible to recover data from Transcend storage devices, but understanding why requires a quick dive into the mechanics of data storage.
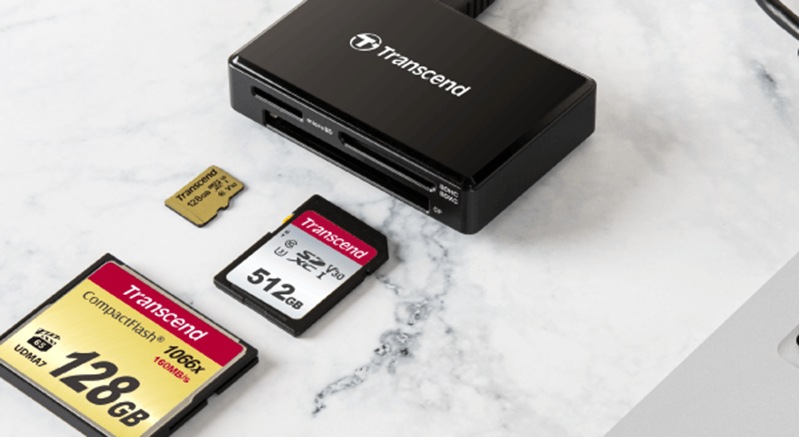
Transcend primarily offers flash memory-based devices like SD cards and USB drives, but the company also sells solid-state drives (SSDs) and hard disk drives (HDDs).
In all these storage options, deleted data isn’t immediately eradicated. Instead, the storage system simply marks the area where the file was as “available for overwrite.” As long as new data hasn’t overwritten the old, there’s a good chance you can retrieve what was lost.
The only exception to this are SSDs with the TRIM command enabled. When TRIM is enabled on an SSD, it automatically wipes data that’s been marked for deletion, rather than simply marking it as overwritable. This means that once you delete a file from such an SSD, the chances of recovering it diminish considerably.
To help them perform Transcend memory card recovery and Transcend flash drive recovery without having to spend money on a third-party tool, the Taiwanese manufacturer decided to develop its own data recovery software, called RecoveRx.
Review of Transcend Data Recovery Software
Called RecoveRx, Transcend’s exclusive data recovery software features an extraordinarily simple user interface that greets users with two large buttons: Recover and Format.
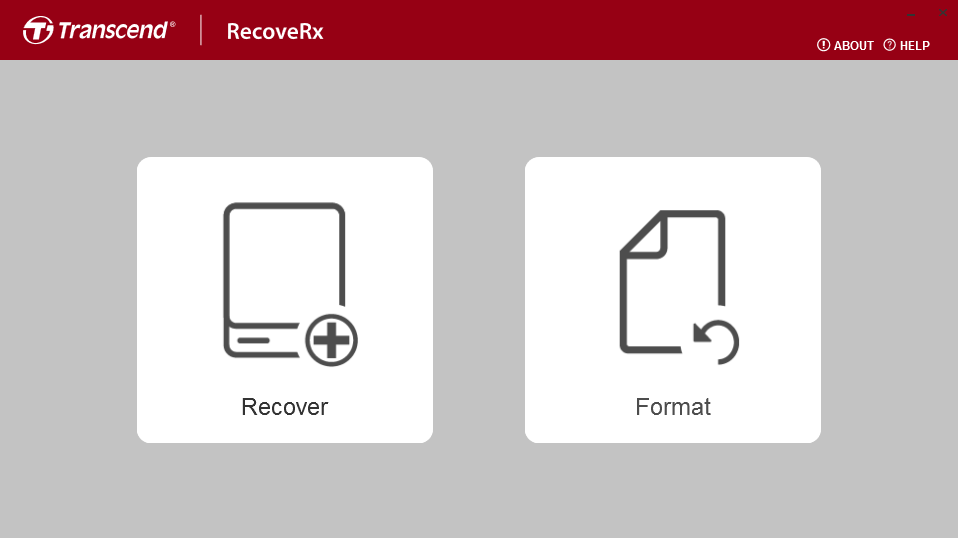 When you click the Recover button, you can search deep within any Transcend storage device for traces of deleted files that are still physically available and thus recoverable. RecoveRx can recover the following file types and file formats:
| File type | Format |
| Photos | BMP, CRW, DSC, GIF, JPG, ORF, PNG, RAF, RAW, RW2, TIF |
| Videos | MPG, RIFF, SWF, TIVO, TS, WTV |
| Documents | CWK, DOC, PDF, PSB, PSD, TXT |
| Other | AIF, FCP, ISO, ITU, MID, MP3, OGG, RA, RM |
As you can see, RecoveRx is severely limited when it comes to the number of file formats it can recover. Even such commonly used file formats as DOCX, XLSX, XLSX, MOV, WEBM, ZIP, or RAR are not supported, which greatly limits the usefulness of this data recovery software.
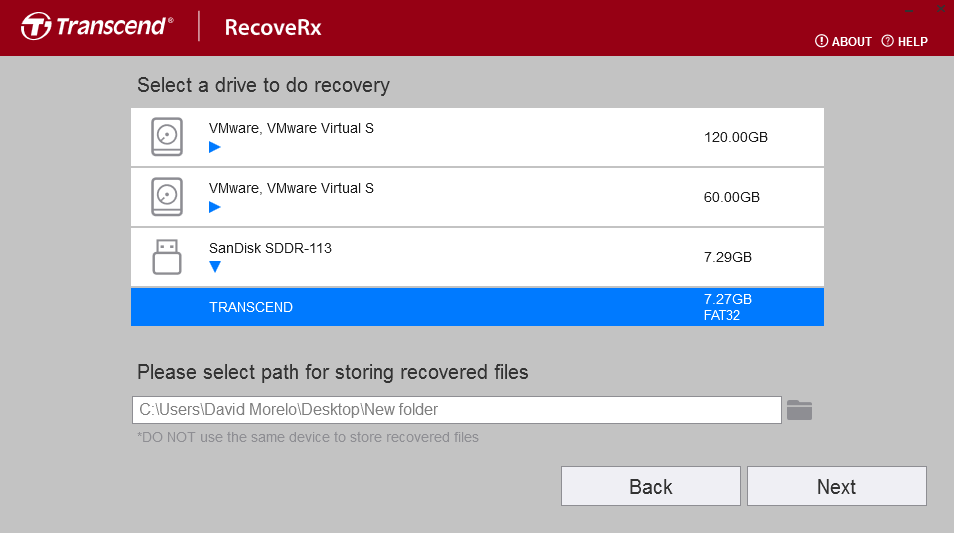
The good news is that it takes just a few clicks to start a scan. While you can’t pause an active scan or preview recoverable files while it’s still in progress, you can at least see the estimated remaining time, so you always know if you still have enough time to grab a cup of coffee. Unfortunately, RecoveRx wasn’t able to recover ANY files during our Transcend SD card recovery test.
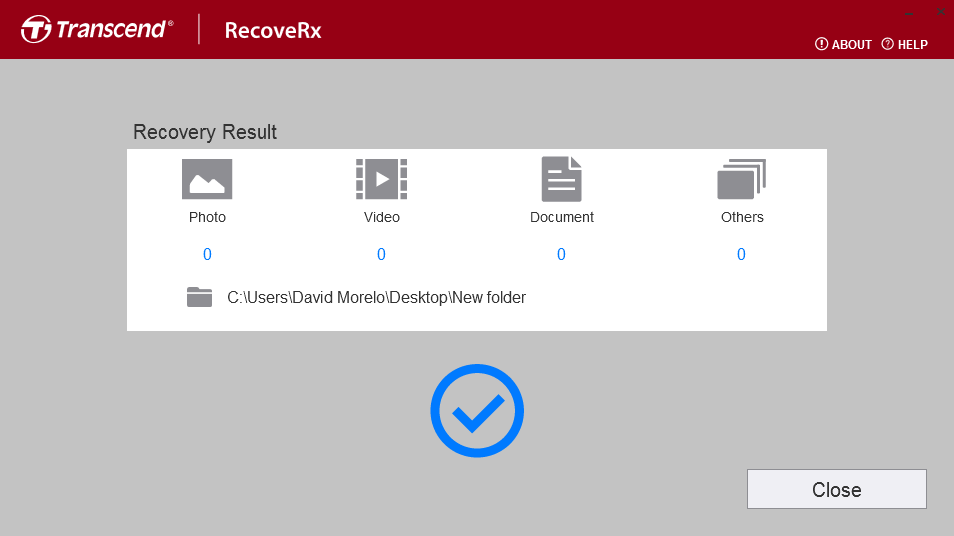
The poor data recovery result probably has a lot to do with the extremely limited file format support, but we’re 100% sure that the SD card contained several deleted DOC files that should have been recoverable.
Better Alternative to RecoverX
After failing to recover any files with Transcend’s own RecoverX tool, we decided to try again using another data recovery software: Disk Drill.
The following table compares RecoveRx with Disk Drill:
| RecoveRx | Disk Drill | |
|---|---|---|
| Compatibility | Windows, Mac | Windows, Mac |
| Ease of use | Easy | Easy |
| Performance | Bad | Excellent |
| File format support | 30+ | 400+ |
| Scanning methods | Only one | Multiple |
| Preview during scan | No | Yes |
| Scan pause/resume | No | Yes |
| Live chat support | No | Yes |
| Extra features | Formatting | Disk health monitoring, data protection, byte-to-byte backups, and more |
| Price | Free | Free trial |
As the table above shows, Disk Drill clearly outshines RecoveRx in almost every aspect, offering a more rounded, robust solution for your data recovery needs.
The Windows version (which we’re using in this article) can recover up to 500 MB of data, while the Mac version can only preview recoverable files. To unlock unlimited recovery, you need to purchase a Disk Drill PRO license. Both versions can recover data from any storage device (not just those manufactured by Transcend), including pen drives, hard disks, memory cards, and so on.
Here’s how data recovery with Disk Drill works:
- Download the latest version of Disk Drill from its official website and install it on your system drive (NOT the Transcend storage device you want to recover.

- Make sure your Transcend storage device is properly connected to your computer.
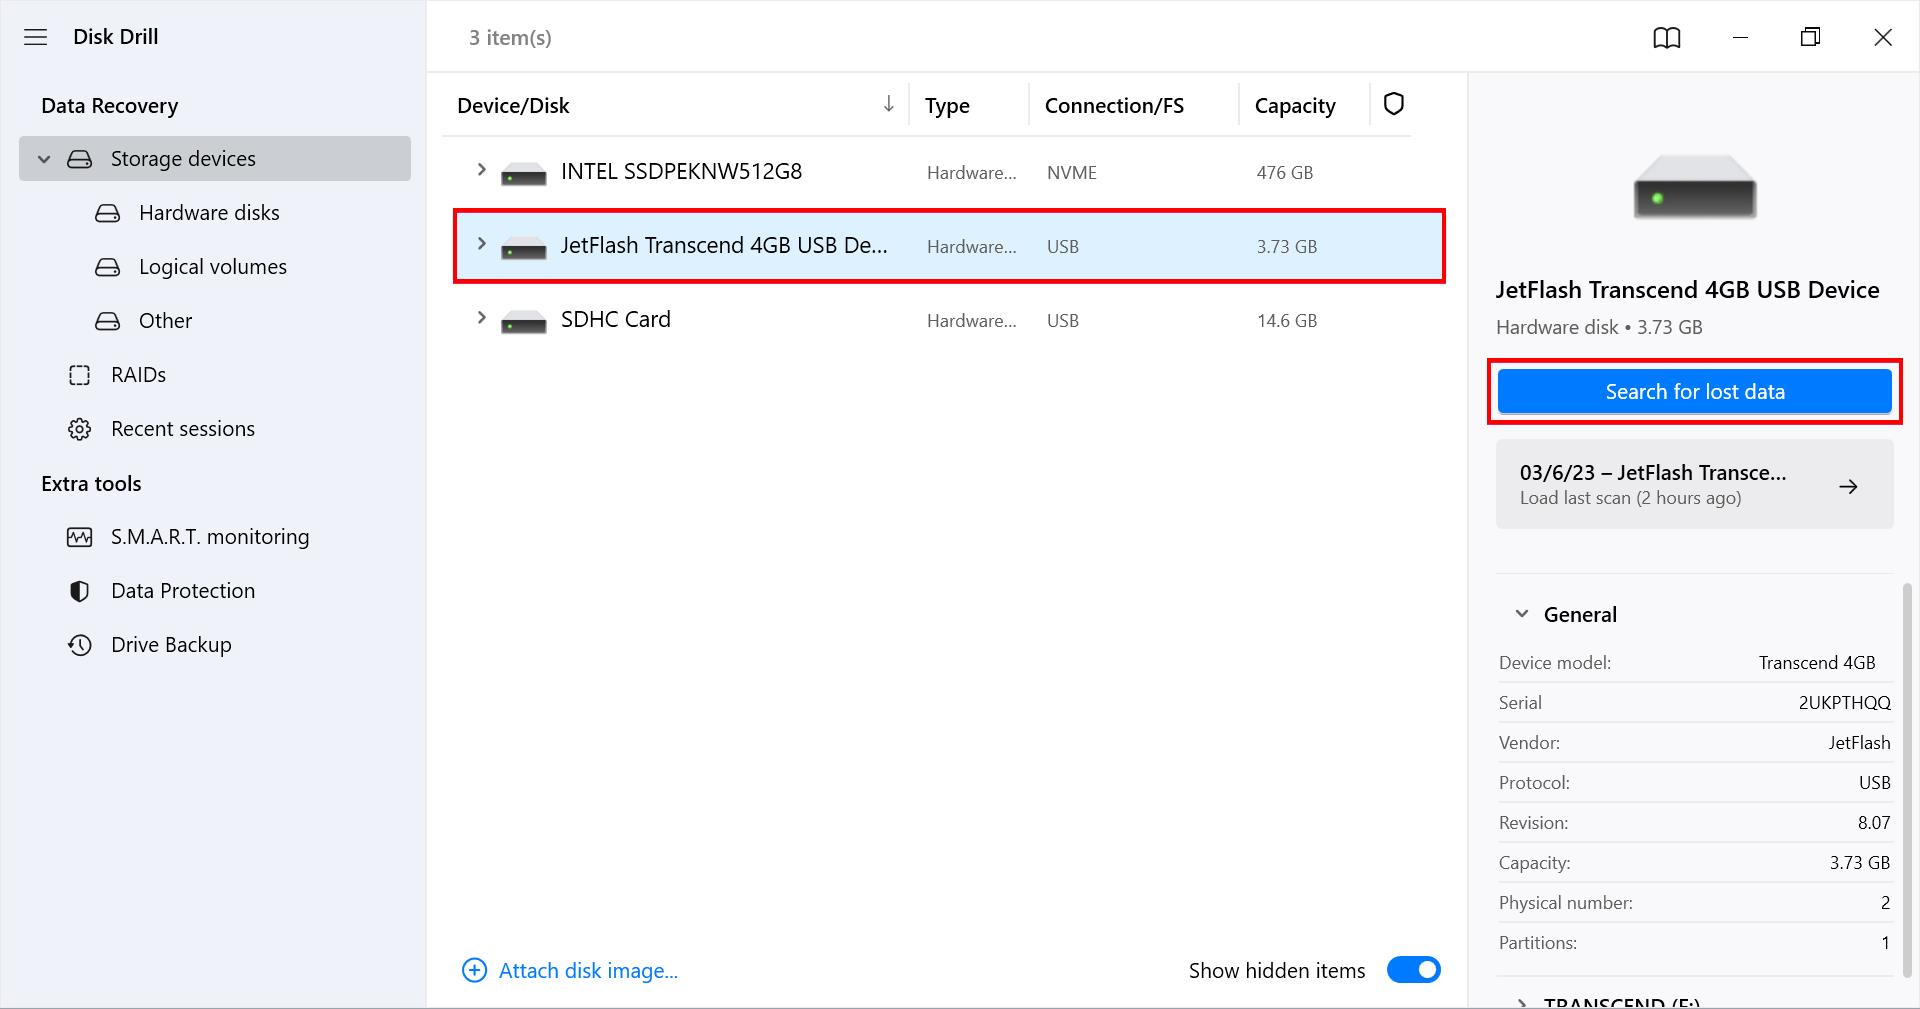
- Launch Disk Drill and look at the list of available storage devices. Your Transcend storage device should be listed among them. Select it and click Search for lost data.
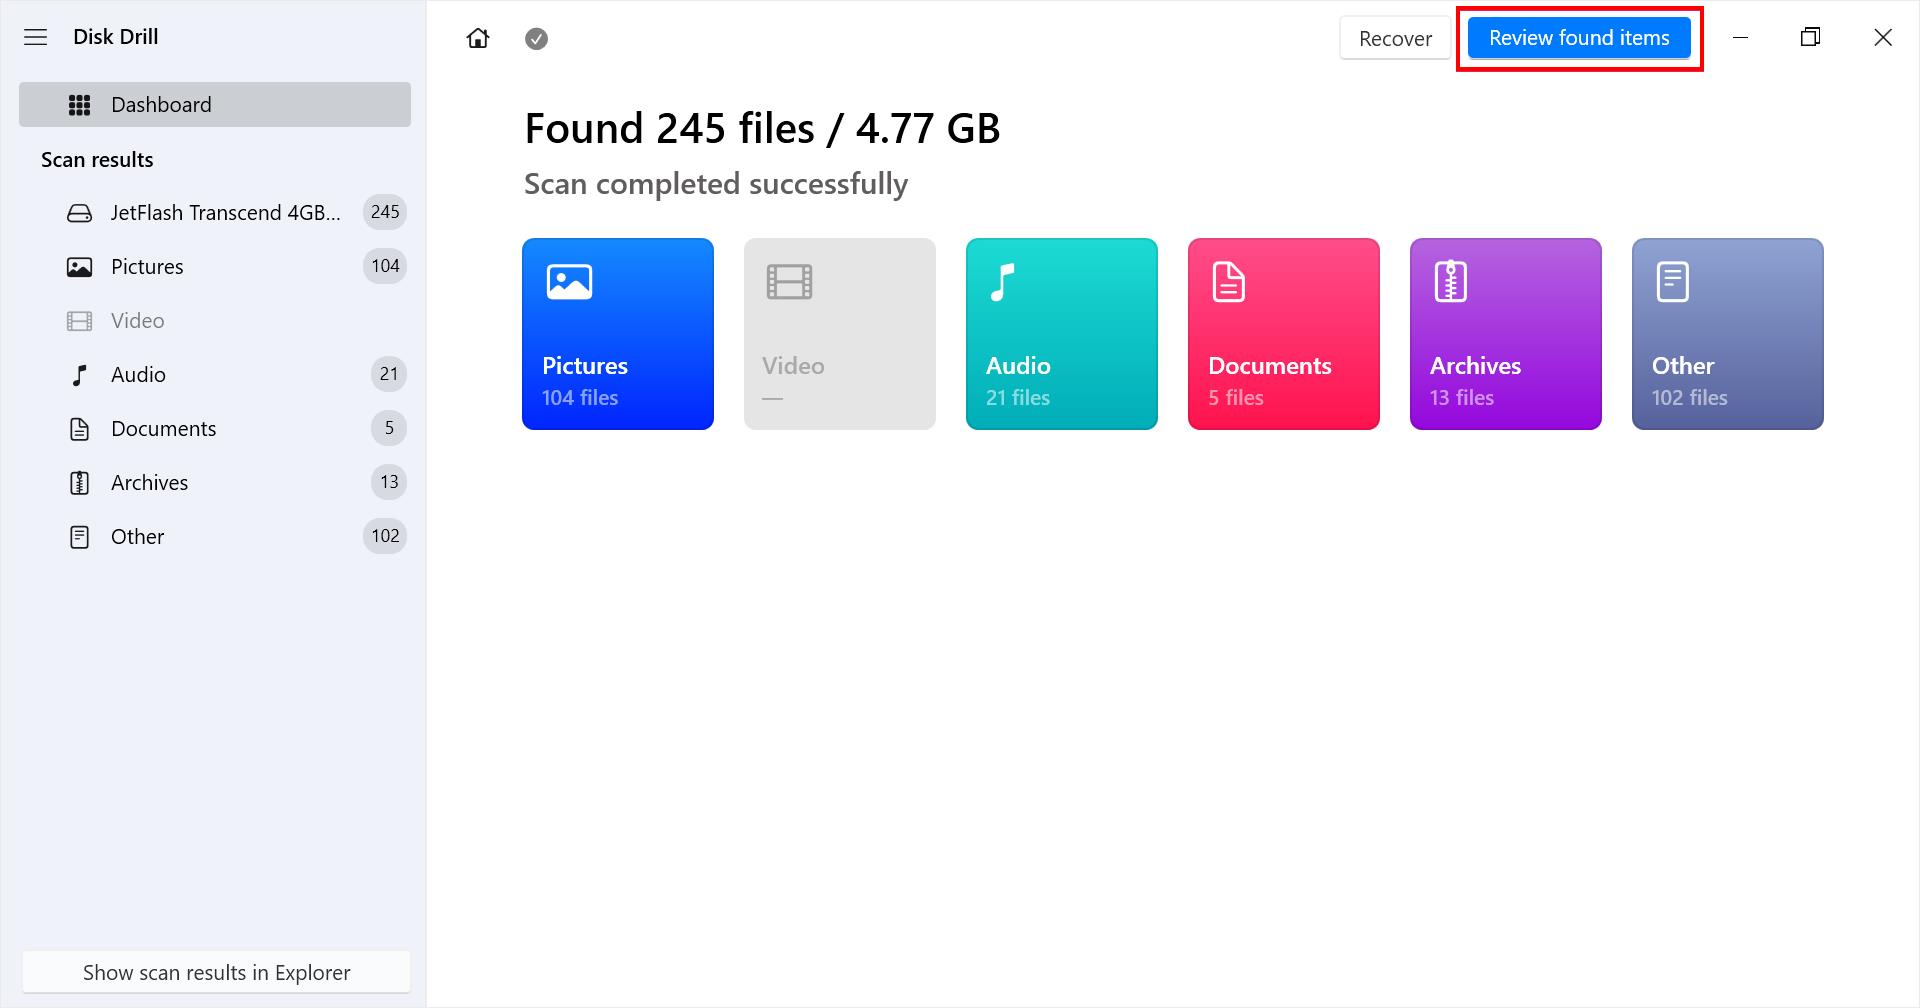
- Wait for the scan to finish or click the Review found items button right away—it’s completely up to you.
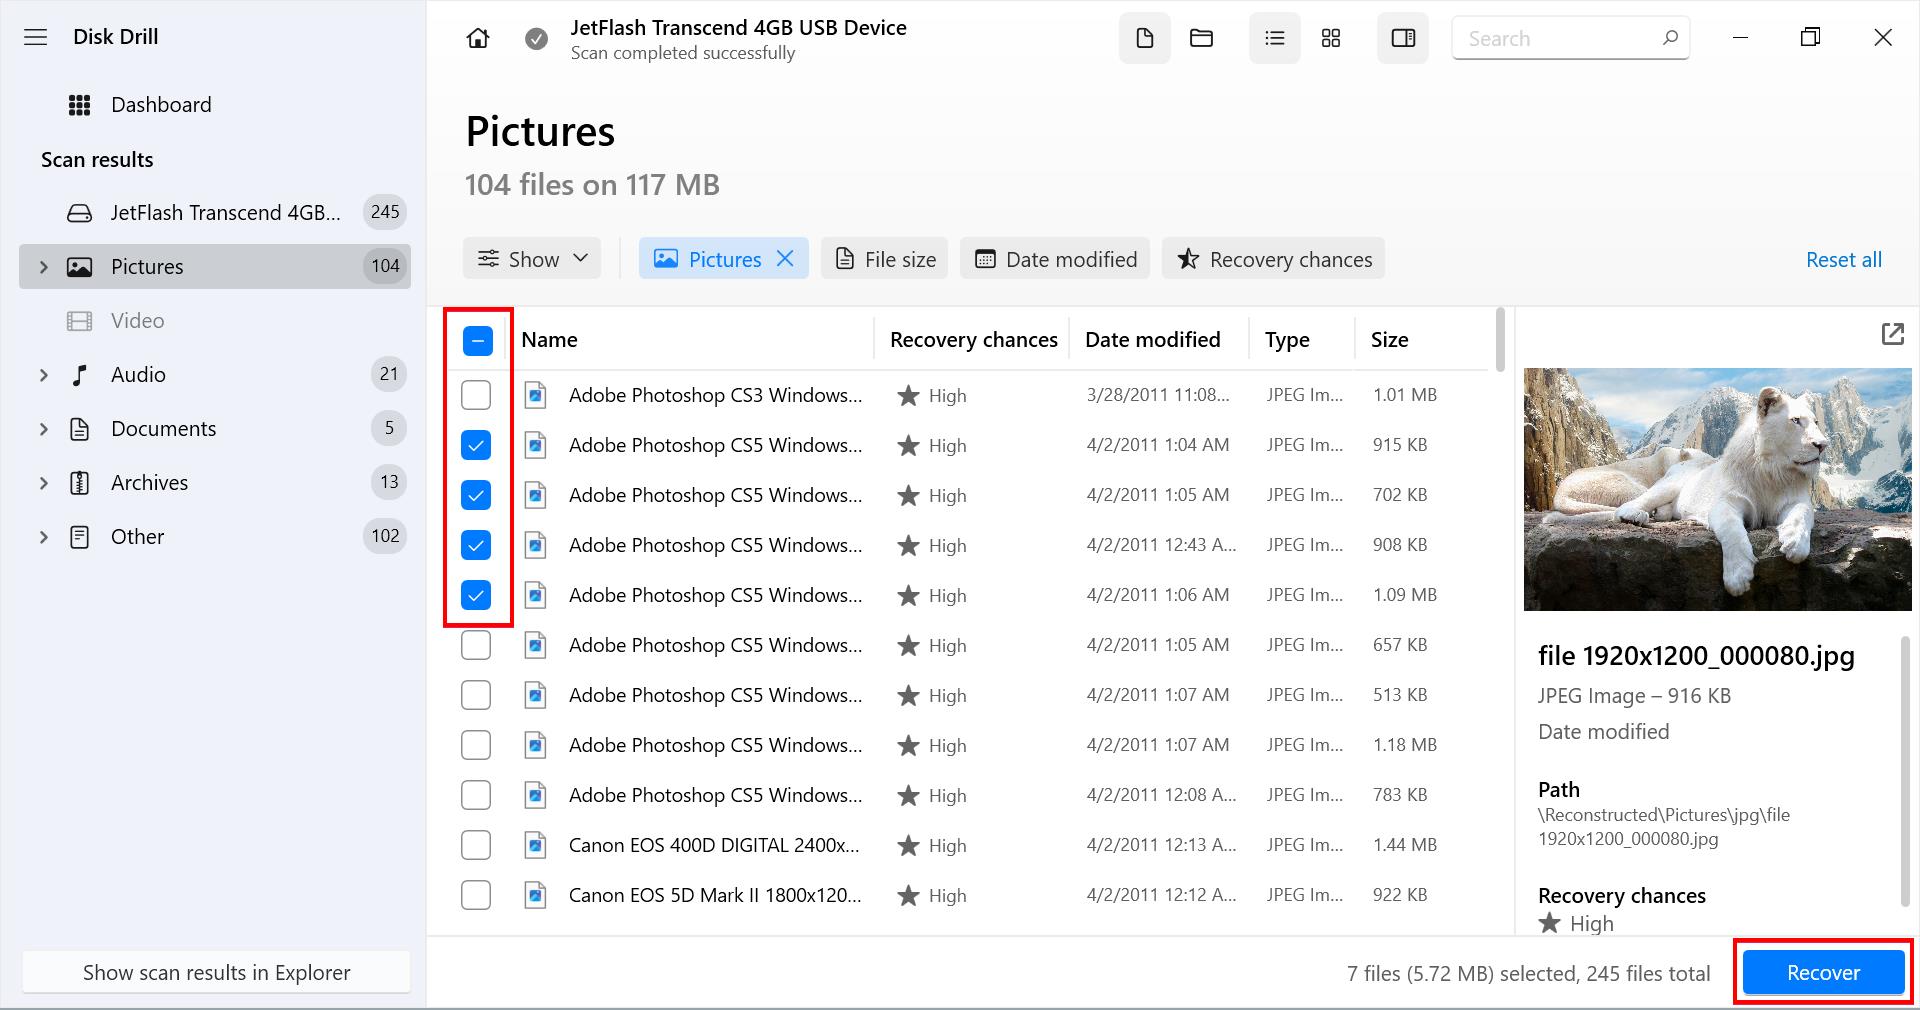
- Go through the list of recoverable files and add all important files to your recovery queue by clicking the checkboxes next to them. You can preview many file formats directly within Disk Drill. Additionally, you can apply various filters to narrow down the list of recoverable files.
- Click the Recover button and tell Disk Drill where it should recover the deleted files. Don’t choose your Transcend storage device to avoid overwriting.
- Check the destination folder to ensure all recovered files are present and intact.
With Disk Drill, we were able to recover all missing files, which speaks volumes about its efficiency compared to RecoverX. Whether you have a Transcend storage device or any other brand, Disk Drill proves to be a reliable and robust choice for file recovery.
Conclusion
While Transcend storage devices are widely respected for their durability and performance, it’s important to note that they are not immune to data loss. A simple human error can cause hundreds of important files to disappear in the blink of an eye. Our experience has shown that while Transcend’s own RecoverX tool is an option when it comes to the recovery of lost files, it doesn’t offer the breadth of features or the effectiveness that Disk Drill provides, which is why we don’t hesitate to recommend it.
FAQ
- Connect the portable hard drive to your computer using the provided USB cable.
- Format the drive to a compatible file system.
- Access the drive via File Explorer on Windows or Finder on Mac.
- Safely eject the drive from your computer's operating system.
- Physically disconnect the drive when you're done using it.
- Connect the drive to your computer via the USB cable.
- Wait for the computer to recognize the drive; this may take a few seconds.
- Once recognized, you can access it like any other drive on your computer through the File Explorer (Windows) or Finder (Mac).
- The USB cable is faulty.
- The USB port on your computer is broken.
- The file system is corrupted.
- The correct drivers are not installed.
- The drive is physically damaged.
