
You connect your USB drive to your PC, just to find out that there’s nothing visible on the drive. Are the files hidden, or deleted? Is there an issue with the PC or the USB drive itself? The sections below will answer these questions and also offer possible solutions to the USB drive not showing any files issue, for both Windows and macOS.
Reasons Why a USB Drive May Not Show Files or Folders
While investigating why USB drives sometimes don’t show files, we reviewed hundreds of forum threads across the Microsoft Community, Apple Discussions, Reddit, and other platforms. This helped us identify the most frequently mentioned causes and decide what solutions to highlight in this article. We also summarized all the cases we encountered in these discussions and created our own statistics on the most common reasons why USB files won’t show up. Below you can see the result:
| Reason | Percentage | Description |
| 🦠 Virus Infection | 40% | Malware is the most common reason for missing files on USB drives. Viruses usually hide files or replace them with shortcuts, tricking users into thinking the drive is empty. Forum users often report drives that show only suspicious shortcuts or blank folders. |
| 👀 Hidden Files and Folders | 15% | Files may simply be marked as Hidden. This can happen accidentally or due to malware activity. In such cases, the USB drive appears empty even though the data is still present. |
| 💾 Corrupted File System | 25% | Unsafe ejection, sudden power loss, or write errors can damage the file system. When this happens, the drive may appear blank, the OS may request formatting, or the file system may show as RAW. |
| 🔄 File System Incompatibility | 10% | A USB formatted with a file system unsupported by the OS will appear unreadable or empty. For example, APFS or HFS+ drives won’t open in Windows, and NTFS drives in macOS may not display properly. |
| 🛑 Hardware Defects or Fake Drives | 10% | Faulty memory chips, damaged controllers, or counterfeit USB drives can cause data to disappear. Fake drives often advertise more storage than they actually have, making files “vanish” once the real limit is reached. |
Important: Do not attempt to fix a physically damaged flash drive or attempt data recovery on it, using DIY methods. If your data is important enough, it’s better to contact a professional data recovery service.
Before Fixing the Problem of the USB Not Showing Files, Protect the Data Stored on It
If your USB does not show files on it, or the USB itself is not available in File Explorer (or Finder), this already signals non-standard behavior. As we discussed above, the cause may be file system corruption or other issues with the drive. Such devices behave unpredictably, and while attempting different fixes, anything can happen, including the complete loss of the remaining files. You can always hope that nothing goes wrong, but the risk remains.
To avoid turning a repair attempt into permanent data loss, it’s safer to first create a byte-to-byte (B2B) backup of the drive. With such a backup, even if the USB fails during the process, you’ll still have a full copy of its data. For this task, you need special software. We stick with Disk Drill because it combines both backup creation and data recovery in one interface, instead of forcing you to juggle several tools. Another advantage – Disk Drill works on both Windows and macOS.
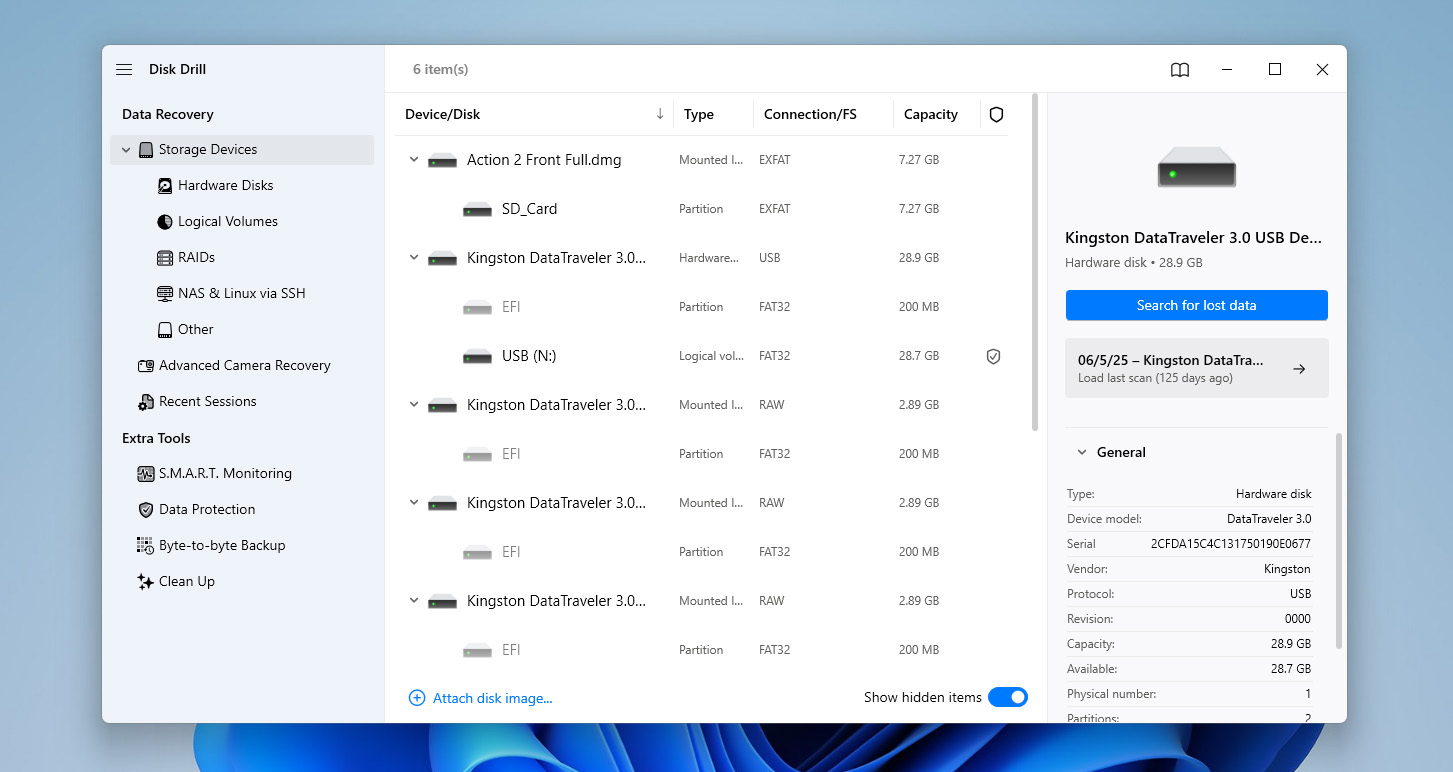
For Disk Drill to detect your USB drive, it must appear in Disk Management (Windows) or Disk Utility (Mac) with the correct size.
Below, we’ll show how to create a Byte-to-Byte backup of a flash drive that isn’t showing files on Windows. On Mac, the process is identical, step for step.
- Download and install Disk Drill from the official website.
- Connect the USB to your computer and open Disk Drill.
- In the left sidebar, click on Byte-to-Byte Backup.
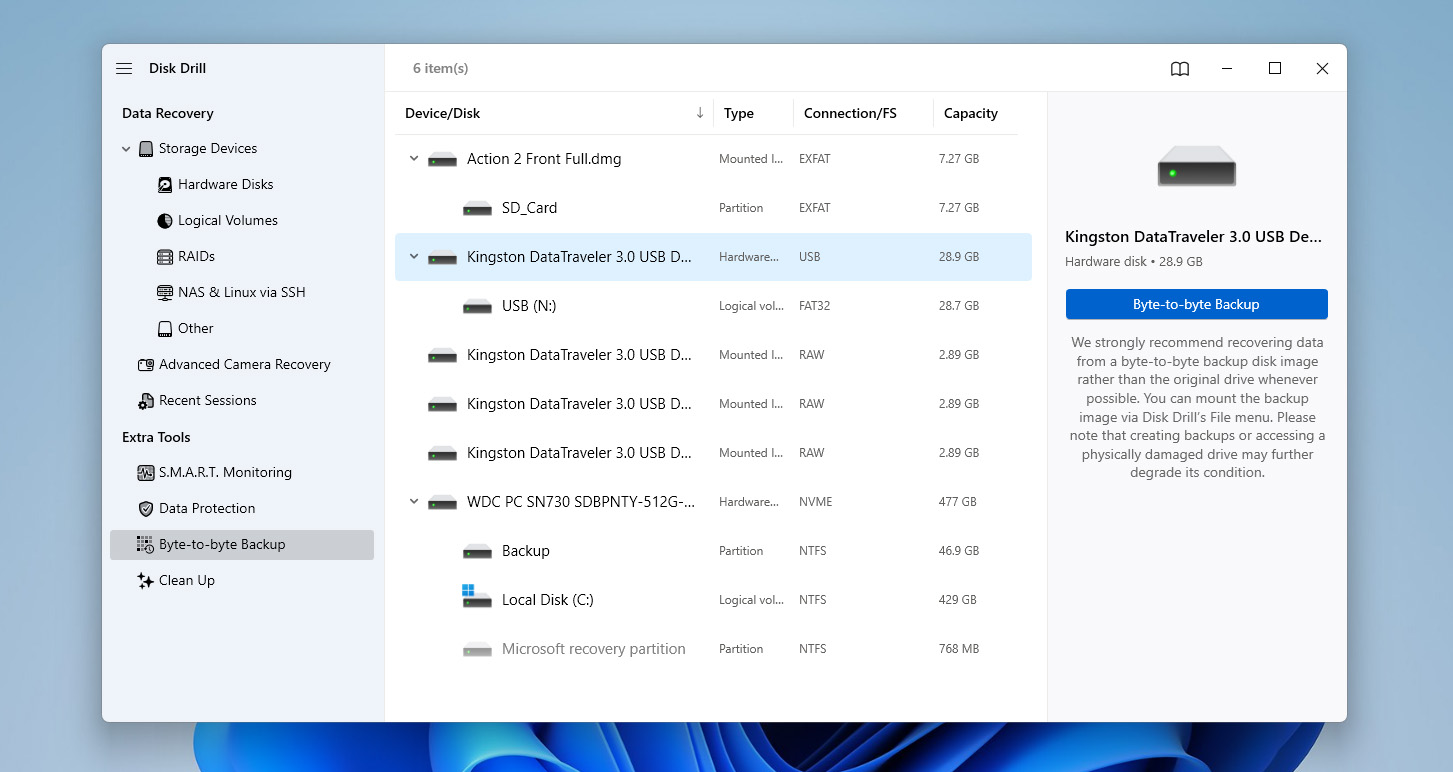
- Select the USB drive from list and click Create Backup (Mac) or Byte-to-Byte Backup (Windows).
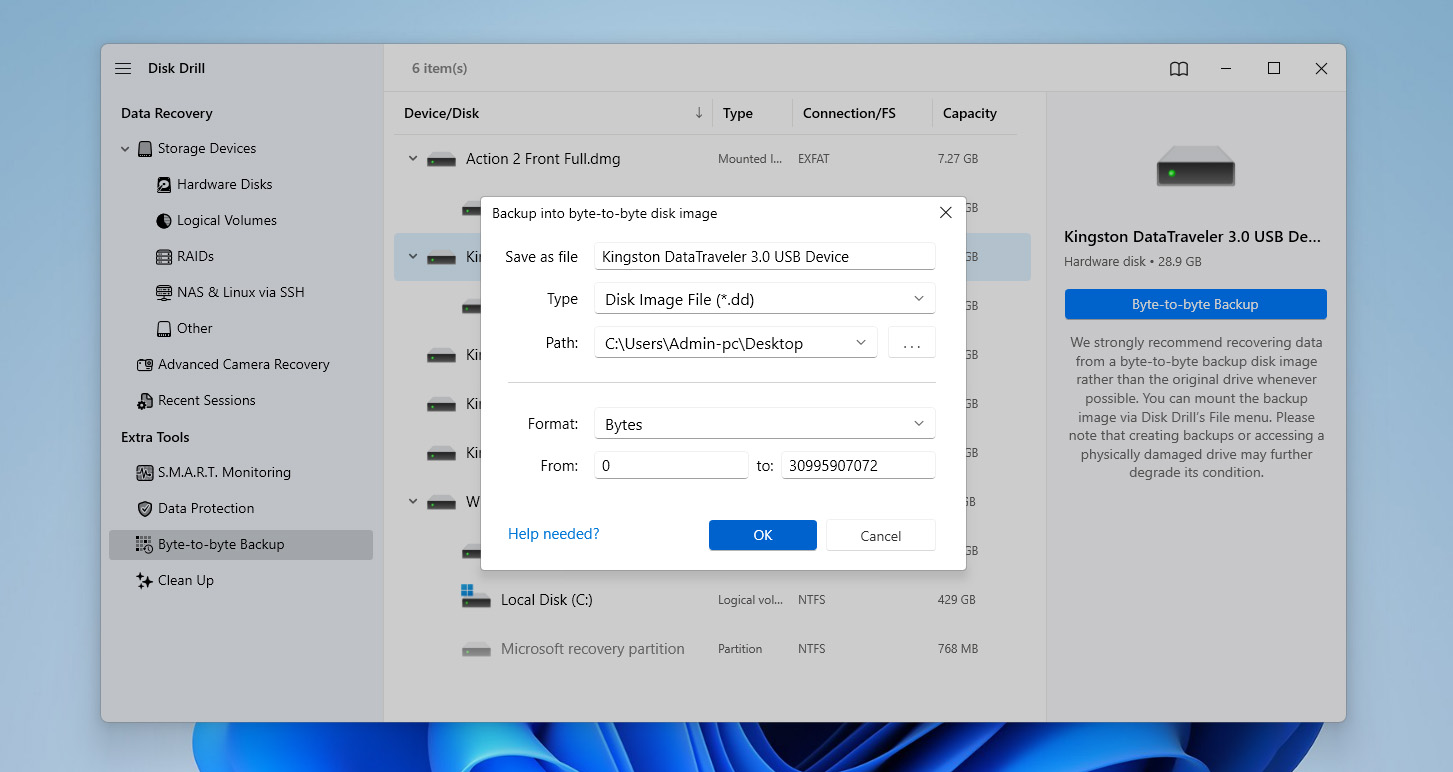
- Choose where you want to save the disk image and click OK or Save. Make sure the destination has free space equal to or larger than the USB’s capacity.
- Disk Drill will create the disk image. After that, you can close the program for now and continue with the fixes described in the following sections.
How to Fix USB Drive Not Showing Files and Folders on Windows
Hopefully, you already secured your data by creating a byte-by-byte backup of the device. If so, we can move on. In this section, we’ll go through the main ways to fix a USB drive that isn’t showing your files and folders on a Windows PC or a Mac. So, keep reading, the solutions are just ahead.
If you suspect that a virus is the reason why the files on your USB drive aren’t showing, make sure to scan the flash drive with any reliable antivirus software before applying the methods below. If malware is present, the antivirus will remove it, and you can then focus on repairing the consequences of the infection rather than dealing with an active threat.
Method 1: Connect the USB Drive to Another PC
To narrow down whether the problem lies with your computer or the USB drive itself, try connecting the flash drive to another PC or Mac. This helps you determine if the issue is caused by a faulty USB port, system settings, or the drive.
Whenever possible, plug the USB into a port that’s directly attached to the motherboard (on Windows desktops) or a main port on your Mac, instead of using external hubs or adapters.
If you previously used the pen drive on a Mac, the USB drive might be formatted with an Apple-specific file system that Windows can’t recognize. In this case, you’ll need to copy the files to another location (using the Mac) or create a disk image of the drive, then format it to a Windows-recognized format like FAT or exFAT (which works with both Windows and macOS). Conversely, if the drive was formatted in NTFS on Windows, macOS may only mount it in read-only mode or fail to display the files correctly.
Method 2: Unhide the Files
A surprisingly common reason for files on a USB not showing is that the data isn’t gone at all, and it’s just hidden. Sometimes a virus changes the folder attributes to “hidden,” and in other cases the operating system itself keeps certain files out of sight by default. Both Windows and macOS give you options to reveal these hidden items, though the steps are different on each platform.
A) Show Hidden USB Files in Windows Explorer
By default, the “Hidden items” option is disabled on Windows. This means that no hidden files and folders will show up in Windows Explorer. If the parent folder of the files is hidden, you won’t be able to see them even if the files themselves aren’t hidden.
To view hidden files and folders on Windows, follow these steps:
- Press Windows Key + E to open File Explorer. You can also search for it in Windows Search (Windows Key + S).
- Click View > Show in the menu bar at the top.
- Tick the Hidden items checkbox.
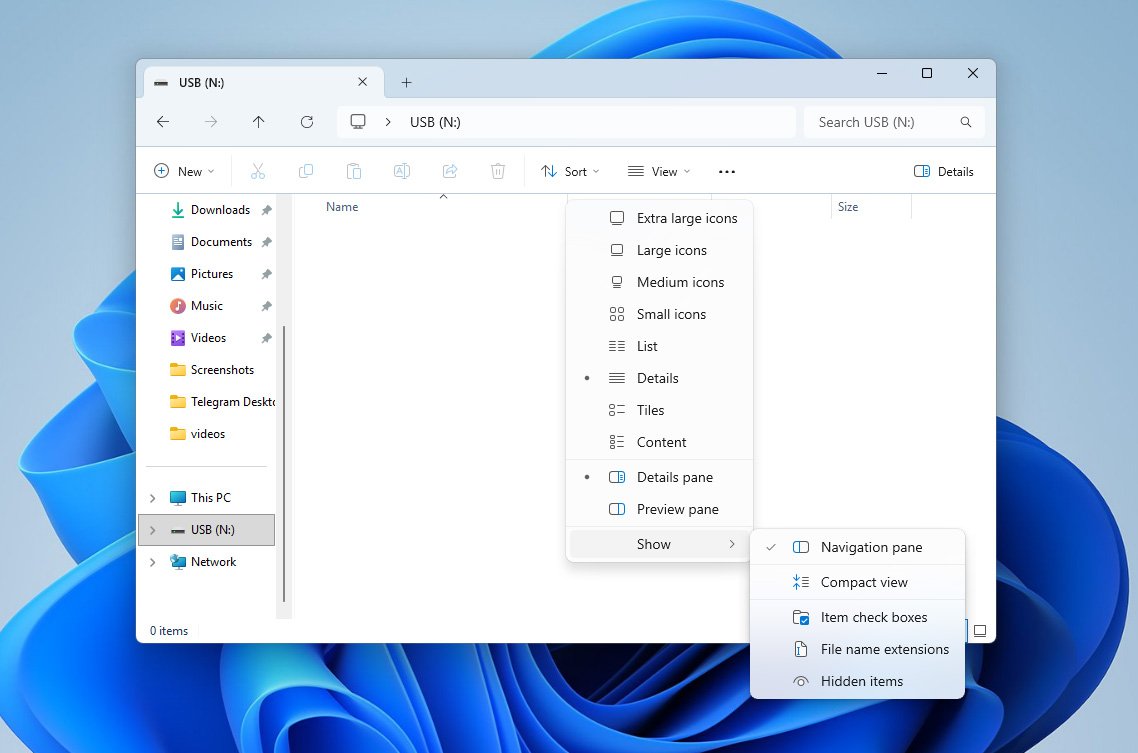
- Open your USB drive’s folder in File Explorer. If your files were hidden, they will be visible now.
For older versions of Windows, including Windows 7, 8, and 10, you can enable hidden items using the Change folder and search options window.
If you no longer want the folder to be hidden, you can disable the “Hidden” attribute. To do this, right-click on the required folder and go to Properties > General > Attributes and uncheck the “Hidden” checkbox.
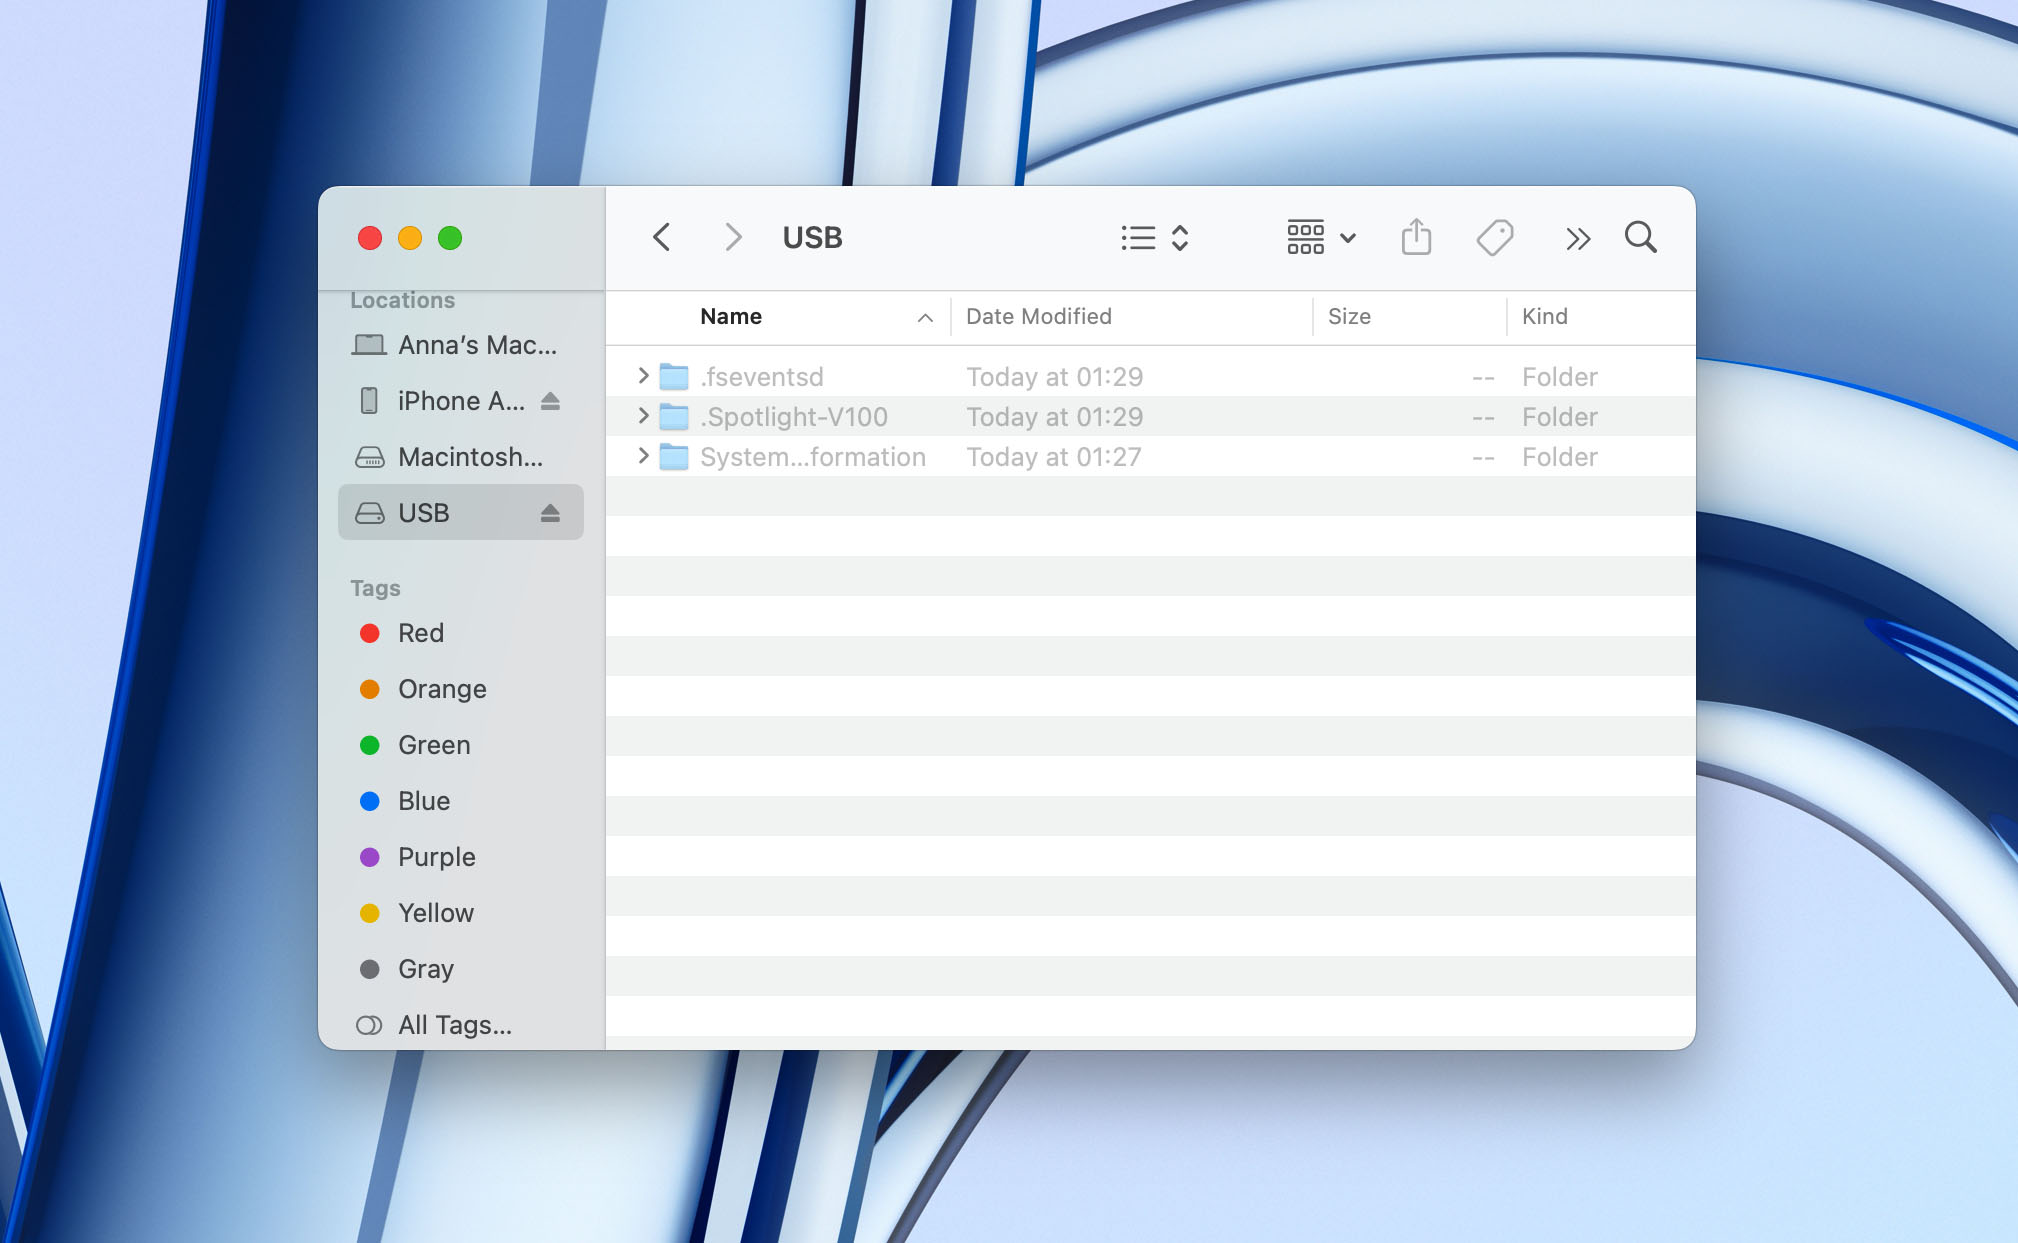
B) Make Hidden USB Files Visible on macOS
On macOS, if you’re dealing with a flash drive that’s not showing your files, there are two main ways to unhide them (either with a keyboard shortcut in Finder or by using the Terminal). We’ll go through both options below:
First, let’s see how you can unhide files using a keyboard shortcut in Finder:
- Open Finder from the Dock, or simply press Command + O.
- Navigate to your USB drive using the sidebar.
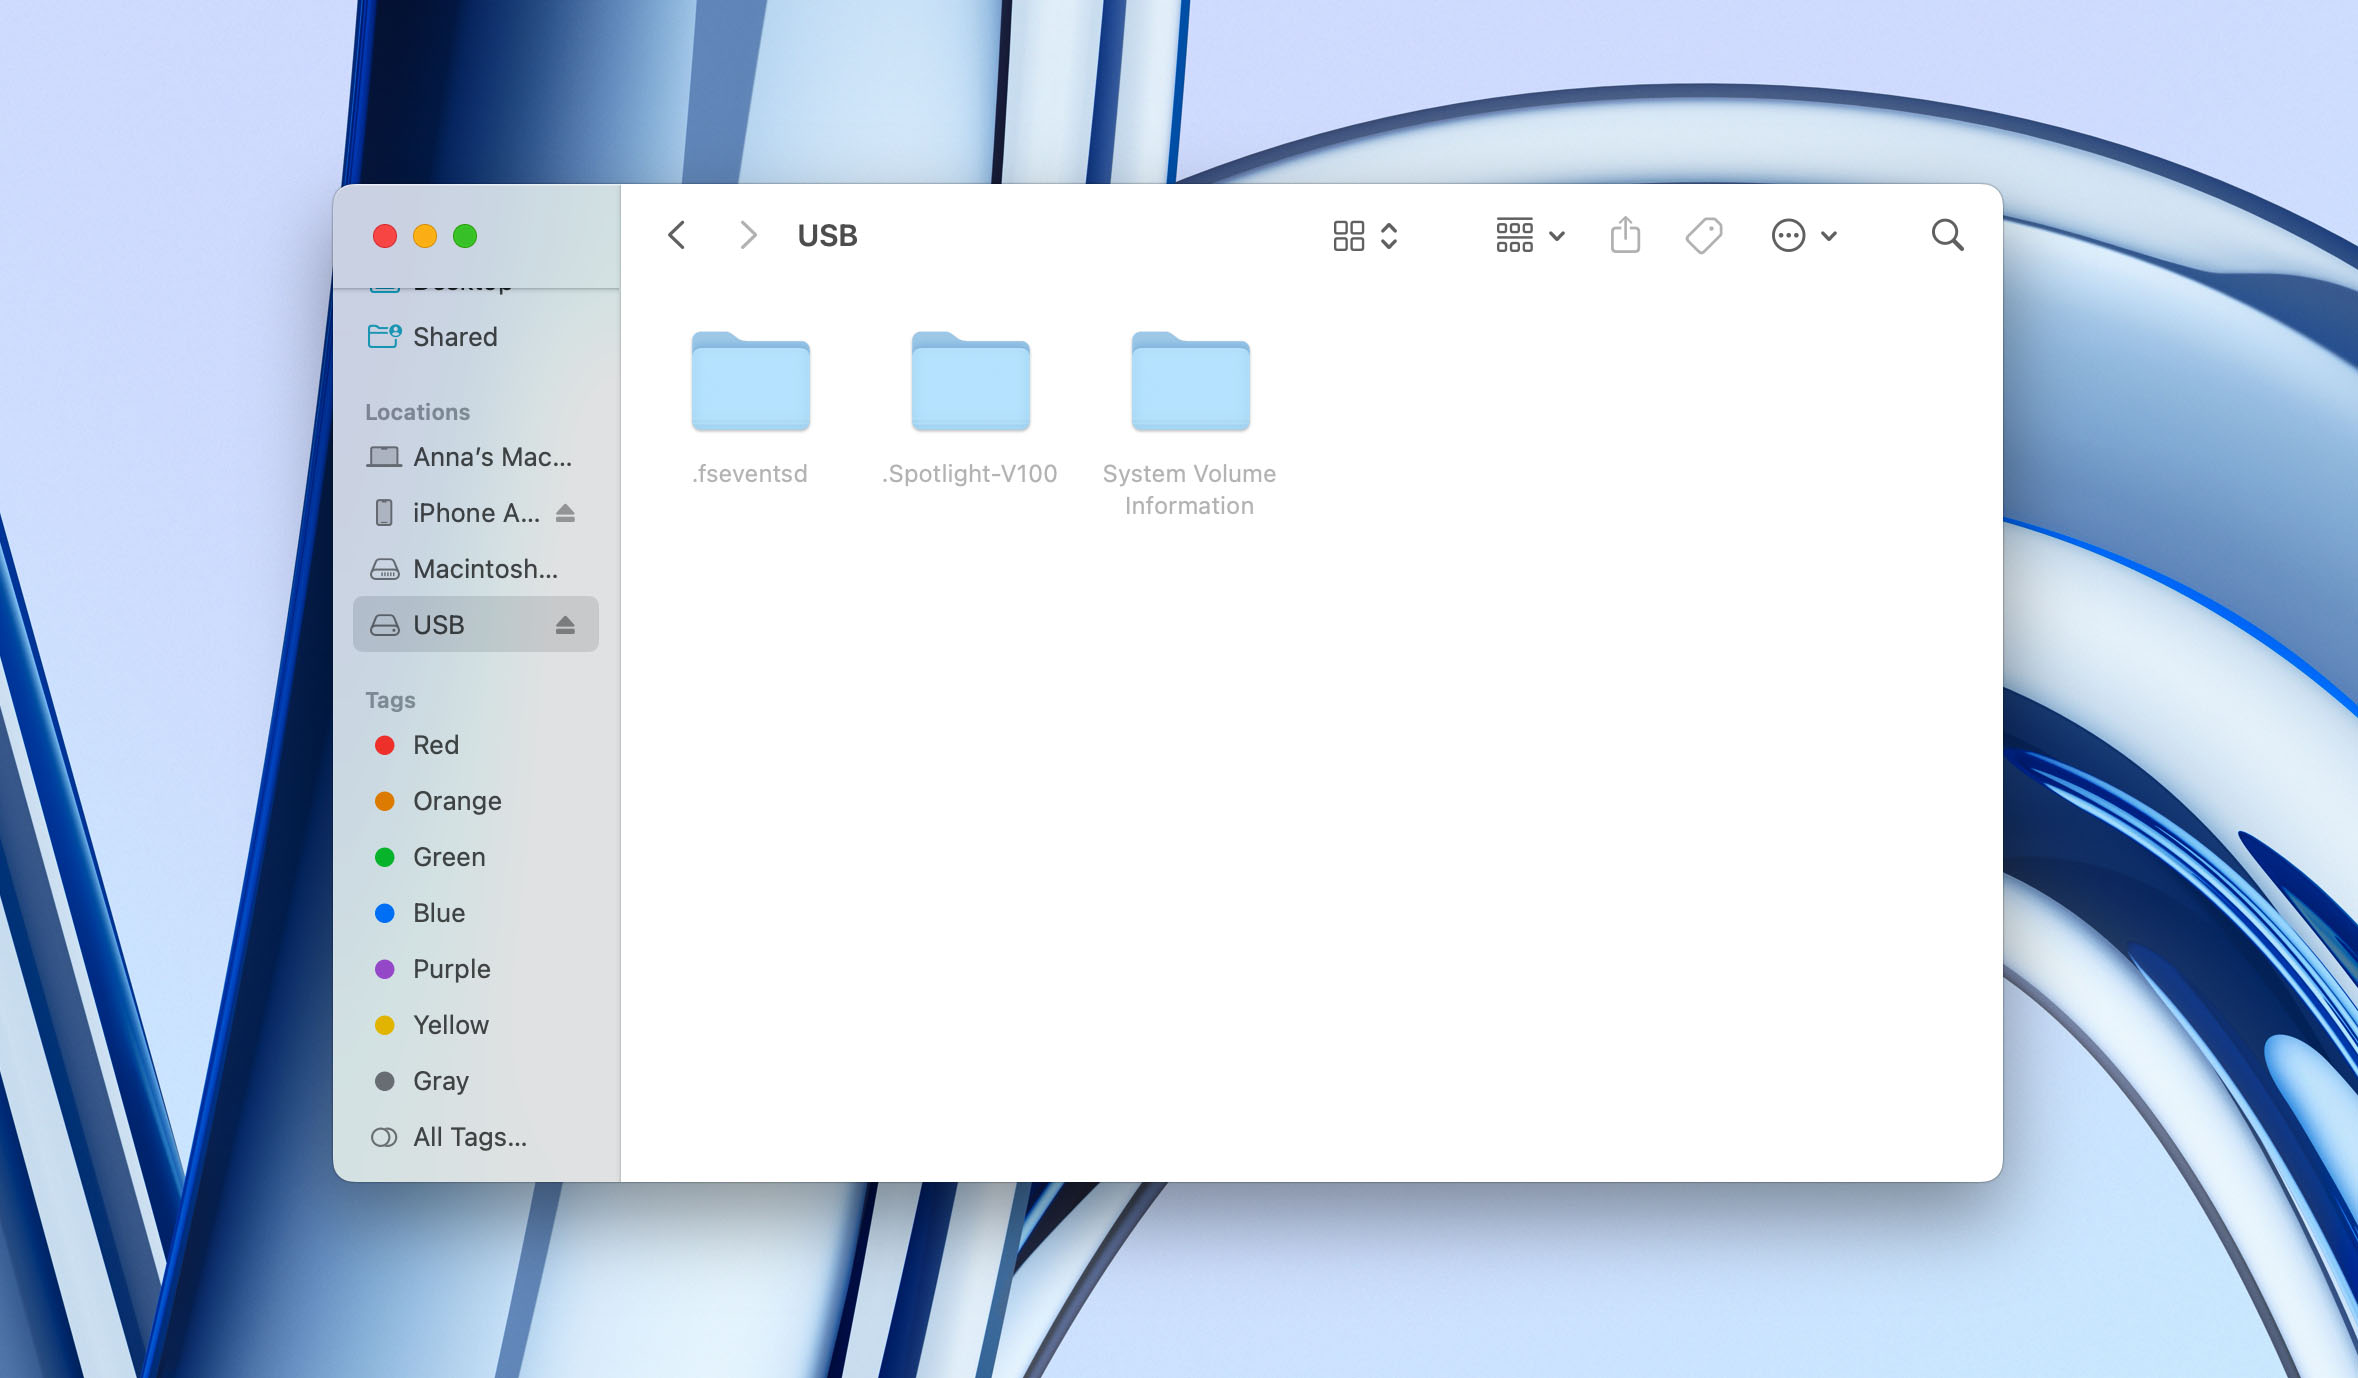
- Press Command + Shift + . (dot). The hidden files will become visible. You can toggle between showing/hiding hidden files using the shortcut.
If you wish to unhide folders in Hollywood-hacker style (using the Terminal), here’s how:
- Search for Terminal in Spotlight Search (Command + Space) and open the app.
- Type defaults write com.apple.finder “AppleShowAllFiles” -bool “true” and press Enter.
- Type killall Finder and press Enter.
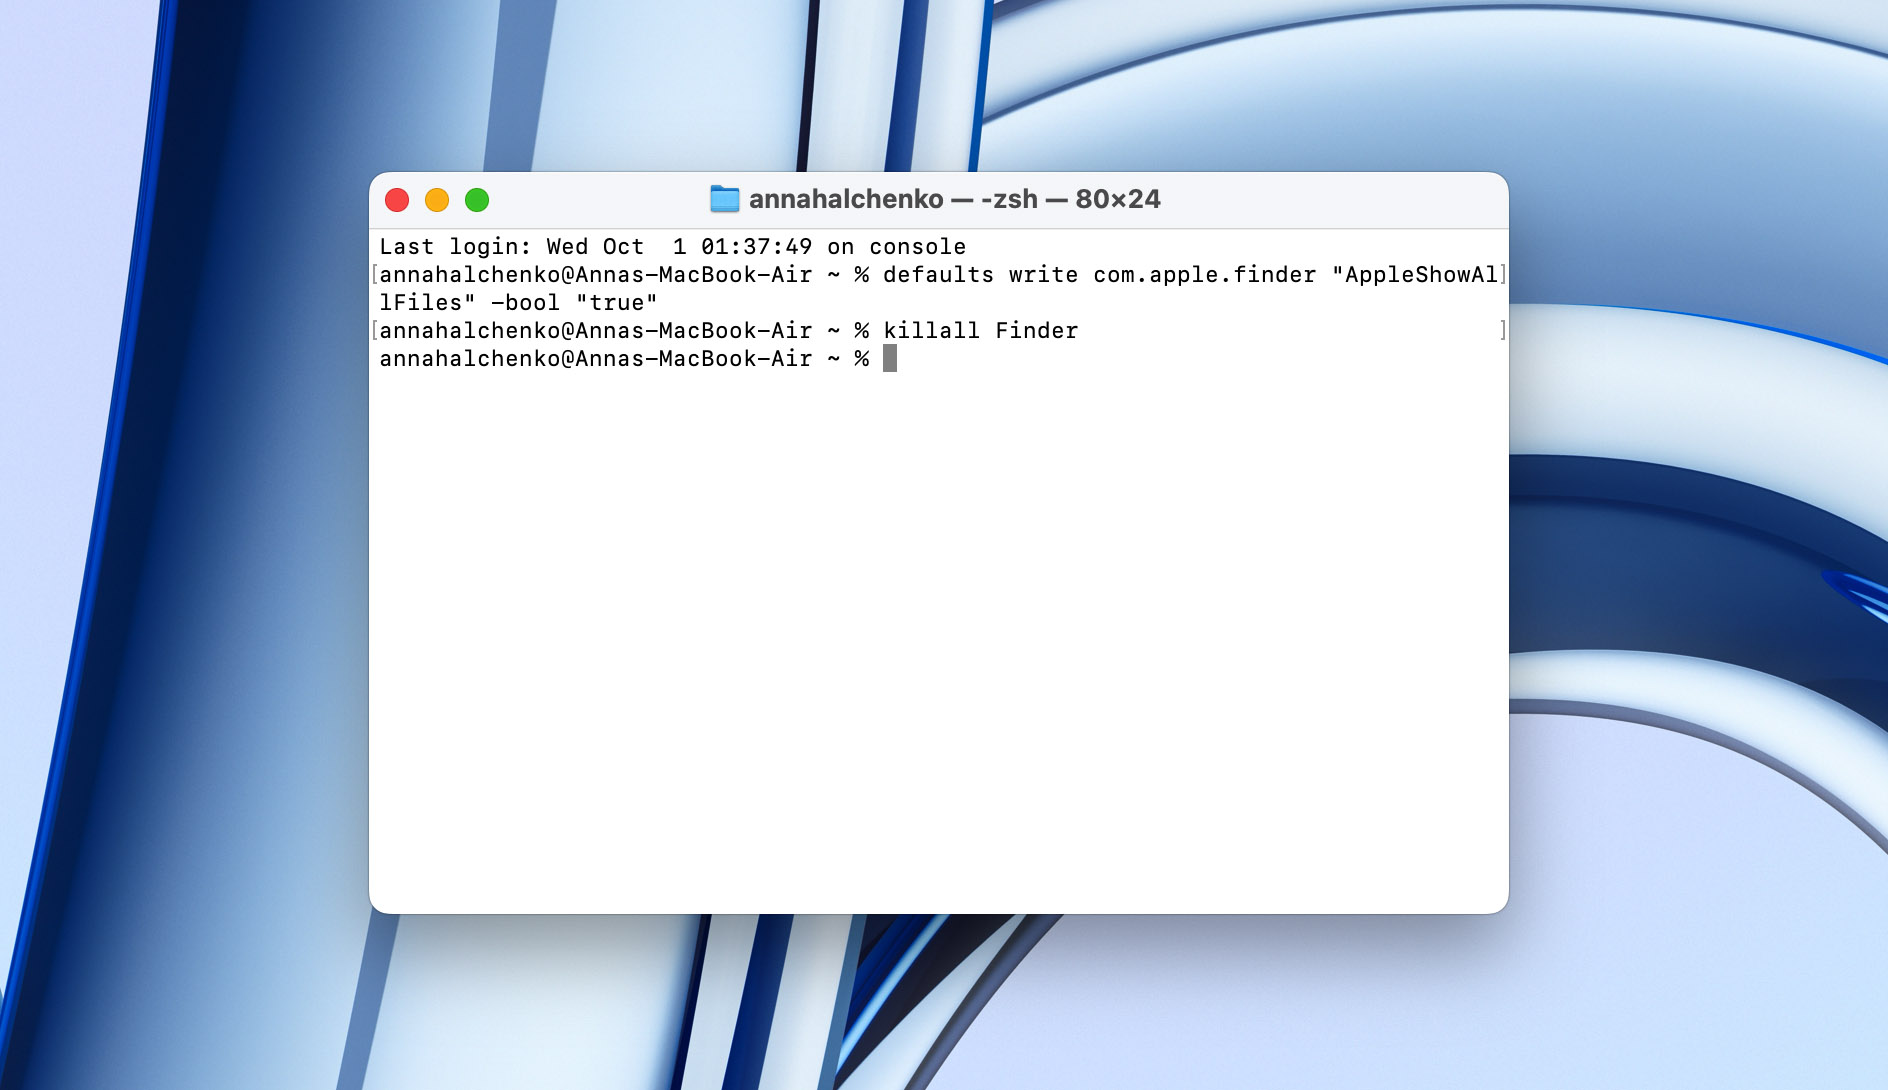
- This restarts Finder and applies the change, so now it will display hidden files.
To hide them back later, run the same commands but replace true with false: defaults write com.apple.finder “AppleShowAllFiles” -bool “false” and don’t forget about killall Finder.
Method 3: Repair File System Errors on Your USB Drive
At times, a USB drive that’s not showing your files isn’t just hiding them – the real culprit can be a corrupted file system. In such cases, your computer might still recognize the USB stick, but it could appear as empty, unreadable, or prompt you to format it before use.
The good news is that both Windows and macOS include built-in tools that can repair these issues. In the next section, we’ll walk you through how to use them to check the drive and, with some luck, restore access to your files.
A) Fix USB Drive Errors with CHKDSK in Windows
CHKDSK is a dedicated disk error-checking utility in Windows that can fix file system and bad sector-related issues on your drive, which may be the reason your USB drive is not showing any files. But, as part of how it fixes these errors, you may lose some of your data, so ensure you create a disk image of your pen drive before using CHKDSK.
Here’s how to use CHKDSK to fix your USB drive:
- Search for “cmd” in Windows Search (Windows Key + S). Right-click on the Command Prompt and choose Run as Administrator.
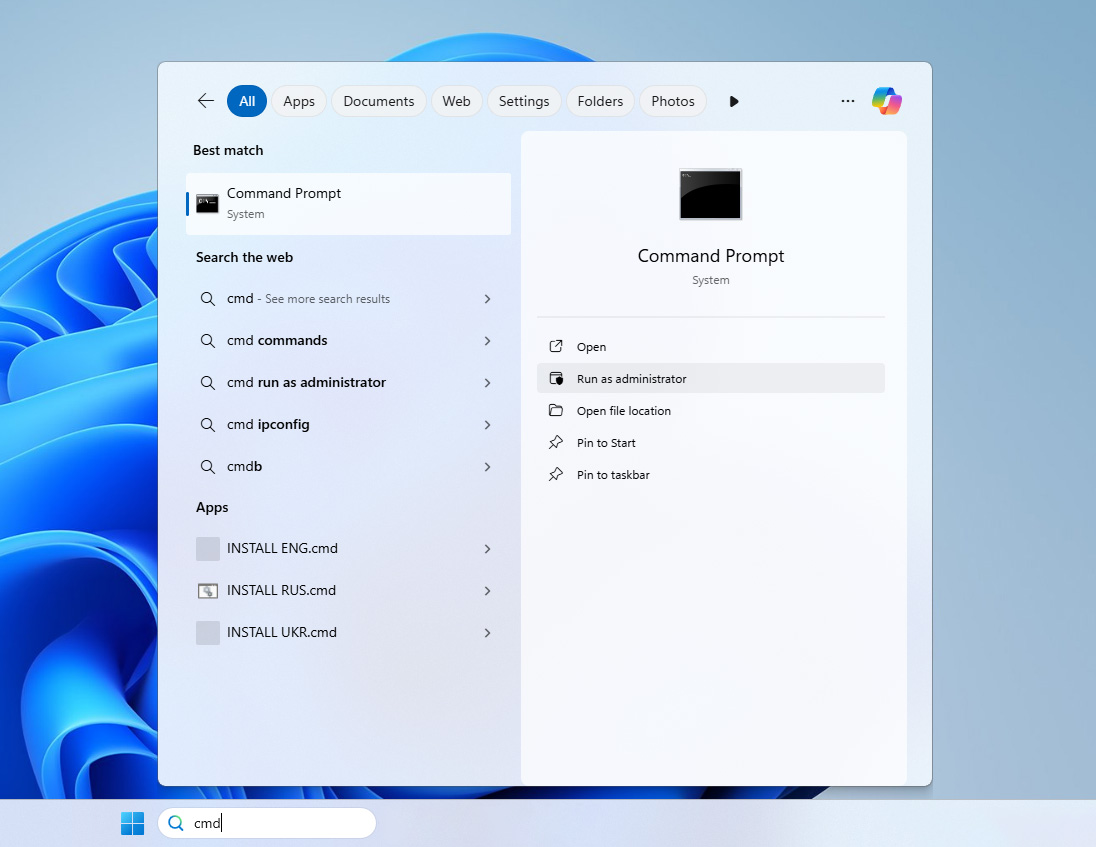
- In the console, type chkdsk X: /r and press Enter. Replace X with the drive letter of your USB drive (E:, F:, G:, etc.).
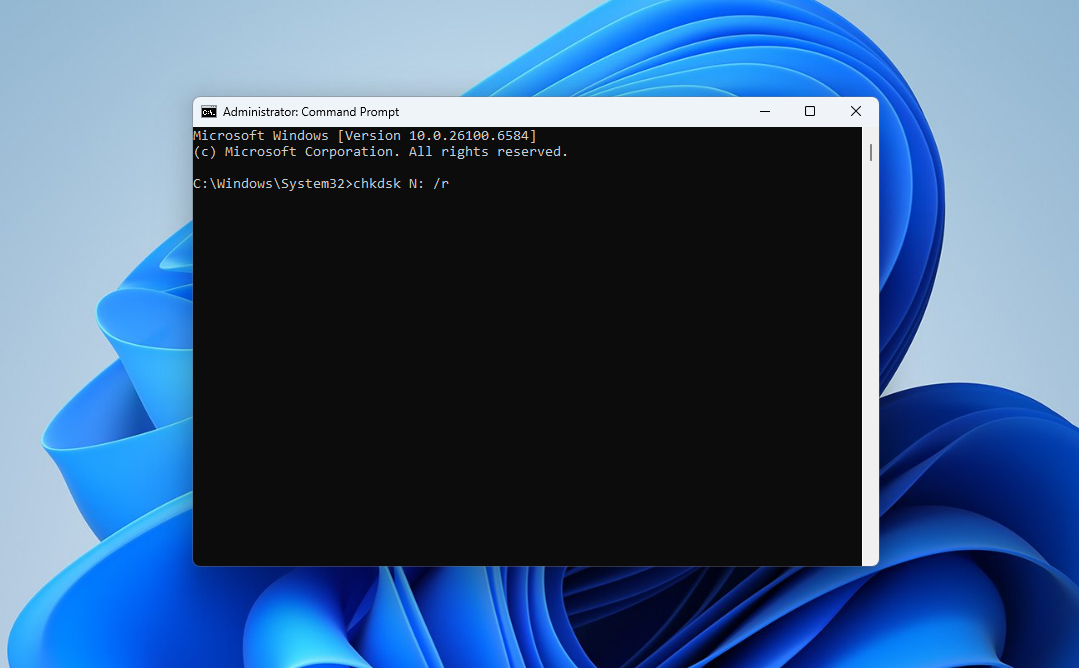
- Wait for CHKDSK to finish scanning and fixing your drive. Don’t interrupt CHKDSK or force shut down your PC while the utility is scanning the pen drive.
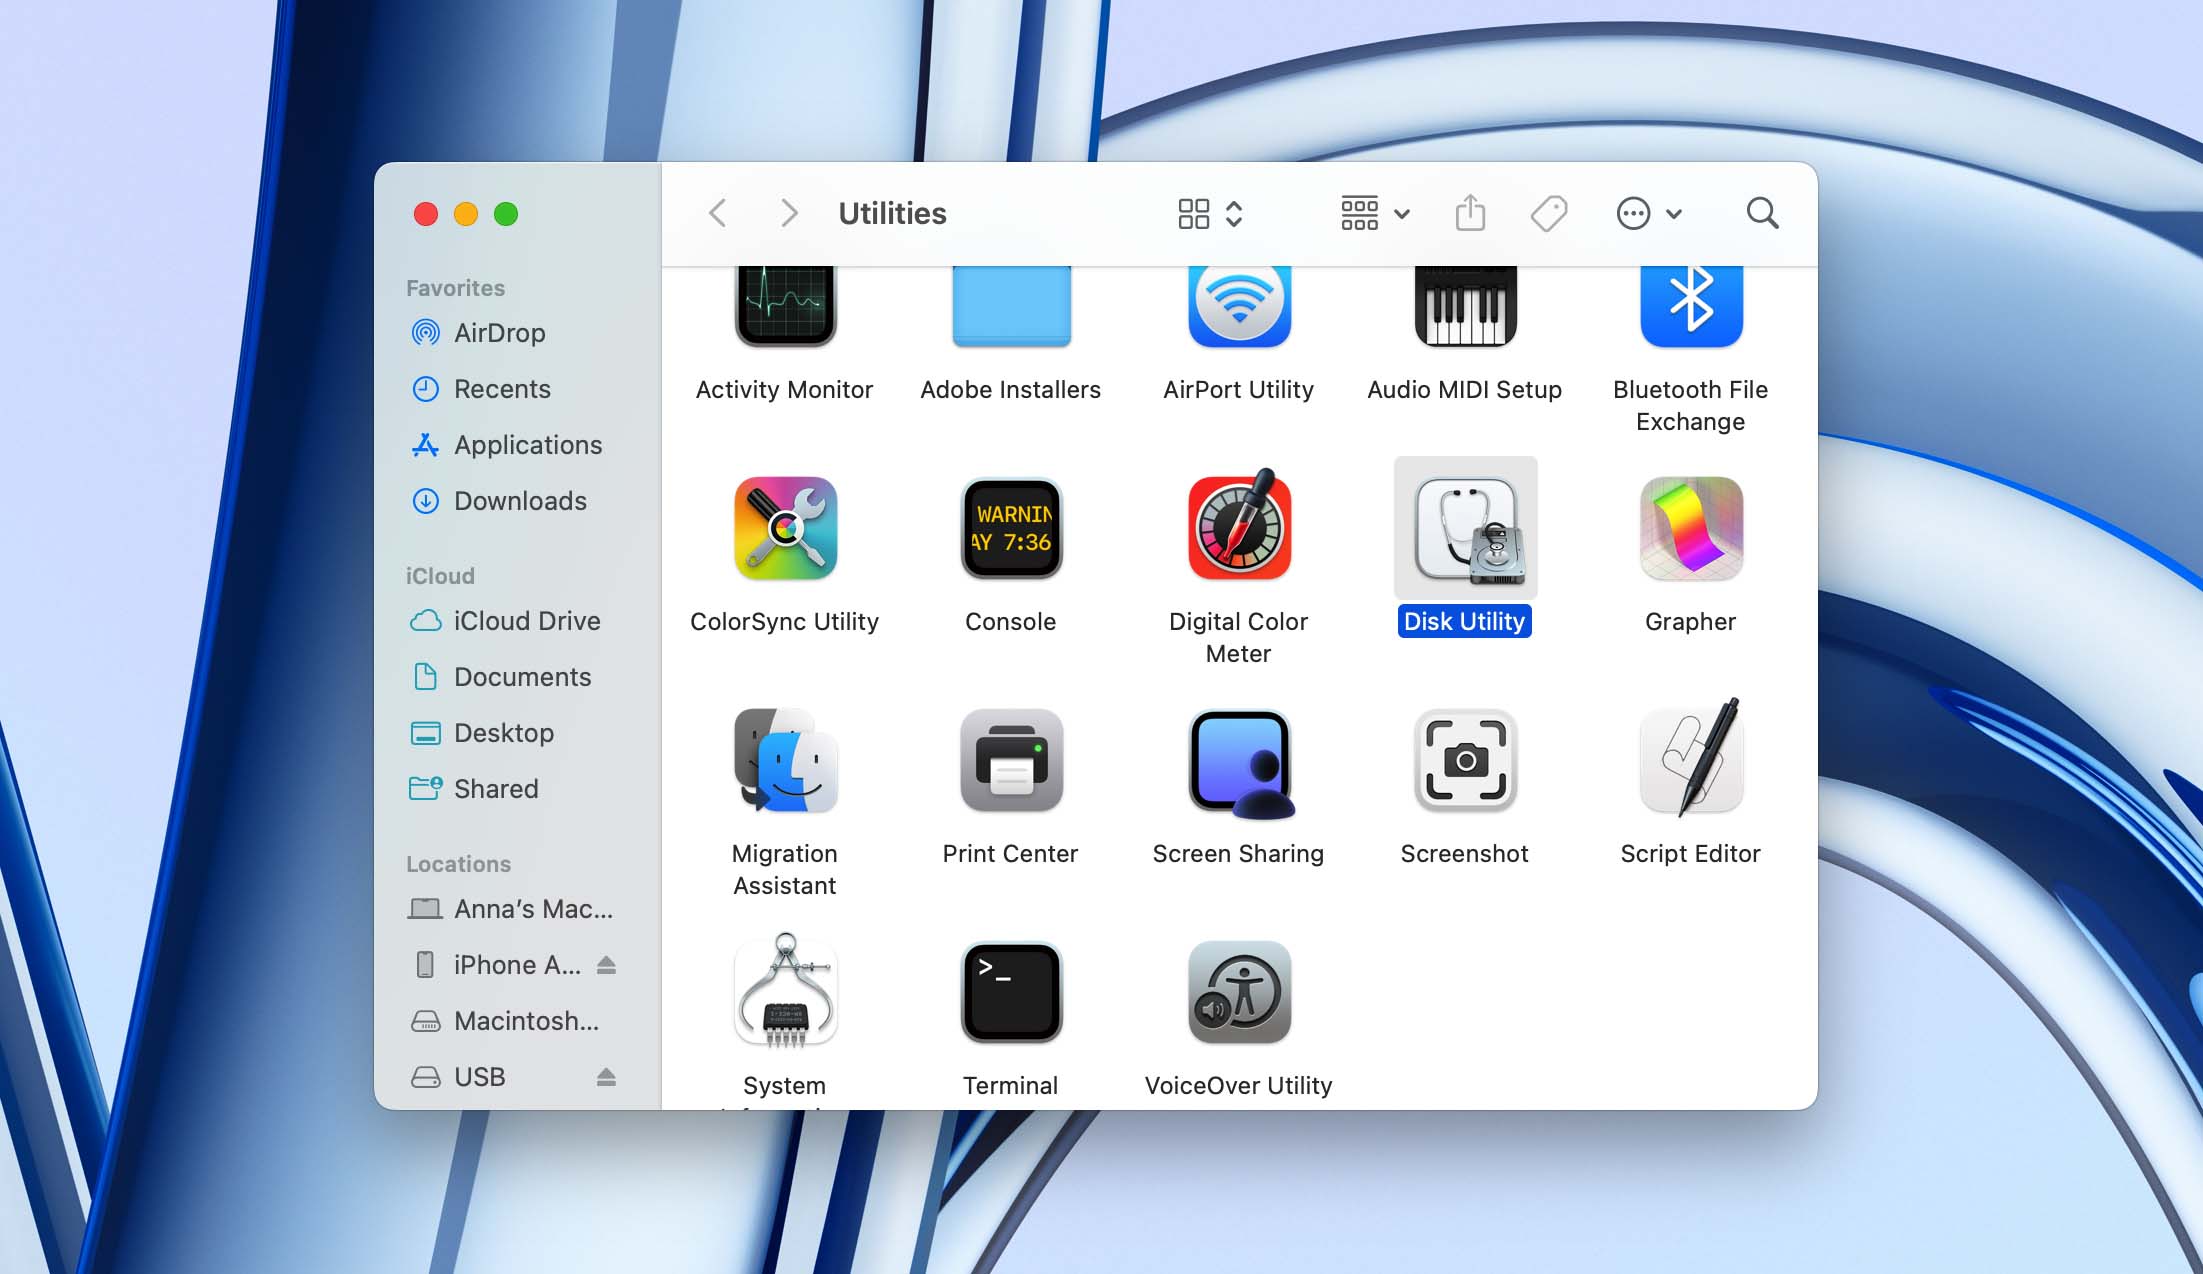
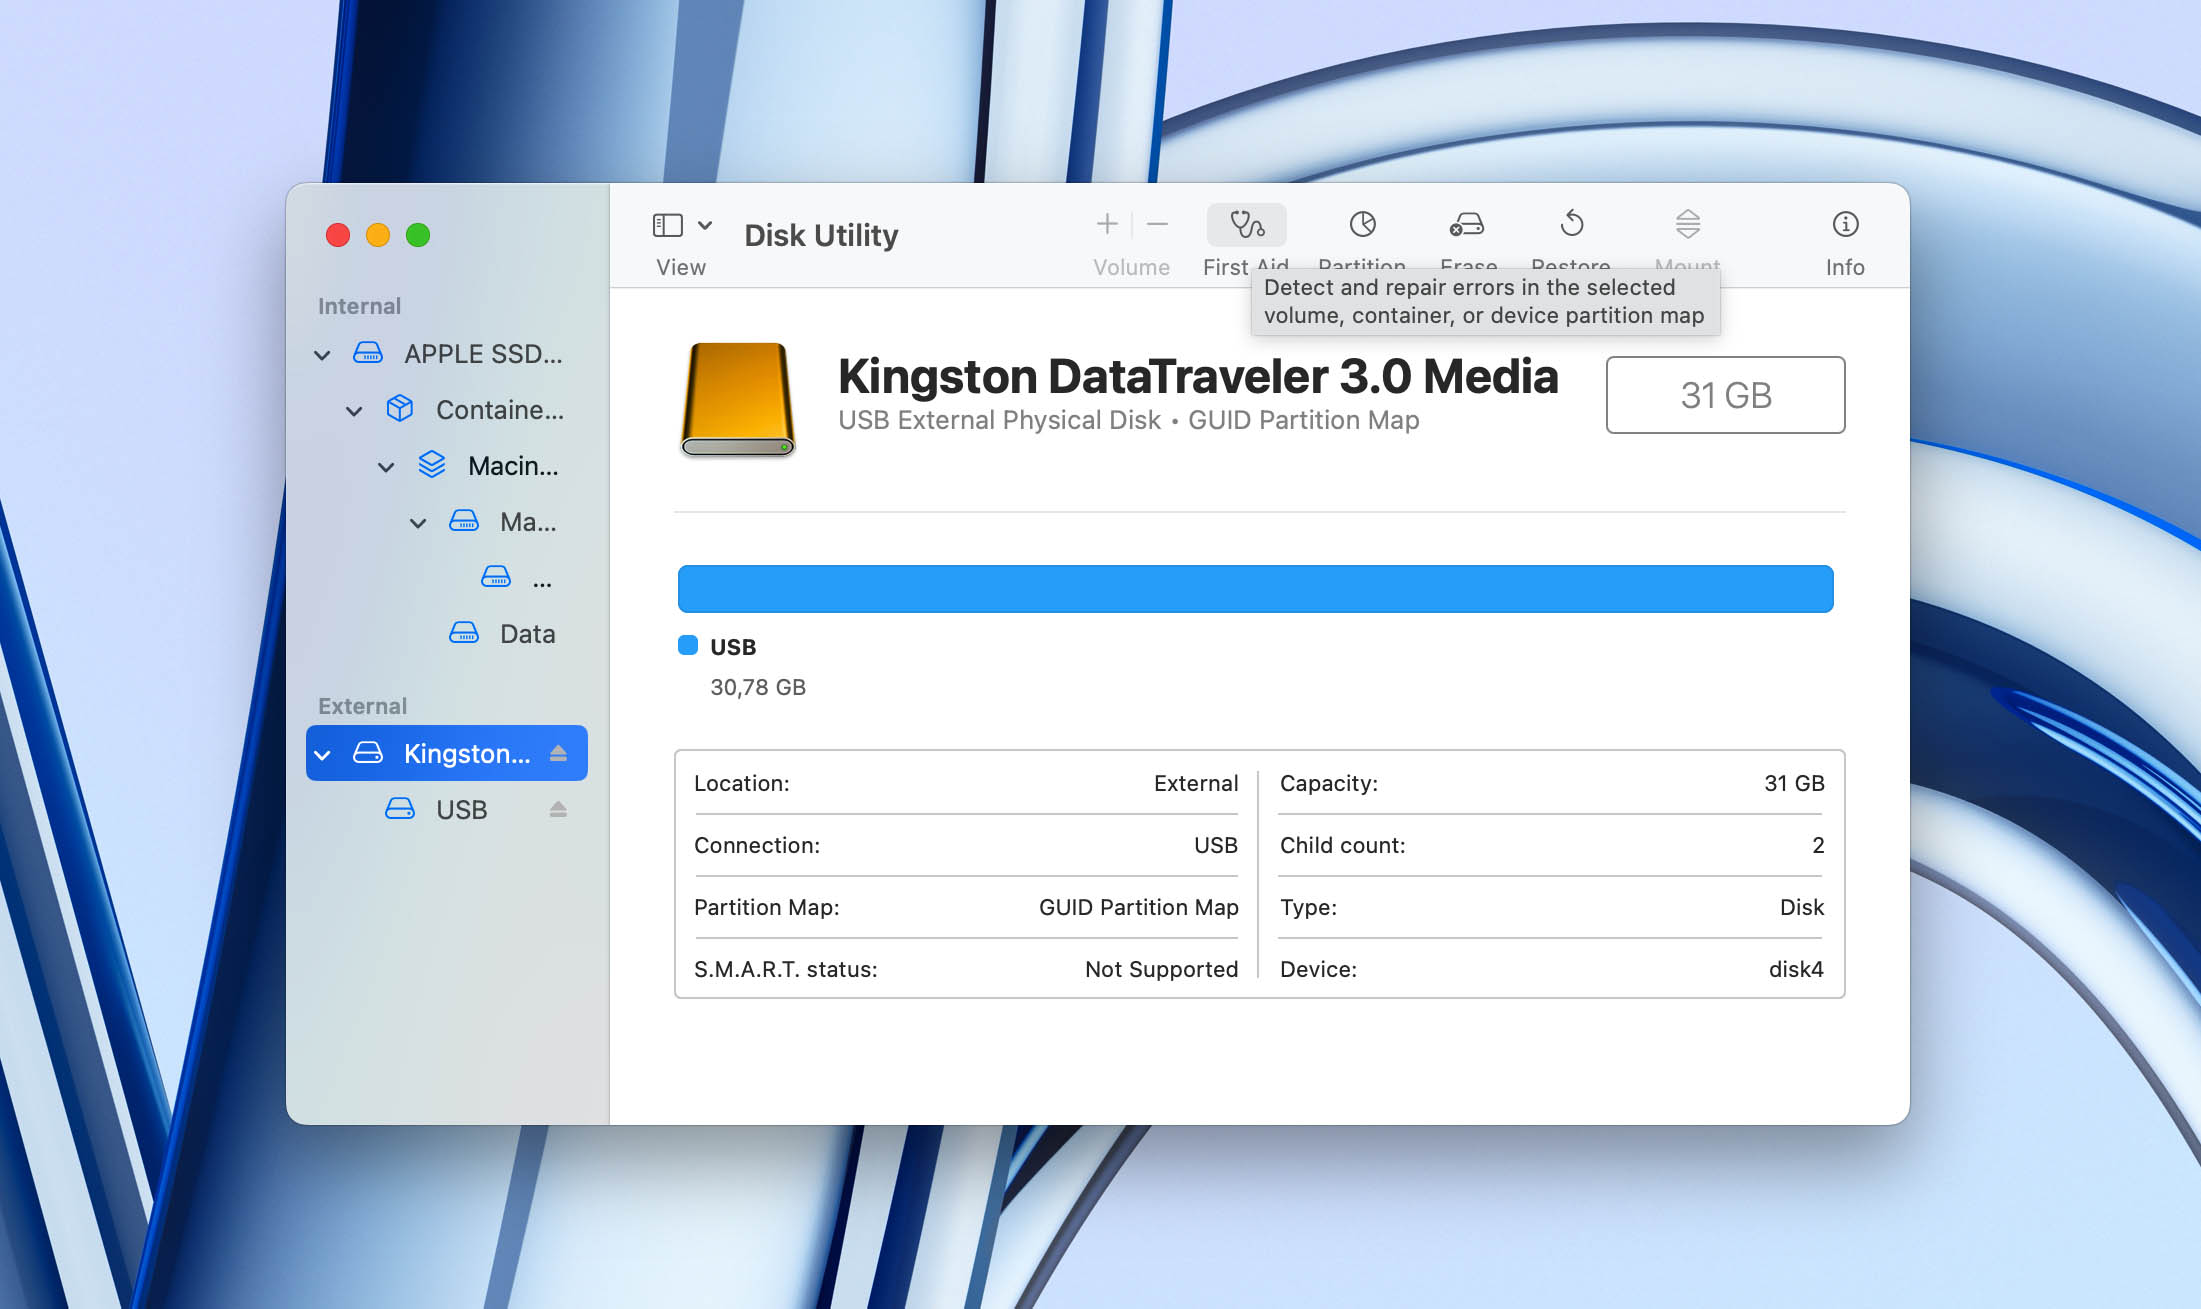
B) Use the First Aid Feature in Disk Utility to Repair Your USB Drive
The First Aid feature in macOS’ Disk Utility works similarly to CHKDSK in Windows (it detects and fixes file system and bad sector errors on your drive). Again, running the utility may cause some data loss because of how it fixes your drive, so back up your data beforehand.
Here’s how to use the First Aid feature in Mac, and fix a flash drive that’s not showing your files:
- Go to Finder > Go > Utilities > Disk Utility.
- Select your USB drive from the sidebar and click on First Aid.
- Click Run in the confirmation prompt.
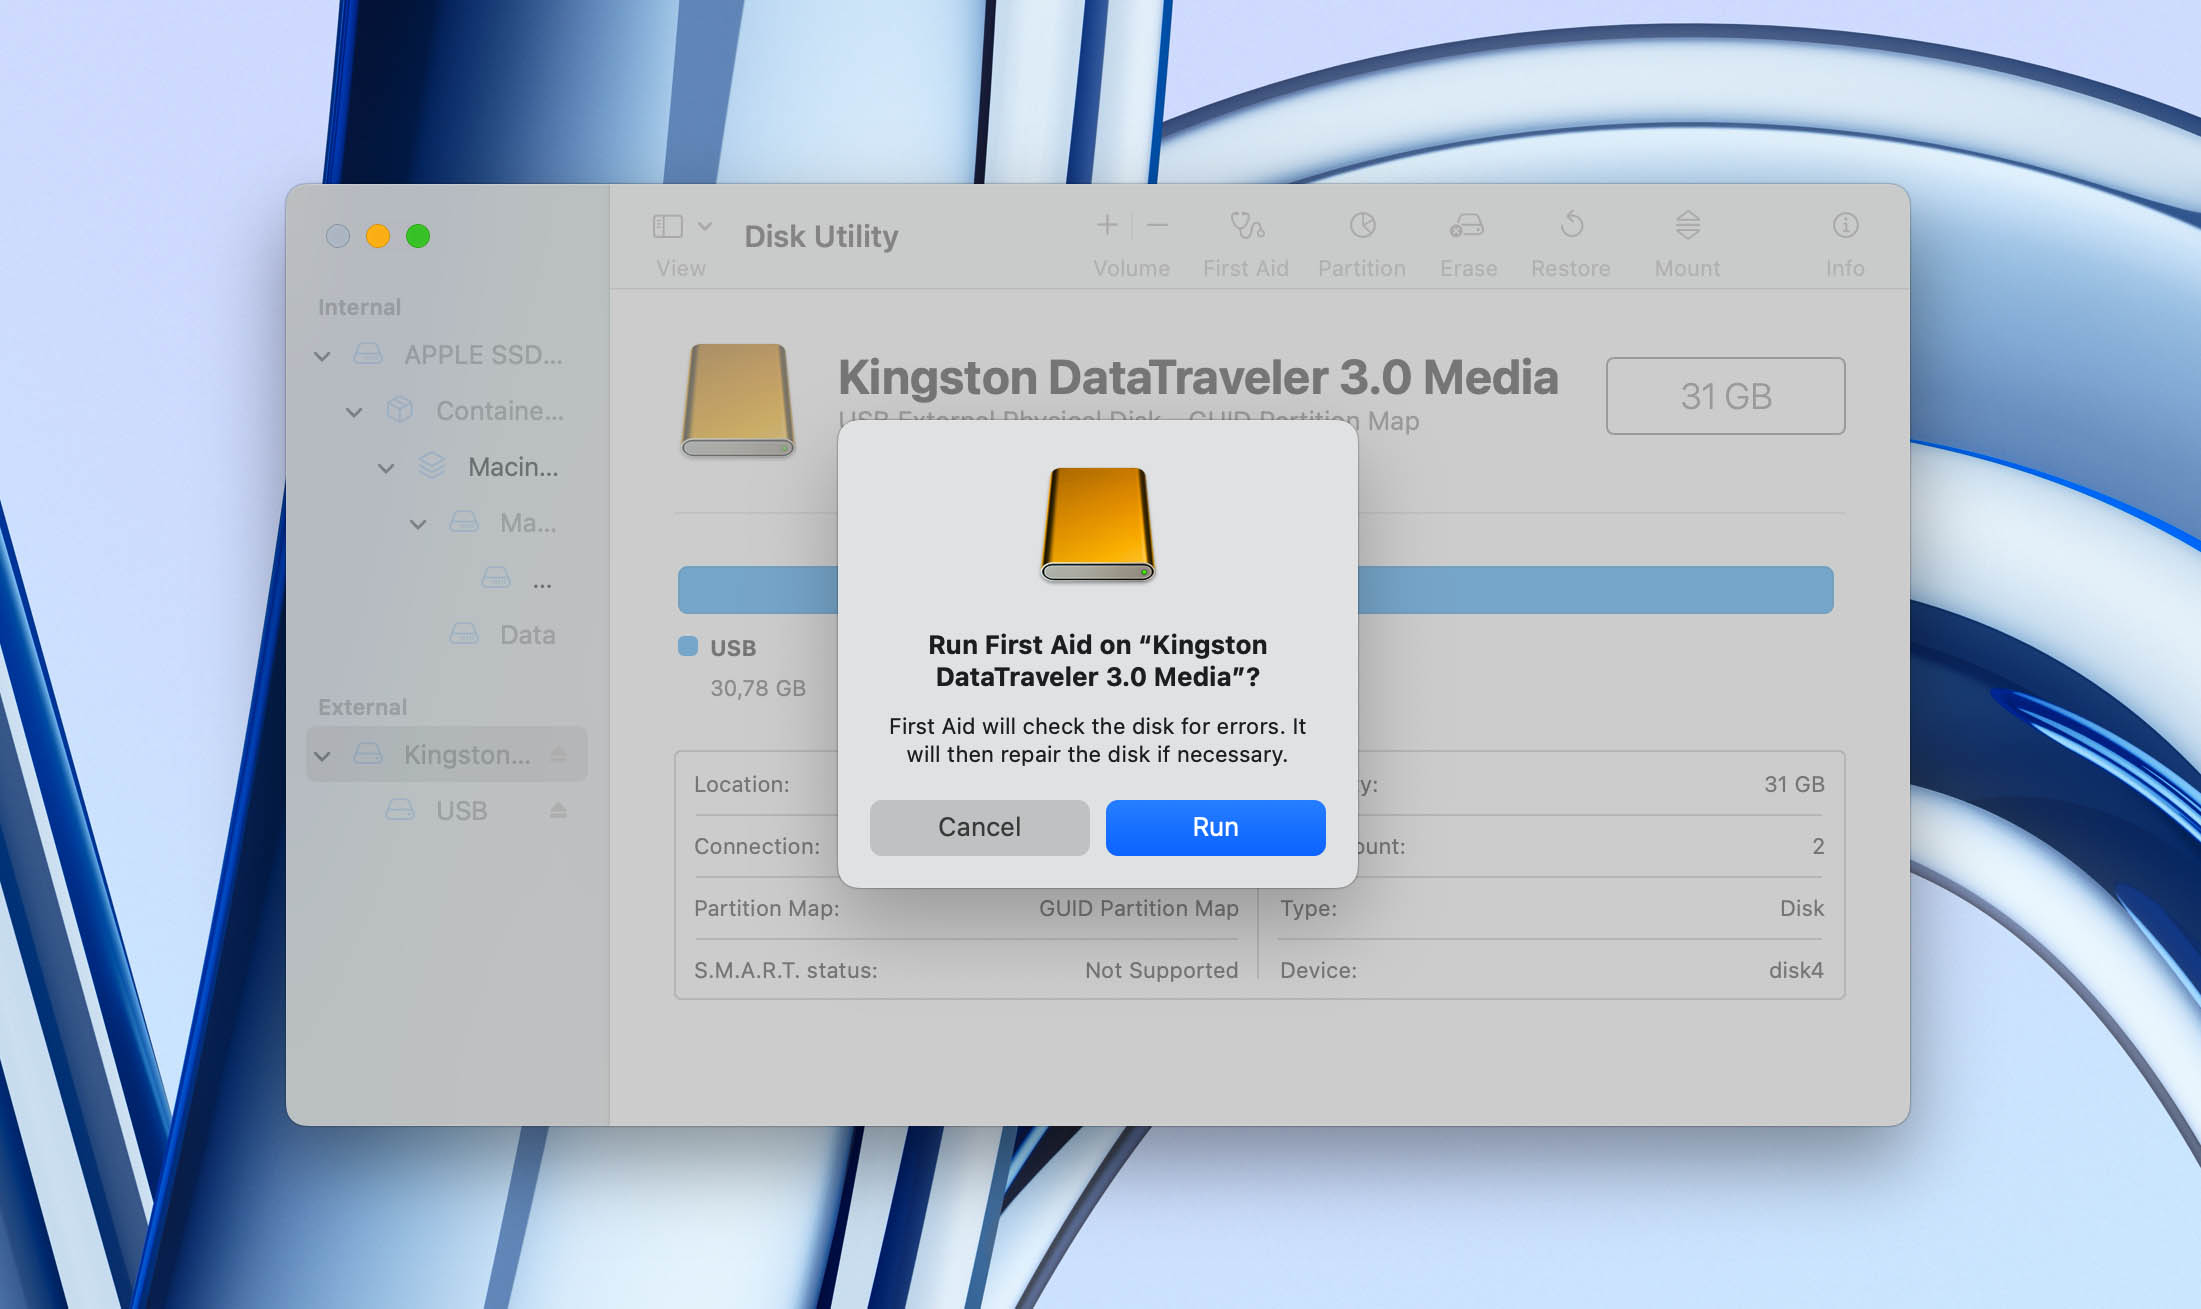
- First Aid will find and repair any problems on the USB drive.
In the best-case scenario, running CHKDSK on Windows or First Aid in Disk Utility on macOS will not only repair the file system errors but also solve the USB not showing files problem, bringing your data back right away. However, that doesn’t always happen. Sometimes these tools stop at fixing the corrupted file system itself, without restoring access to the actual files. If that’s the case, you’ll need to take a few additional steps to recover the missing data. And if the file system repair also fails, the next option is to format the USB drive – we’ll cover data recovery and formatting a bit further below.
How to Recover Lost Files from the USB Drive
We’ll be very glad if the methods we described earlier helped you fix the problem of USB content not showing without losing anything. But that’s not always how things turn out. If your files are still missing, the next step is to use data recovery software that can scan the file system of your USB drive and restore deleted or inaccessible data. Among the available options, we’ll once again rely on Disk Drill, since it combines ease of use with reliable recovery results.
If you created a byte-to-byte (B2B) backup as we recommended at the start, you don’t need to worry. In practice, your files are already safe because you’re working with a full copy instead of the original USB drive.
Below, we’ve described the data recovery and disk image creation process using Disk Drill for Windows. However, the steps are the same for Mac computers:
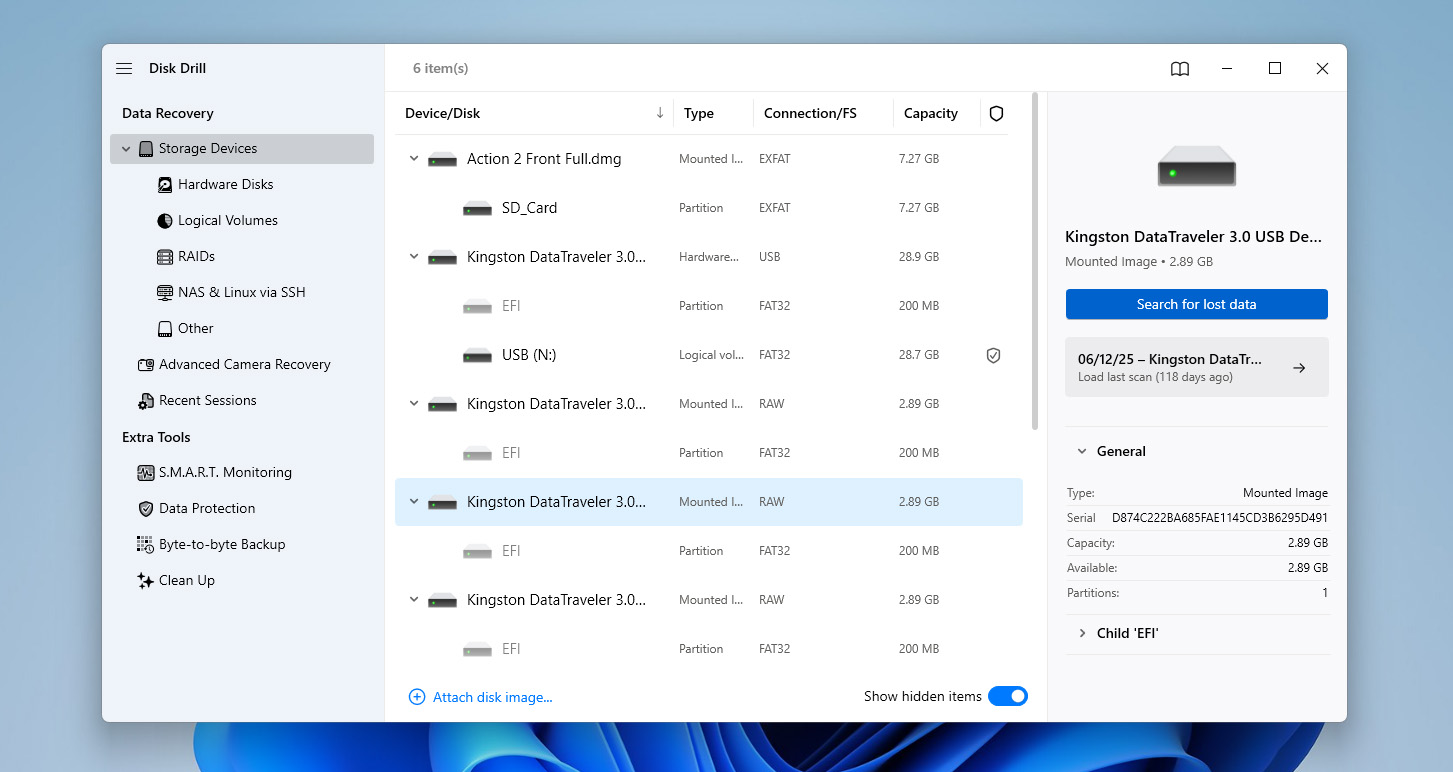
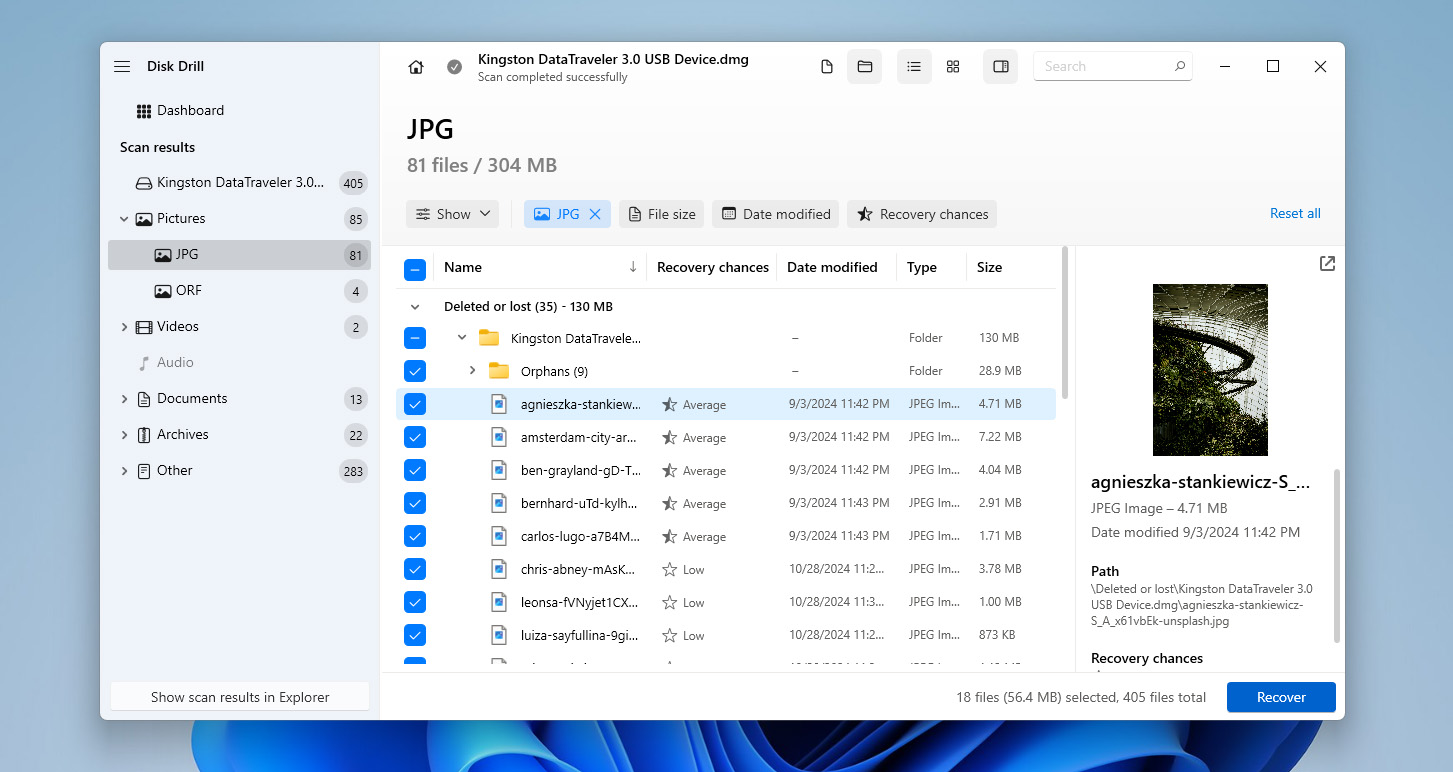
- Open Disk Drill and ensure you’re on the Storage Devices screen.
- If you created a disk image, click on Attach disk image, browse for the disk image and double-click on it. If not, skip this step.
- Select the disk image/USB drive from the list of storage devices and click Search for lost data.
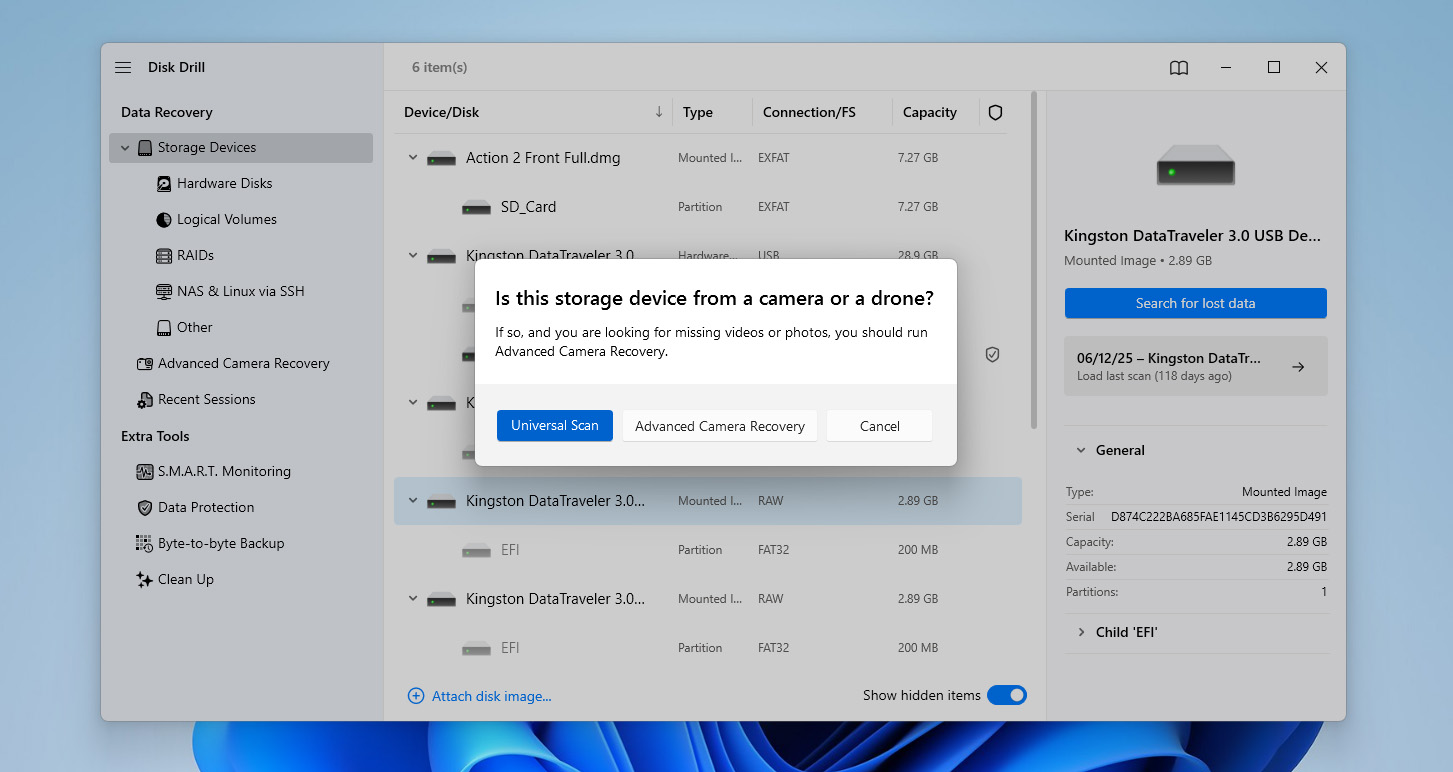
- After this, you’ll be offered two options: Universal Scan and Advanced Camera Recovery. The second mode is designed for video files on SD cards, so for USB recovery you should always choose Universal Scan.
- Click on Review found items. If you wish to filter out the results, you can directly click on the relevant file type (Pictures, Video, Audio, Documents, Archives, and Other).
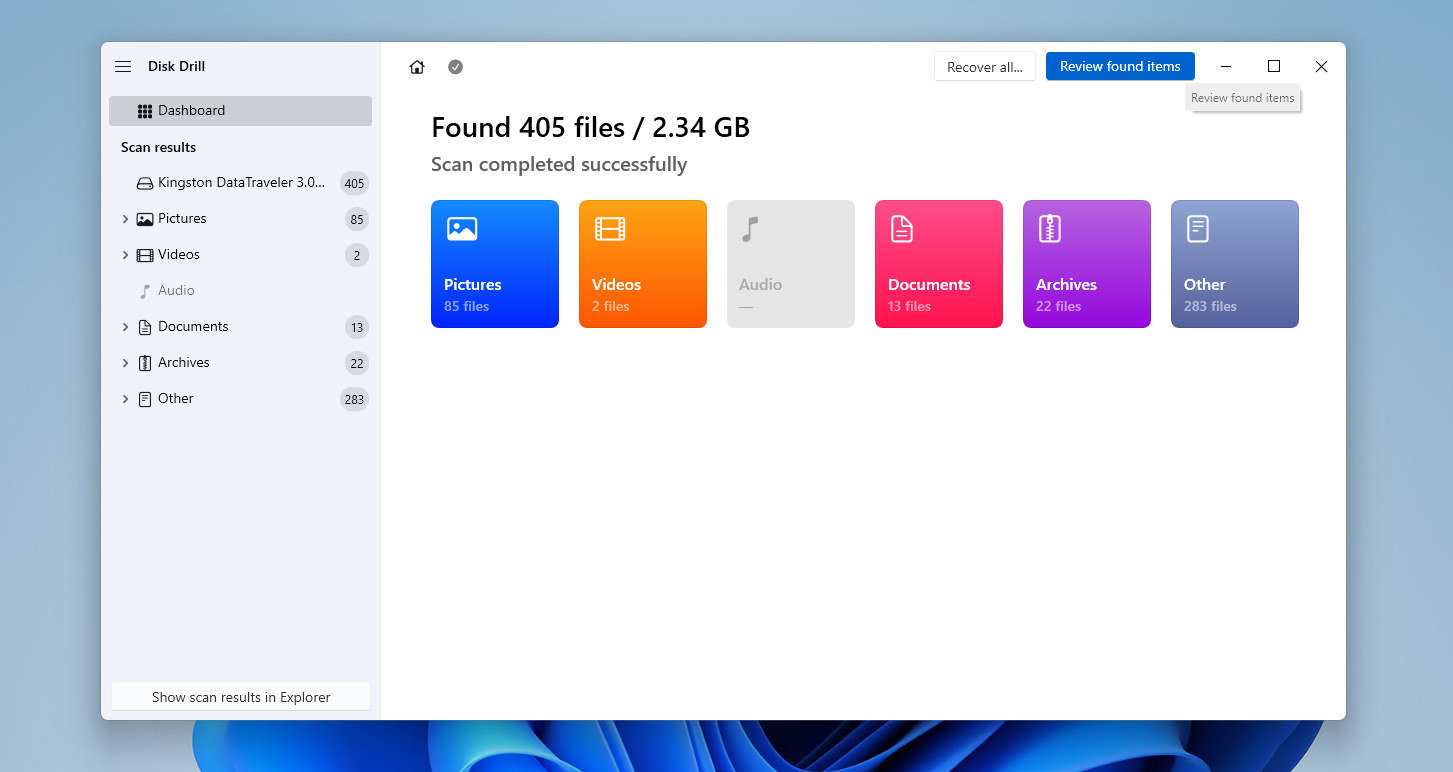
- Expand the Existing section to view the presently stored files on the USB or its disk image. To view deleted files that are recoverable, expand the Deleted or lost and Reconstructed sections.
- Select the files you want to recover. Disk Drill will display a preview of the currently selected file, but you can manually preview other files as well. Click on Recover.
- Pick a recovery destination and click Next.

- Disk Drill will recover your files.
Keep in mind that Disk Drill has slightly different trial options on each platform. The Windows version comes with a free trial that lets you recover up to 100 MB of data, enough to test the software before upgrading to the Pro version for unlimited recovery. For the Mac version, you can download Disk Drill for free and run a full scan of your USB drive, but actual recovery requires the Pro license.
That’s it – once the scan completes and recovery finishes, your data is yours again. From here, the only thing left to cover is formatting the USB drive for those who need it.
How to Format a USB Drive
Formatting is often the last resort when nothing else works. It can fix corruptions that CHKDSK and Disk Utility couldn’t repair, and it also resolves the problem when your USB device is formatted with a file system that isn’t compatible with your computer’s operating system.
Formatting wipes all data from the USB drive. If you haven’t already recovered your files with data recovery software (or at the very least created a backup), stop here and do that first. Otherwise, once you format the drive, the original data will be lost.
A) Format a USB Drive on Windows
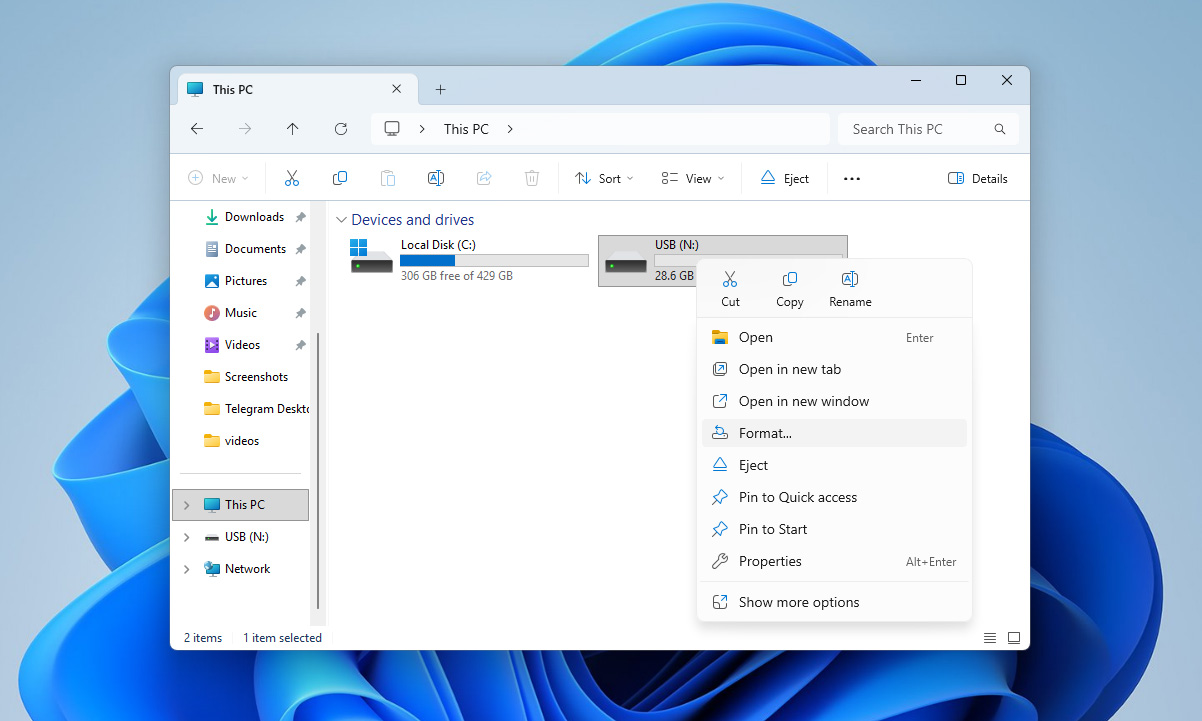
The easiest way to format a USB drive in Windows is through File Explorer:
- Insert your USB drive into the computer.
- Open File Explorer and right-click on the USB drive.
- Select Format from the context menu.
- In the dialog box, choose a file system (e.g., exFAT is best for use on both Windows and Mac, NTFS is for Windows-only drives, or FAT32, an older, widely supported format, but limited to 4 GB per file).
- Keep the Quick Format box checked for a fast process, or uncheck it for a deeper (but slower) format.
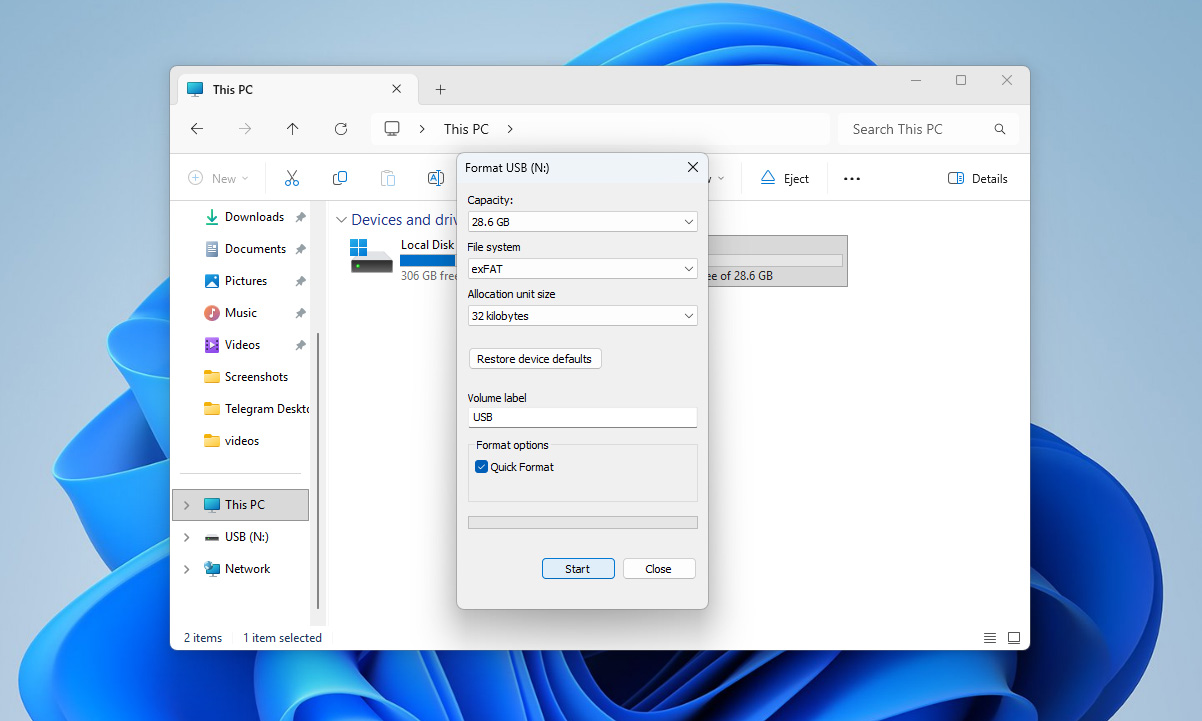
- Click Start and confirm.
B) Format a USB Drive on Mac
On macOS, formatting is done through Disk Utility:
- Insert your USB drive and open Disk Utility (Applications > Utilities > Disk Utility).
- In the sidebar, select your USB drive (make sure to choose the root device, not just the volume) and click the Erase button at the top.
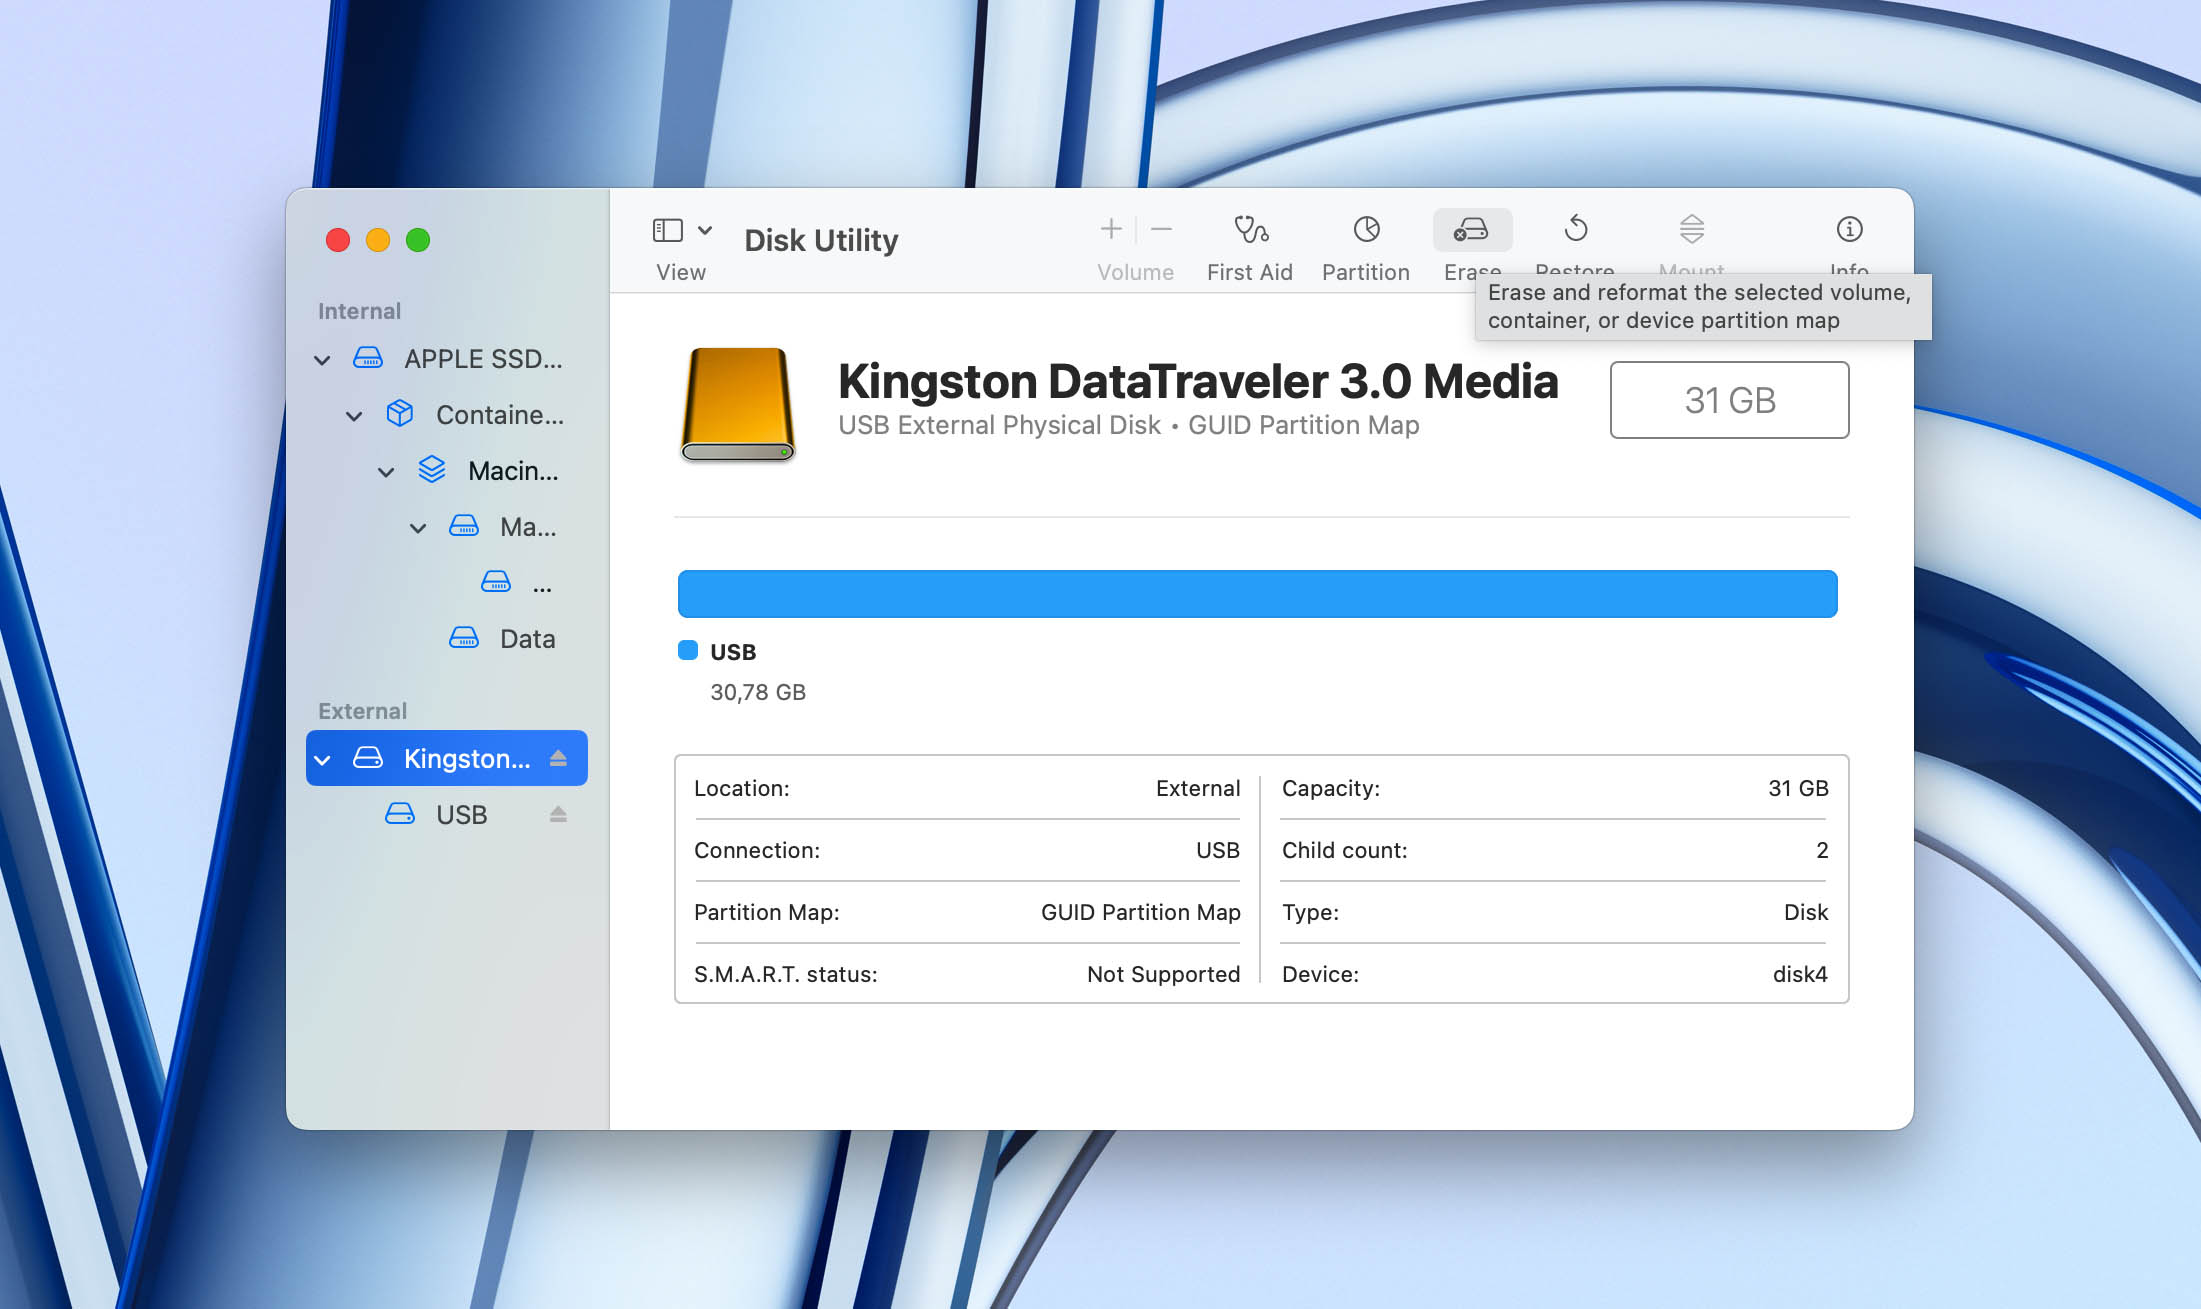
- Choose a file system format (exFAT for compatibility with Windows and Mac, APFS, which is optimized for modern macOS devices, or Mac OS Extended (HFS+) for older Macs).
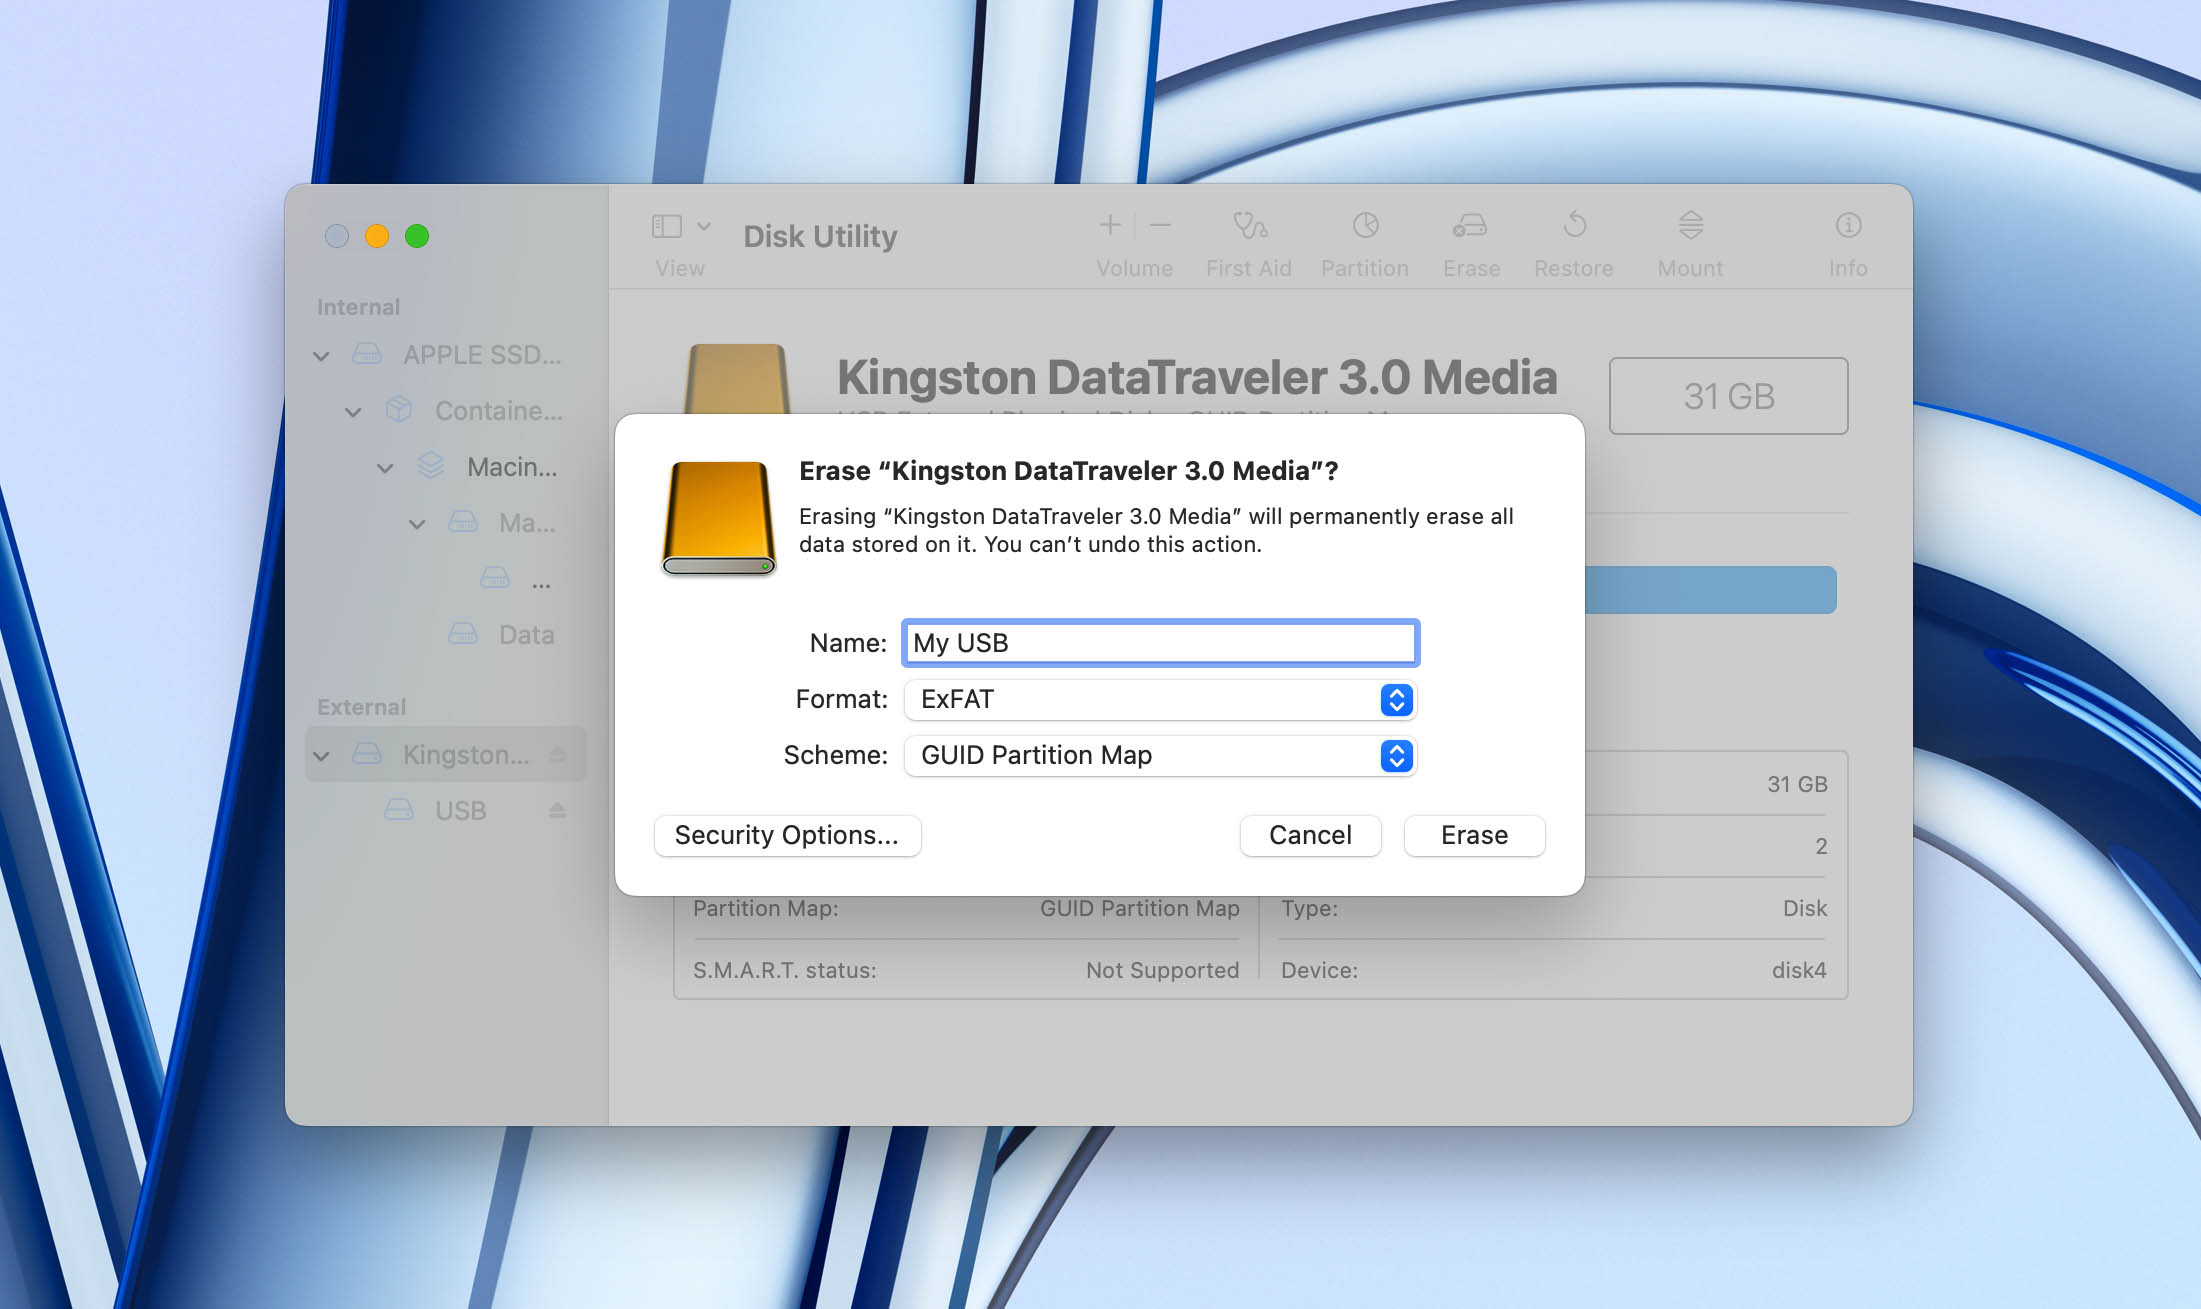
- Enter a name for the drive and click Erase to begin.
Once formatting completes, the USB drive will be fully usable again, free of file system errors or incompatibility issues. However, if even this does not fix the problem, for example, if the files you copy to the USB drive still don’t show up, or the drive itself is no longer recognized by the system, then it’s time to replace it with a new one. The lifespan of that device is over.
Conclusion
We’ve done our best to make this guide practical and complete. That’s why we covered all the main methods you can use when your USB doesn’t show files, and added extra advice on data recovery and formatting so you don’t lose what matters most. Our goal is that at least one of these approaches helps you bring your drive back to life.
Now we’d like to hear from you – which method worked in your case? Did you manage to fix the problem without formatting, or did you have to wipe the USB drive in the end? Share your experience in the comments below, it might help someone else facing the same issue.
FAQ
How do I find USB files on Windows 11?
You can usually find the files stored in your USB drive by using Windows Explorer (Windows Key + E), in Windows 11. If they aren’t there, your computer may be having trouble reading the USB drive, the pen drive could be damaged, or its files are simply hidden.
Why is my USB not showing up on Mac?
This typically happens when the drive is formatted with a file system that’s not recognized by macOS. But, it could also signal logical/physical issues with the USB drive.
How do I fix my USB drive in Windows 7?
You can use the CHKDSK utility or the Hardware and Devices Troubleshooter to fix your USB drive in Windows 7.
Why is my TV not reading files on USB?
Usually, this happens because your TV doesn’t support the video formats of the files stored on your USB. But, rarely, it can also indicate issues with the USB drive itself.

")


