
Windows 10 May 2020 update (i.e., Windows 10 version 2004 build 19041) introduced Windows users to the Windows File Recovery tool. The Microsoft Recovery Software is available on the Microsoft Store. However, if you’re running an older version of Windows, you won’t be able to install Windows File Recovery.
Also, note that the utility doesn’t have a graphical UI and can be used only through the Command Prompt or PowerShell. If you’re not comfortable working with command-line utilities or using an older version of Windows, consider using a robust third-party recovery tool.
What is Windows File Recovery Tool?
Windows File Recovery software (also called WinFR) is a recovery tool created by Microsoft. It can help you scan your hard drive’s file system for lost files. The utility can scan storage devices like HDD, SDD, flash drives, and SD cards with file systems like NTFS, FAT, exFAT, and ReFS.
WinFR came with three recovery modes—Default, Segment, and Signature—when it was first introduced. However, the recovery options have since been boiled down to two: Regular and Extensive.
- Regular mode is a quick scan only for NTFS partitions. There are no limitations on the devices you can scan though. You can recover files from many devices including SSDs, external HDDs, or flash drives as long as they’re formatted as NTFS. Regular mode is best suited when you’re trying to recover files that were deleted only recently.
- Extensive mode performs a more thorough scan and supports NTFS, FAT, exFAT, and ReFS partitions. If you’re trying to recover files from a corrupted or formatted disk, or files that you deleted a while ago, you should use the Extensive mode.
Note: Microsoft recommends using the Extensive mode in most cases, except when you’re recovering recently deleted files from an NTFS partition.
How to Install and Start to Use Windows File Recovery
Windows File Recovery software isn’t similar to using other recovery tools because of one reason—it’s a command-line utility that doesn’t have a GUI. In this guide, we’ll walk you through how to use the Windows File Recovery app for recovering your files within a few minutes.
Installing and using Windows File Recovery software is quick and easy. Following are the steps involved in using Windows File Recovery for recovering deleted files.
Step 1:Download and Install Windows File Recovery
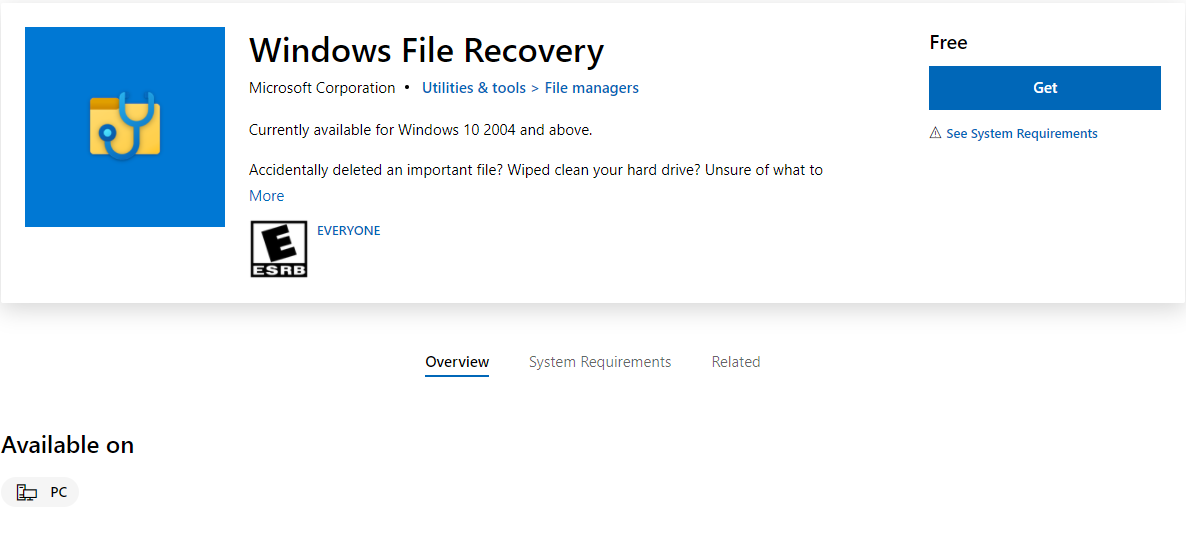
You can download and install the Windows File Recovery utility from Microsoft Store for free.
- Once you find the utility in the store, click on the Get button to start installing it.
- Once the download completes, click on the Open button.
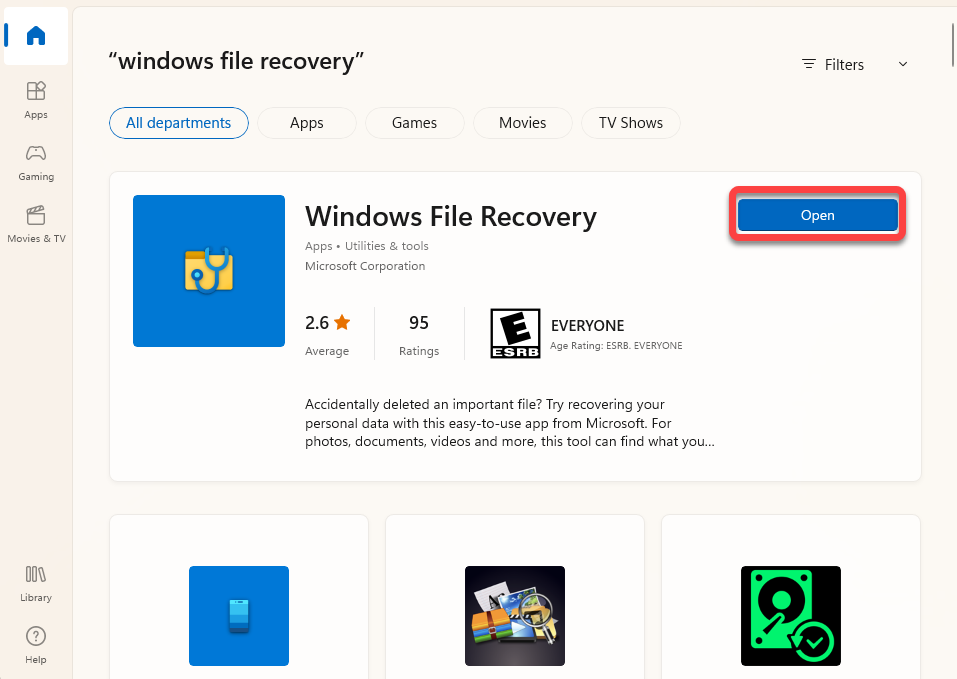
You’ll see an elevated Command Prompt window pop up. You can also use the Windows Terminal or PowerShell if you prefer, but be sure to launch them with administrative privileges.
Step 2:Run Windows File Recovery Commands
At this point, you’ll need to execute Windows File Recovery commands to start recovering files on your Windows PC. Here’s the basic format to execute a Windows File Recovery command:
winfr source-drive: destination-drive: [/mode] [/switches]
In this syntax, “source-drive” corresponds to the drive you want to scan for deleted files. The “destination-drive” is where you want to put your recovered files, which should be a different drive from the source drive.
The “mode” refers to how Windows File Recovery should scan your device. You can choose between two basic recovery modes: Regular and Extensive modes.
- Use the /regular mode as a standard recovery option to scan a healthy NTFS system for recently deleted files.
- Use the /extensive mode for a more comprehensive scan and recovery process. Extensive mode is applicable for data loss due to corruption, formatting, and files deleted a long time ago, among other scenarios. This mode is applicable for NTFS, FAT, and exFAT file systems.
Remember that an Extensive scan will take longer than a regular scan. Both modes, however, will try to scan and recover all files in your source location, including hidden files.
The following is an example command for regular mode data recovery:
Winfr C: D: /regular /n \Users\<your_username>\Pictures\
The command above scans and recovers your Pictures folder from the C: drive and places it in the recovery folder on a D: drive. The last parameter, “\Users\<your_username>\Pictures\ “, is the specific location where Windows Recovery Tool would try to find any recoverable files.
But that’s not the only way to search and recover your files using Windows File Recovery. Here’s a table that summarizes the parameters you can use for file recovery:
| Parameter/Switches | Description |
| /n<filter> | Used to scan for specific file names, paths, and wildcards |
| /ntfs | Refers to the NTFS mode, the most optimized mode to scan healthy NTFS drives using the master file table |
| /segment | Refers to the Segment mode, which is used to scan NTFS drive using file record segments |
| /signature | Refers to the Signature mode, which is used to scan all file system types using file headers |
| /a | Used to override user prompts |
| /u | Used to recover undeleted files, for example, from the Recycle Bin. |
| /k | Used to recover system files. |
| /g | Used to recover files that do not have primary data streams |
| /e | Used to disable the default filtering of some file types in the scan results |
You can visit Microsoft’s Windows File Recovery manual to check out their notes for the current version of the app.
How to Look for Specifics
Windows File Recovery offers you a lot of flexibility to scan and recover specific files. Here are some of the templates for scanning your storage device according to your data recovery needs:
- Scan specific folders – If you know where the deleted file was stored, you can add a location filter in the command
Winfr C: E: /regular /n “\Program Files\”. Where the folder name Program Files is enclosed in quotation marks as a rule for names with spaces. - Search for a specific file – If you remember the exact name of the file you want to recover, you can follow this format to find it:
winfr D: E: /extensive /n “Projects\2022\Client ABC.pdf”. - Search for a specific file type – If you don’t remember the name of the file, you can search only for a certain file type. For instance, if you want to search only for MS Word documents, you can use the following command:
winfr D: E: /extensive /n “Projects\2022\*.docx”
If you want to recover more than just one file type, you can add as many of them as you wish. For instance, here’s how you can scan for both Word and PDF files:winfr D: E: /extensive /n "Projects\\2022\\* .docx" /n "Projects\\2022\\*.pdf"
- Search file with a specific text string – Say you remember only a part of the file name but want to narrow down your search to save time. For instance, you know that the file name has the word “client”. Regardless of where the text string is in the file name, you can do so using the following command:
winfr D: E: /extensive /n “Projects\2022\*Client*”.
Step 3:Access recovered files
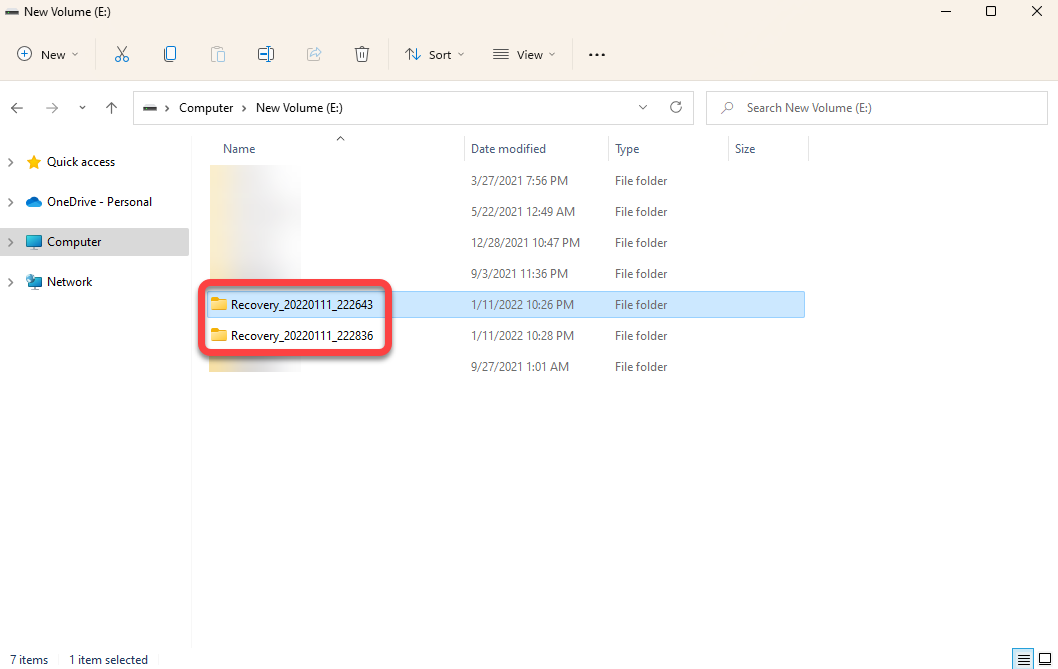
Once the scan completes, go to the destination folder path. You’ll find a folder with a name that starts with the word “Recovery” and that’s where you’ll find the recovered files.
An Alternative of Windows File Recovery
Windows File Recovery is a nifty tool. However, it requires some familiarity with using command-line utilities, which means it’s not all that user-friendly. It also comes with limitations like not being able to run a regular scan for file systems other than NTFS.
A smart recovery tool like Disk Drill can come in handy when you need an easy recovery solution. Plus, you shouldn’t have to search for appropriate commands online when you need to recover files quickly. Disk Drill has a user-friendly interface that can help you recover data. You can recover up to 500MB of data on the free version.
Following are the benefits of using a robust tool like Disk Drill:
- User-friendly GUI
- Supports a large number of file systems and file types
- Intelligent algorithm that scans your devices accurately
- Option to preview files before recovering them
- Built-in features for backup and data protection
Here’s a quick guide on how you can recover files with Disk Drill:
- Download Disk Drill. Once the download is complete, open the installer and follow the prompts to install the app.
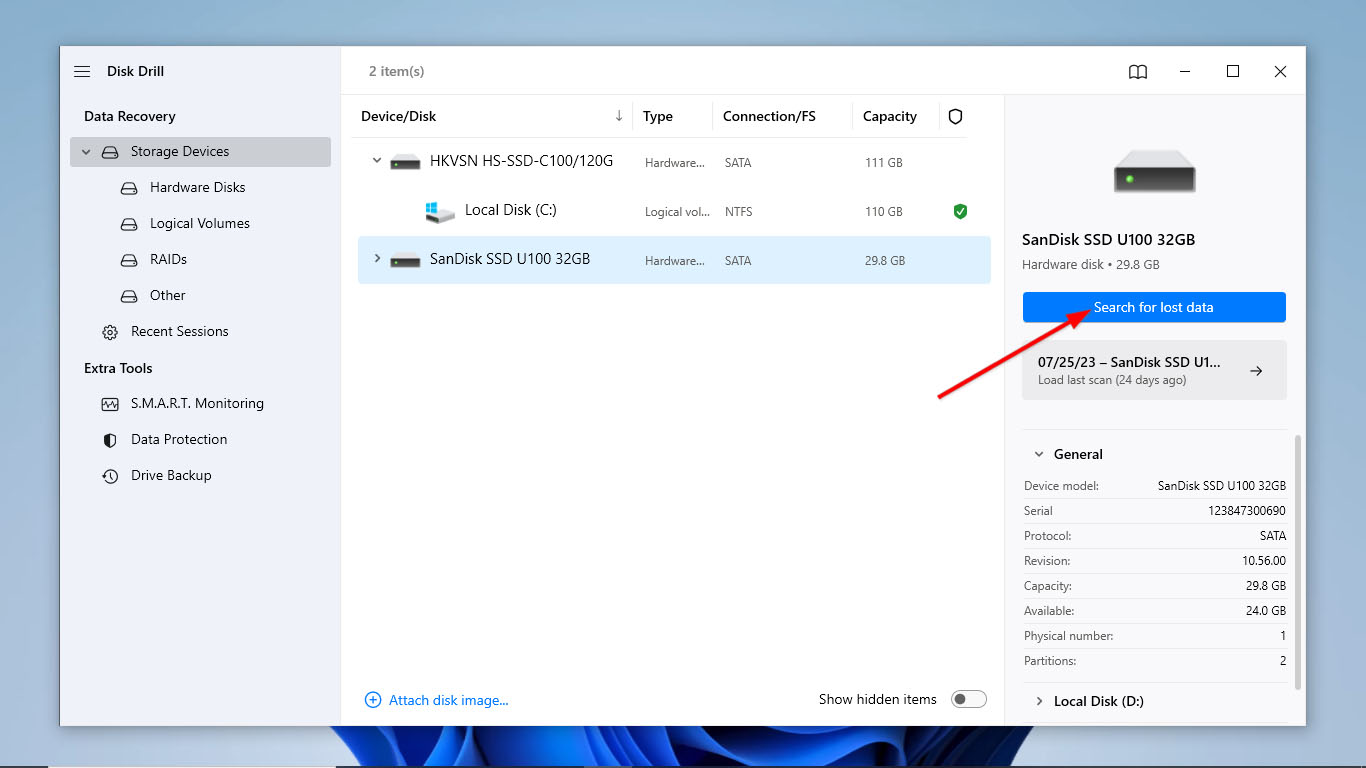
- Now, open the Disk Drill app. The main screen will show you the list of drives you can scan. Pick the drive you want to recover data from and hit the Search for lost data button to begin scanning your drive.
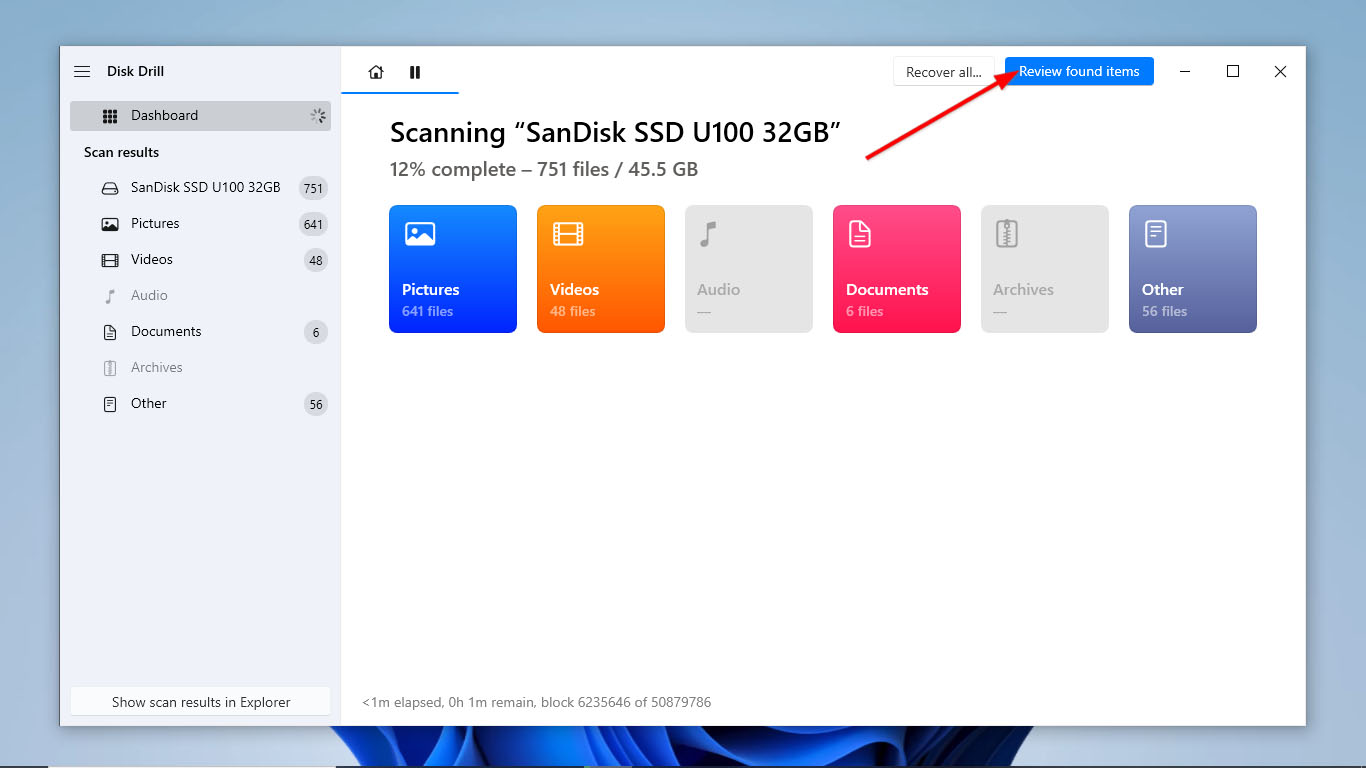
- If you want to see the files Disk Drill has found so far, click the Review found items button at the top-right corner. To let the scan finish first, skip this step and move on to the next one.
- Once the scan finishes, go ahead and click Review found items.
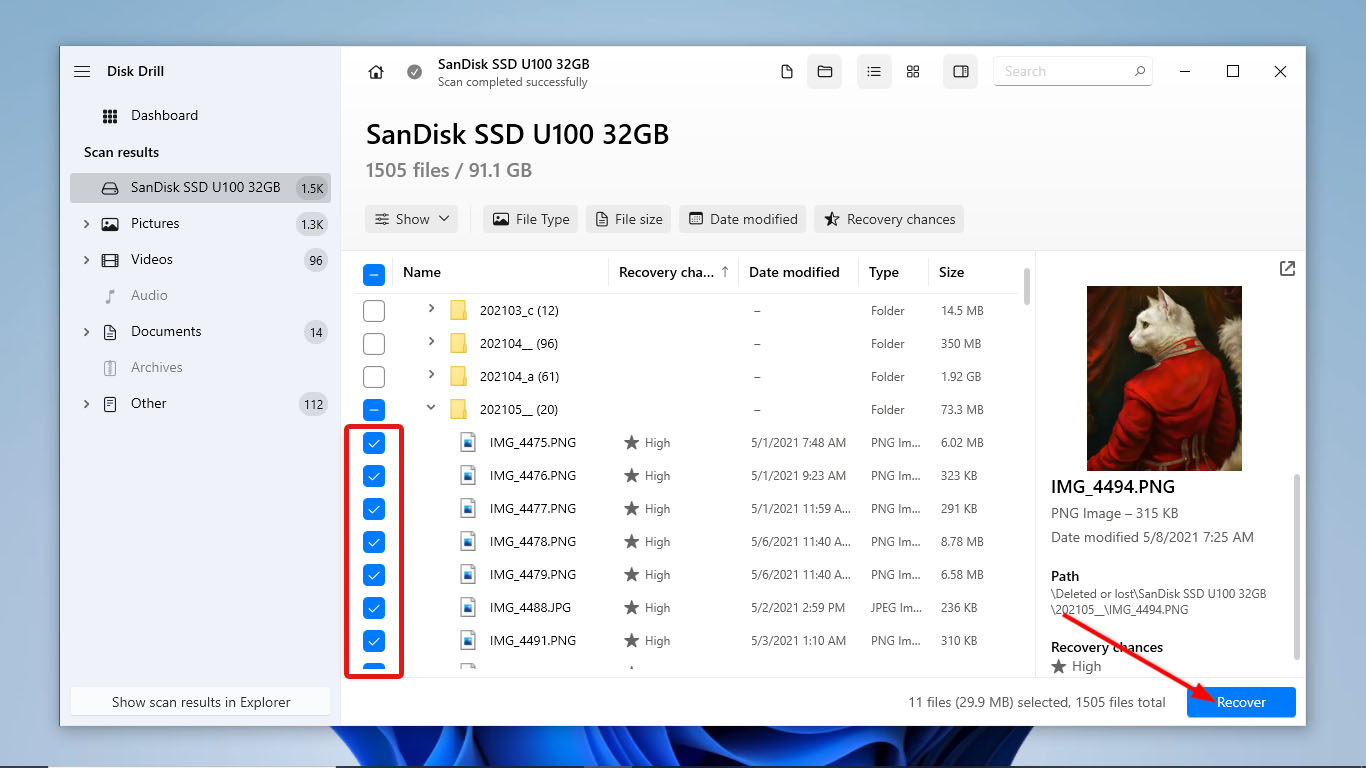
- After that, choose the files you want to recover by ticking the checkboxes beside their file names. Then, click Recover.
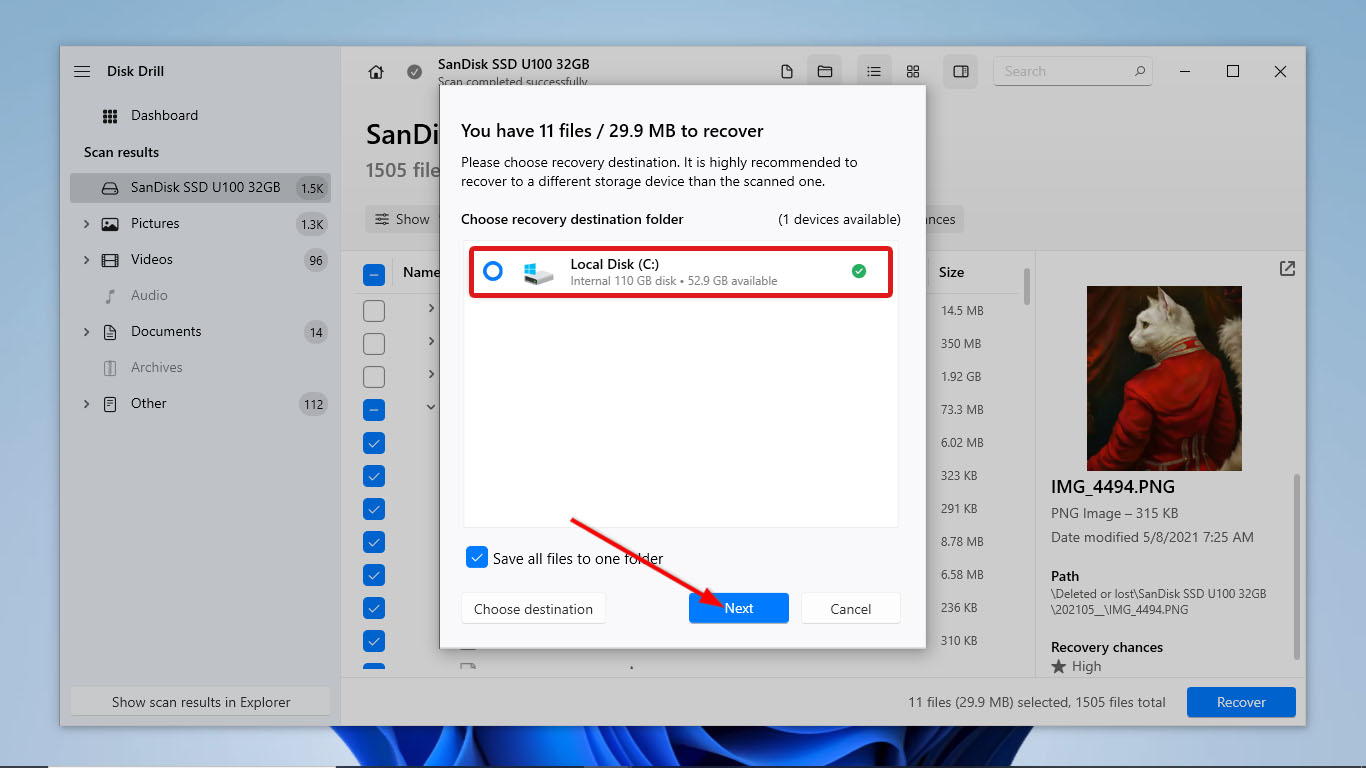
- Upon clicking, Disk Drill will now prompt where you want to place your recovered files. Ensure that your destination drive is different from the one you scanned. After that, click Next to start the recovery process.
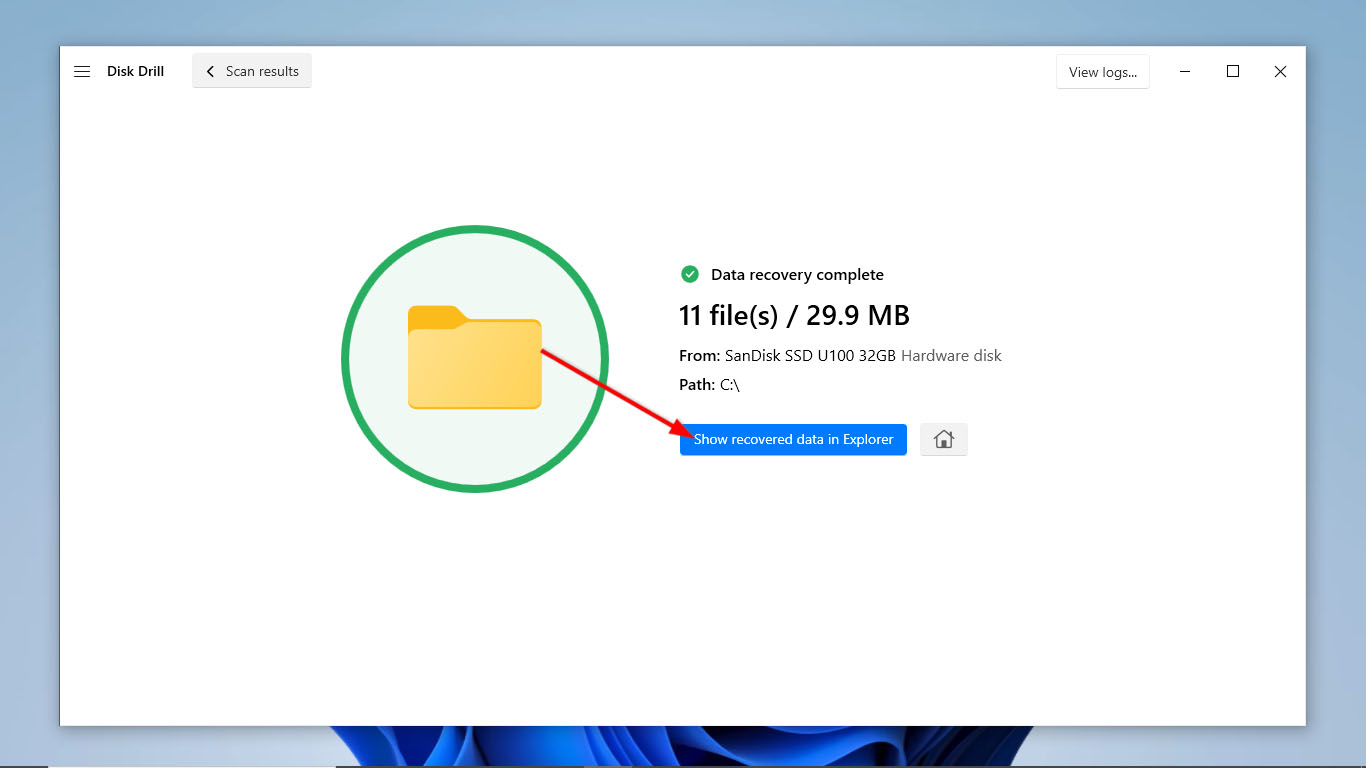
- Finally, Disk Drill will display the details of the retrieved files once the recovery process is complete. Click Show recovered data in Explorer to open your files in File Explorer.
Conclusion
Windows File Recovery Tool is a free tool made by Microsoft to restore deleted files. It runs on a command line interface and has powerful commands to recover everything from deleted documents to critical system files. By understanding what each of their parameters does, you can create a command that suits your specific data recovery needs.
But if you’re seeking a more user-friendly and versatile solution, alternatives like Disk Drill can serve as a great option. With its modern GUI, easy-to-follow recovery steps, and intelligent scanning algorithms, among other extra features, you can perform data recovery easily, even without being tech-savvy.
FAQ
- Open the Command Prompt as an Administrator.
- Type the following command: winfr source-drive: destination-drive: [/mode] [/switches] Replace source-drive with the letter of the drive you want to scan. Replace destination-drive with the letter of the drive where you want to save the recovered files. Use /mode to specify the recovery mode (regular, extensive, etc. depending on your scanning preferences). Utilize various /switches to customize the data recovery process
- Press Enter to execute the command and start the recovery process.


