
Accidental file deletion happens to every Windows user sooner or later. No matter how careful you are, one wrong mouse click, a quick keyboard shortcut, or even a random system glitch can leave a file missing from its usual spot. The good news is that it doesn’t mean the file is gone forever, as you have several ways to get your data back. In this article, we’ll explain how to recover deleted files in Windows 8/8.1. Although this isn’t the newest version of Windows, we won’t leave you without a solution.
Before we start, you need to stop using the computer or the drive where the files were deleted. Every new file you create or save to it can overwrite the deleted data, which lowers the chances of recovery if you don’t have a backup.
Please note that, if you lost files on Windows 10 or Windows 11, we also have separate step-by-step guides that show you how to recover deleted files on Windows 10 and how to recover deleted files on Windows 11. You can check them out directly if that’s the system you’re using.
Not Sure That You Deleted the Files on Your Windows 8? Try to Find the Missing Files First
If you’re not sure that the files were deleted — because you didn’t press the Delete button or use a key combination, but the files still aren’t in their usual place — then you might not have lost them at all. Sometimes files get moved to another folder by mistake, or a folder gets renamed, and you forget (it happens).
In this case, it’s worth checking first whether the files are really deleted. Windows offers a simple way to do this through File Explorer. You can even start the search from the highest folder in the hierarchy, and it will automatically show all the subfolders under it.
Here’s how to search for missing files in Windows 8 with File Explorer:
- Open File Explorer.
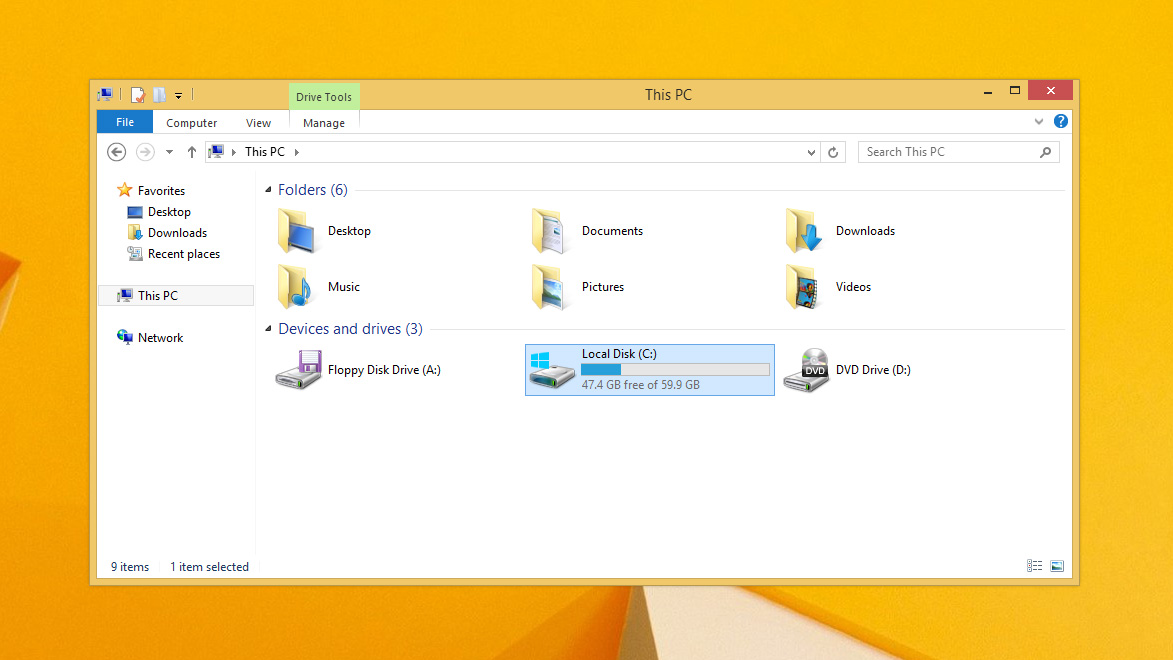
- Navigate to the parent folder you want to search in (if you’re not sure, just go to your C: drive).
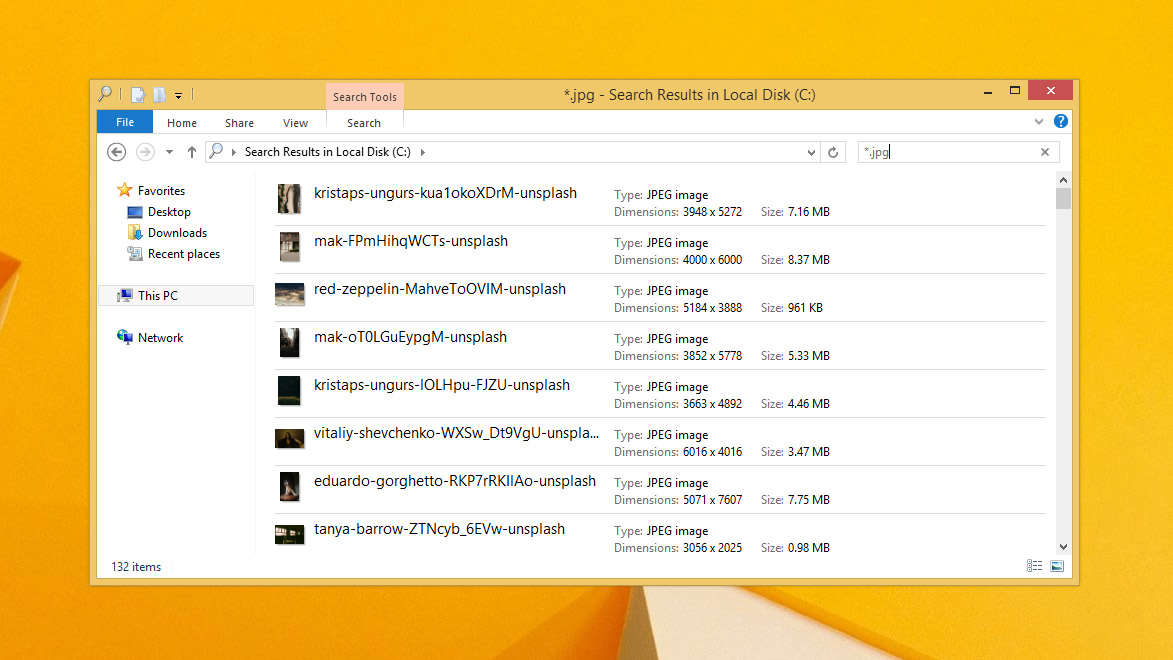
- Enter your search query into the search box at the top right of the window, then press Enter.

- When you find the file, right-click it and choose Open file location.
As an alternative, you can also try a free program called Everything. It’s quick to install and often provides more accurate search results than the built-in Windows tool.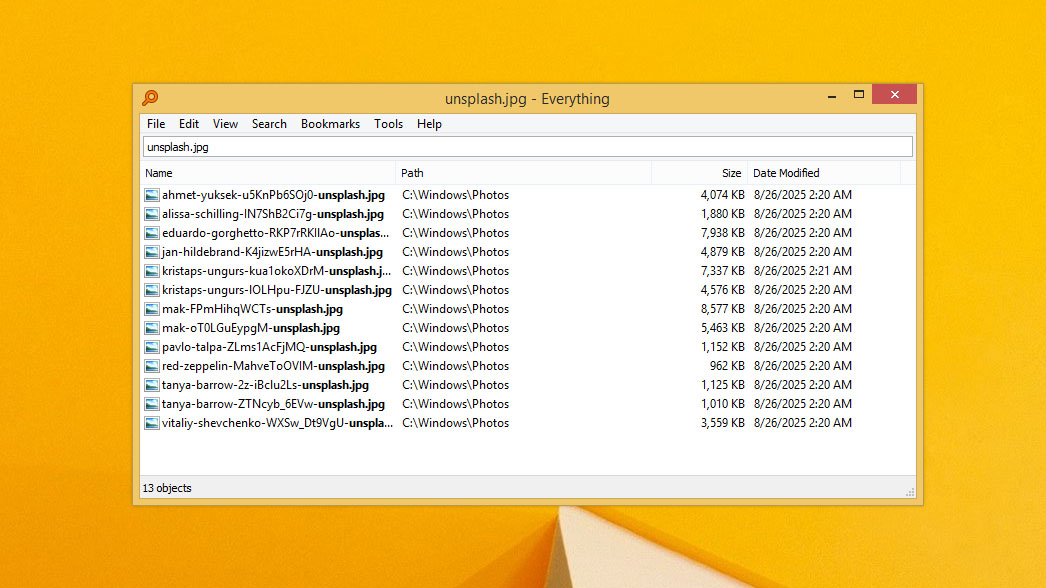
When you truly can’t find your files using these methods, then it’s probably time to begin retrieving the deleted files in Windows 8.
How to Recover Deleted Files in Windows 8
If the search in Windows didn’t give you anything, don’t panic. Windows 8 gives you several ways to recover deleted files, and you’re not limited to just one method. Below, we’ll go through each option step by step. We’ll start with the easiest method first, then move on to what you can try if you don’t have a backup — and what you can do if you do. So, let’s get started.
Method 1: Restore Files From Recycle Bin on Windows 8
Recycle Bin can be your best friend and the first place to check when you delete files on Windows. This is where most files go after deletion, and they remain there until you remove them manually. That means recovery from the Recycle Bin usually takes just a few seconds and a couple of clicks.
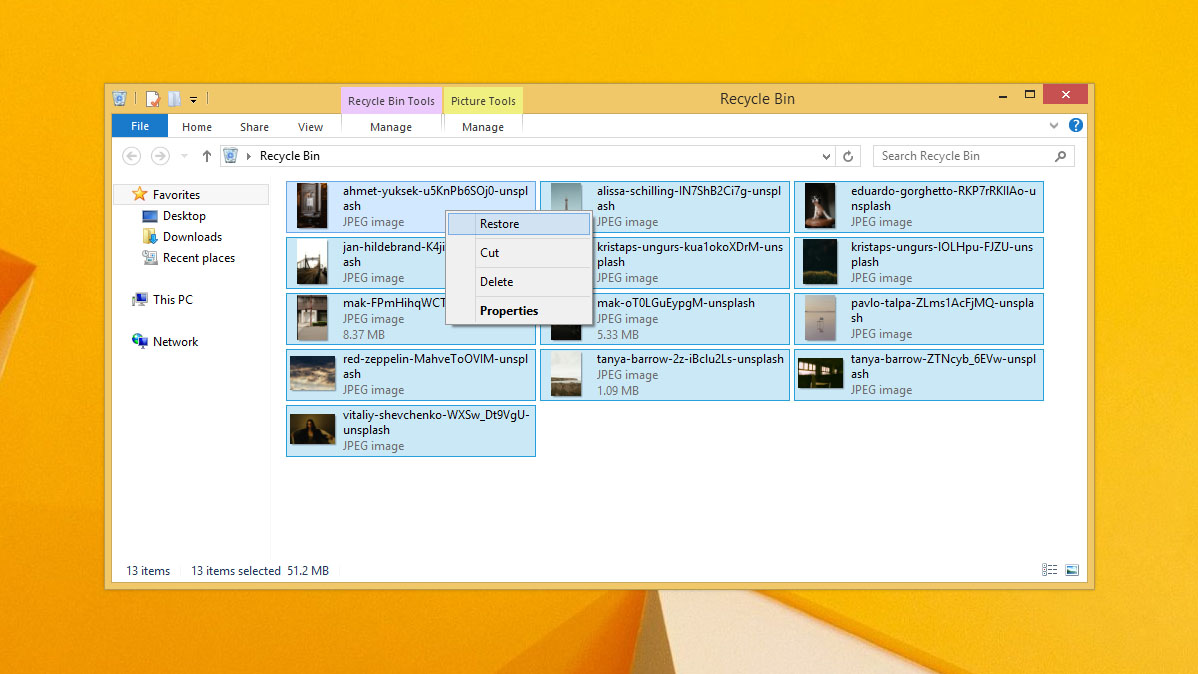
You can find the Recycle Bin in Windows 8 on your Desktop and restore files like so:
- Go to your Desktop home screen.
- Open the Recycle Bin by double-clicking it or right-clicking it and selecting Open.
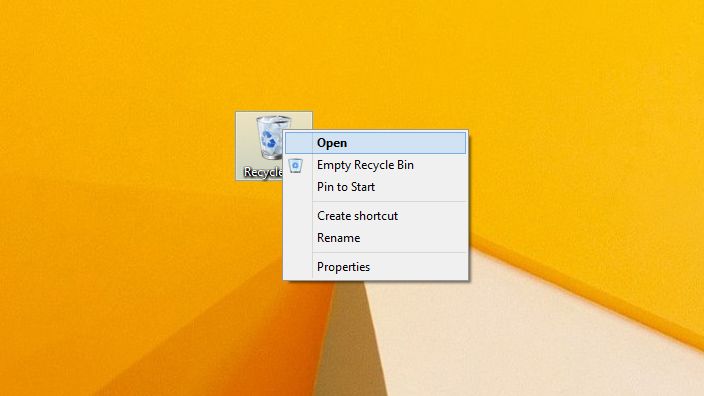
- Find the file you want to bring back, right-click it, and choose Restore. The file will be returned to its original location.
It’s important that not all deleted files will appear in the Recycle Bin. If you used the Shift+Delete key combination, if the size of the deleted files exceeded the limit set for the Recycle Bin, or if you emptied the Recycle Bin, then those files are considered permanently deleted. To restore them, you’ll need to use methods, which we’ll cover next.
Method 2: Recover Files With Data Recovery Software
When we’re talking about permanently deleted files, recovery usually comes down to two options — either you had a backup created at the time of deletion, or you use special data recovery software. Since not everyone has backups set up, we’ll start with the method that relies on dedicated recovery programs.
These programs work because when a file is deleted, only the reference to it is removed, while the actual data still remains on the file system. Recovery software scans the drive for these “leftover” data fragments and makes it possible to bring them back.
However, successful recovery depends on two important factors. First, the files must not be overwritten, which is exactly why we warned you earlier to stop using your computer or drive right after deletion. Second, the type of storage matters. Traditional HDDs usually allow for better recovery results, while SSDs have built-in processes (like TRIM) that can complicate or even make recovery impossible. We cover this in detail in our separate guide on data recovery from SSDs.
As for the program itself, there are plenty of options, but we recommend Disk Drill. We like it because it really delivers on what it promises and works with almost any file type — whether it’s a downloaded image, a RAW photo, a document, or something else entirely. On top of that, it comes with extra features like creating a byte-by-byte copy of your drive or setting up data protection, which you can read more about on the official site.
Follow these guided steps to recover permanently deleted files in Windows 8 using Disk Drill:
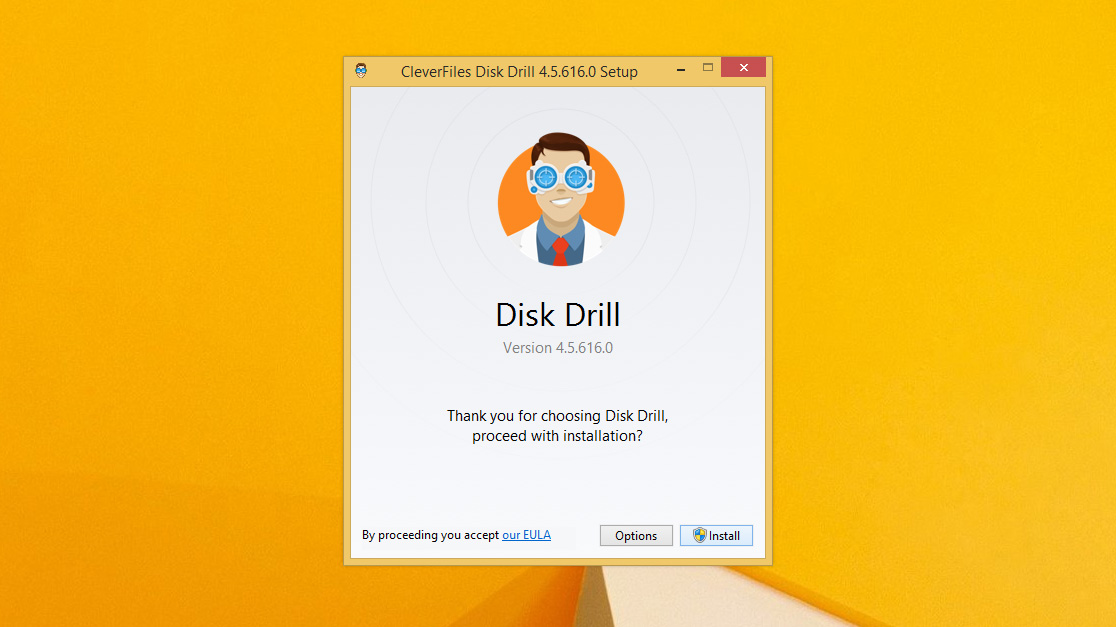
- Download and install Disk Drill. Do not install it to the same drive you’re trying to recover data from, otherwise the installer itself could overwrite your lost files. Note that the latest version of Disk Drill is 6, but for Windows 8 and 8.1, you’ll need to use Disk Drill 4.
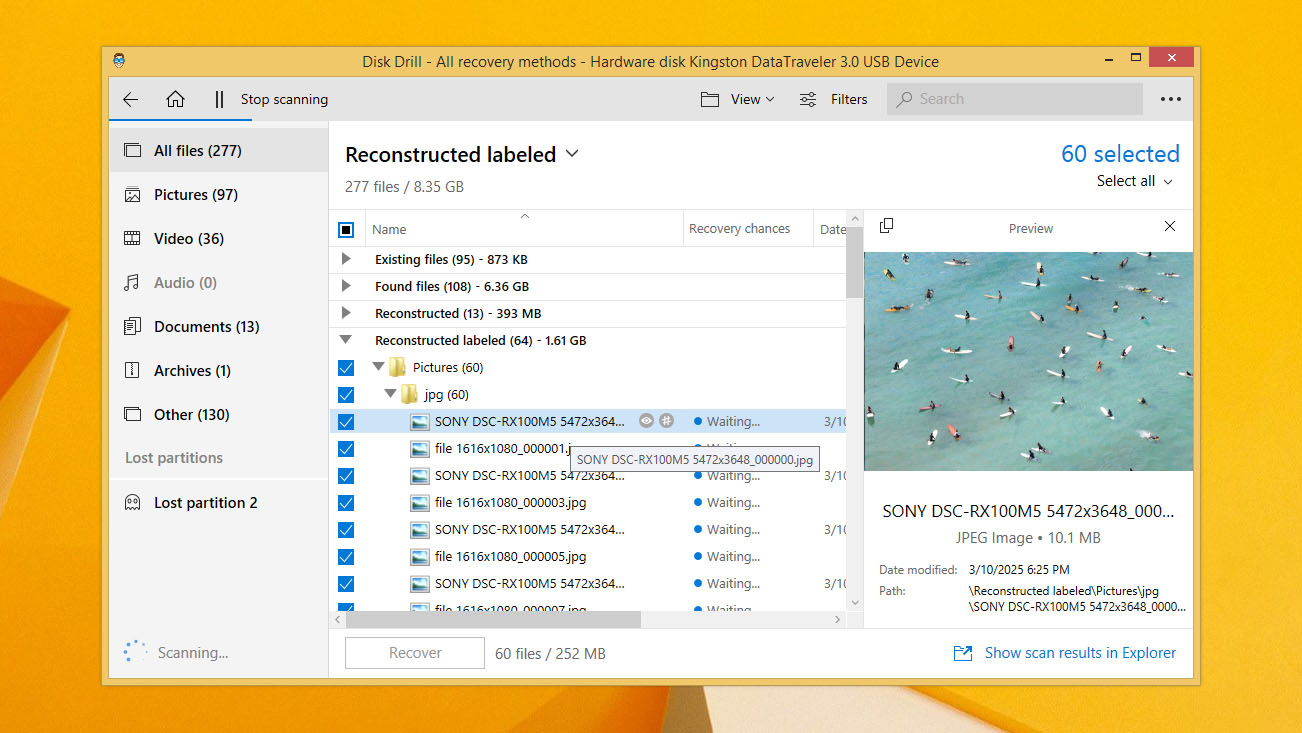
- Open the program and select the drive that contains your deleted files, then click Search for lost data.
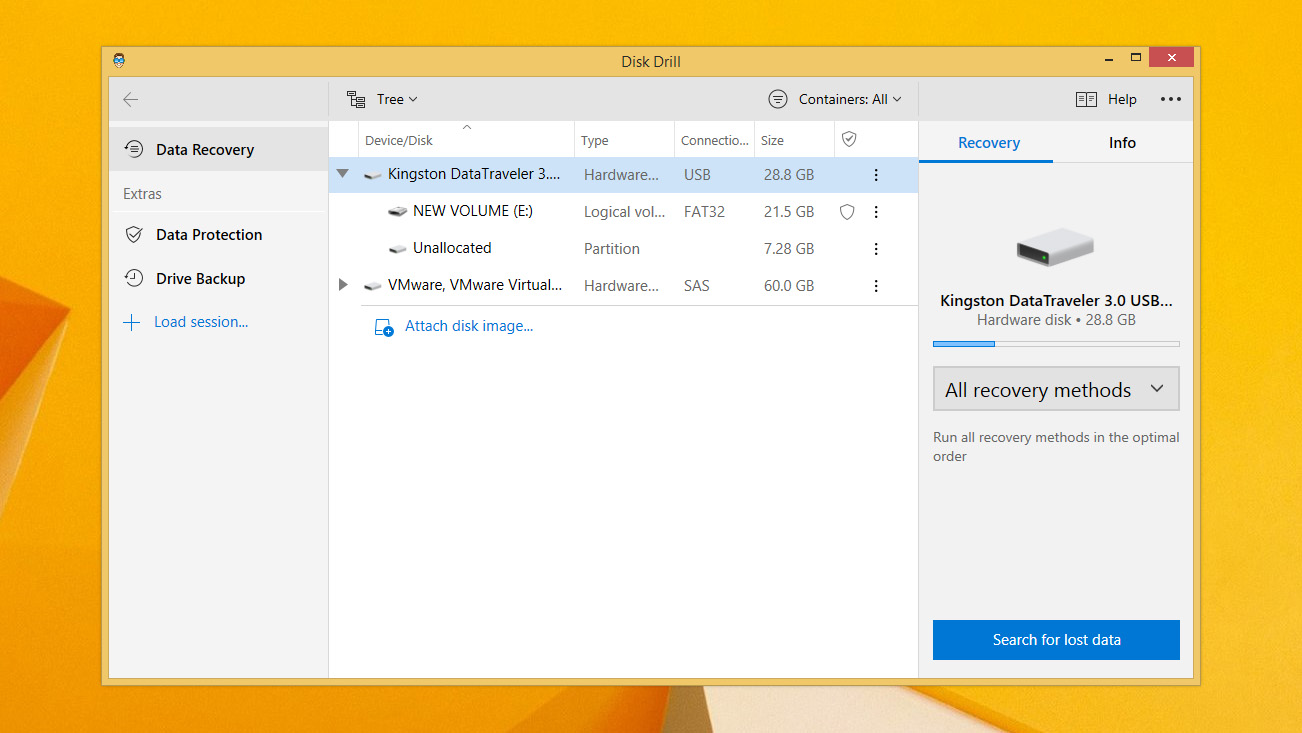
- Disk Drill will begin scanning the drive. This process can take some time depending on the drive size. Wait until it finishes, as the program will then display recovery chances for each file.
- When the scan is complete, click Review found items. You can also filter results by file type using the colored icons.
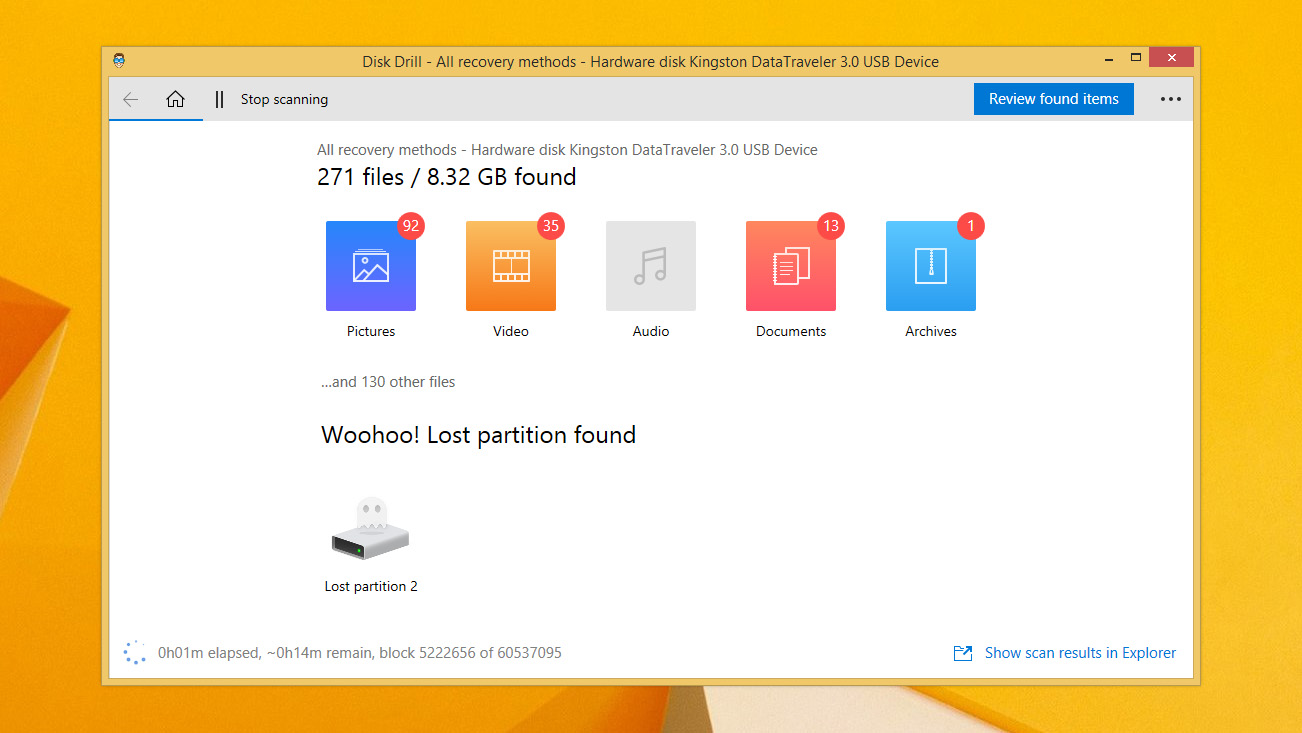
- Select the files you want to recover by checking the boxes next to them. Use the preview panel to confirm that the files are intact. Then click Recover.
- Choose a safe location for recovery. Make sure it’s not the same drive you’re recovering from. Click OK to complete the recovery.

- Once you see the success message, go to the folder you selected and check your recovered files. Move them where you want or continue working with them as needed.
In the free version of Disk Drill, you can recover up to 500 MB of data. That’s usually enough if you accidentally only deleted a few files. But if you need to recover more, you’ll need to upgrade to the Pro version.
Method 3: Recover Permanently Deleted Files From File History
If you have backups created with Windows’ built-in tools, then you don’t need to worry about overwriting files or SSD with TRIM. Backups let you restore deleted files in any case — as long as the backup contains the versions you need. Starting with Windows 8, File History became the main backup solution, so let’s take a look at how it works.
It’s important to note that File History must have been configured before the loss of your files, otherwise this method won’t be available. Another thing to remember is that File History only backs up files from libraries (such as Documents, Pictures, Music, and Videos), Favorites, and any additional folders you specifically added in the settings. If the file you deleted wasn’t included in those, it won’t be in the backup.
On your Windows 8 laptop or PC, follow these steps to restore deleted files on Windows 8 using File History:
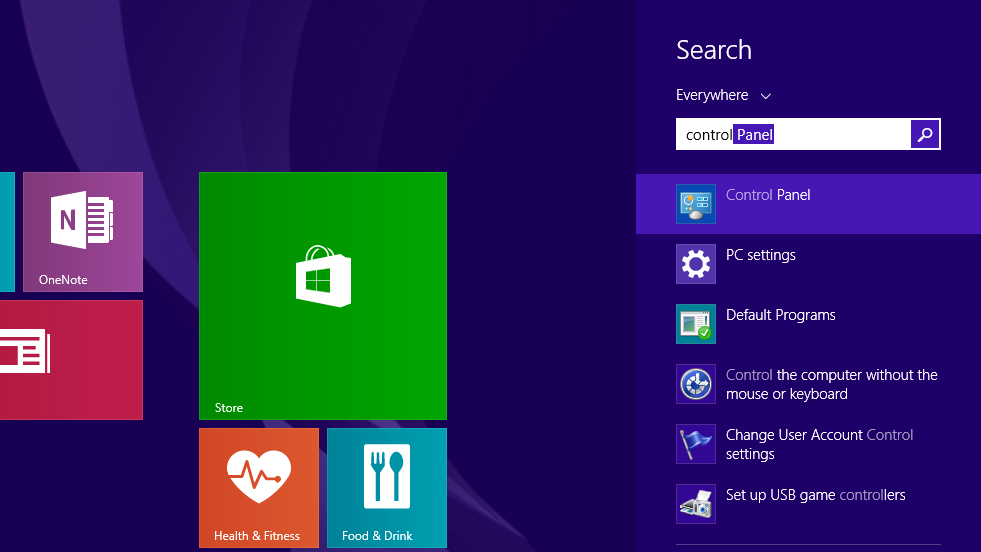
- Open Start and search ‘Control Panel’. Open it.
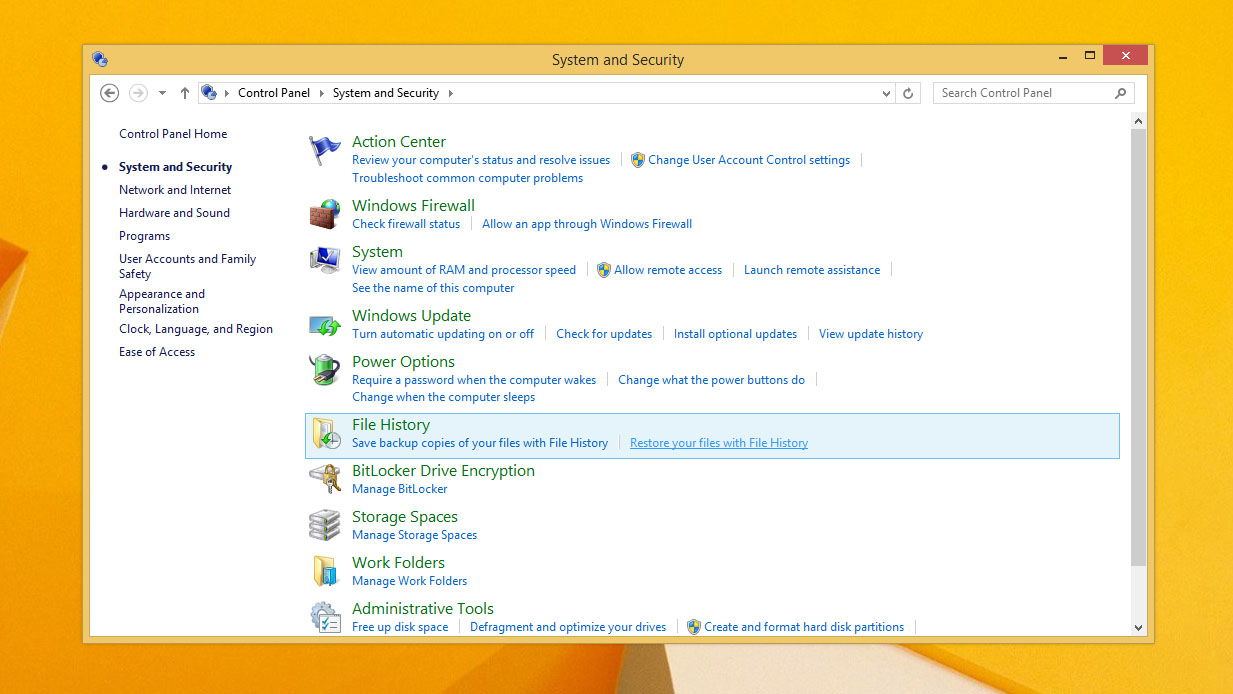
- Click System and Security.
- Click Restore your files with File History.
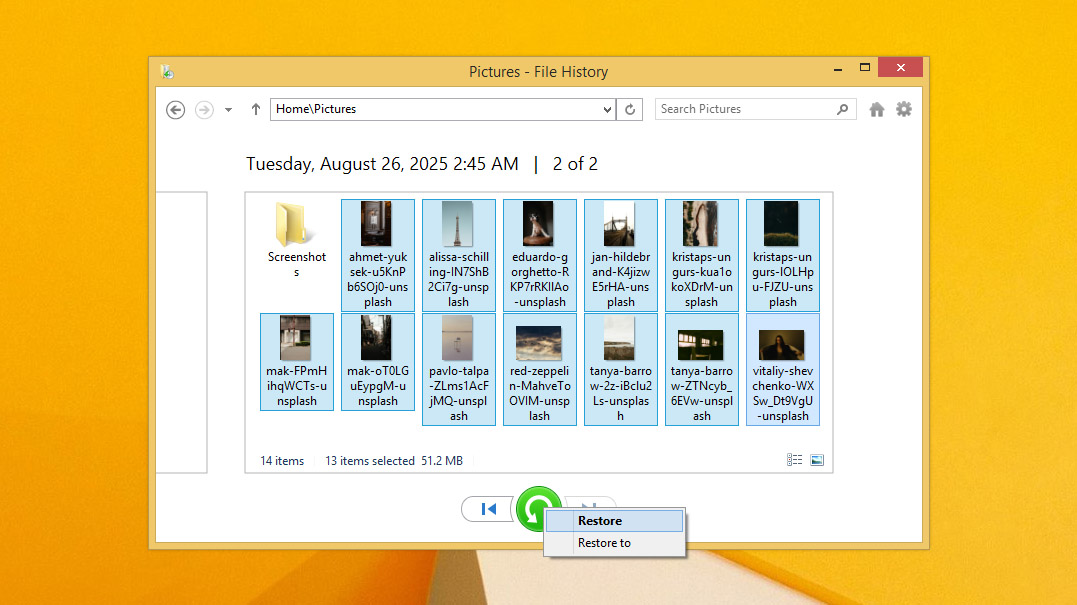
- Select the accidentally deleted data you wish to restore.
- Click the green Restore button to restore it to its original location. Alternatively, right-click the button and click Restore to to choose a custom destination.
And don’t forget, File History isn’t the only way to back up files. If you’ve used other tools like Backup and Restore, or if you’ve made manual copies of important folders to an external drive or USB stick, check those as well. The same goes for cloud storage such as OneDrive or Google Drive — there’s a good chance your deleted files are still safe there and can be restored in just a few clicks.
Conclusion
As you can see, accidentally deleting files in Windows 8/8.1 is not the end of the world and can be fixed at different stages of file deletion. The main thing is to gather your thoughts and start acting. If the methods from this article didn’t work for you, or you don’t feel confident enough to try data recovery on your own, you can always turn to professional data recovery centers — just keep in mind that their services can be expensive.
We hope this guide helped you recover your deleted files. For the future, make it a habit to create backups (always). It’s better to have them and not need them than to lose something important and overwrite it.
Share your feedback in the comments below — which method worked for you? Did you encounter any issues during recovery, or do you have any remaining questions?
FAQ
- Right-click an empty part of your Desktop background, then click Personalize.
- Click Change desktop icons.
- Tick Recycle Bin, then click Apply. Recycle Bin should now be visible.


