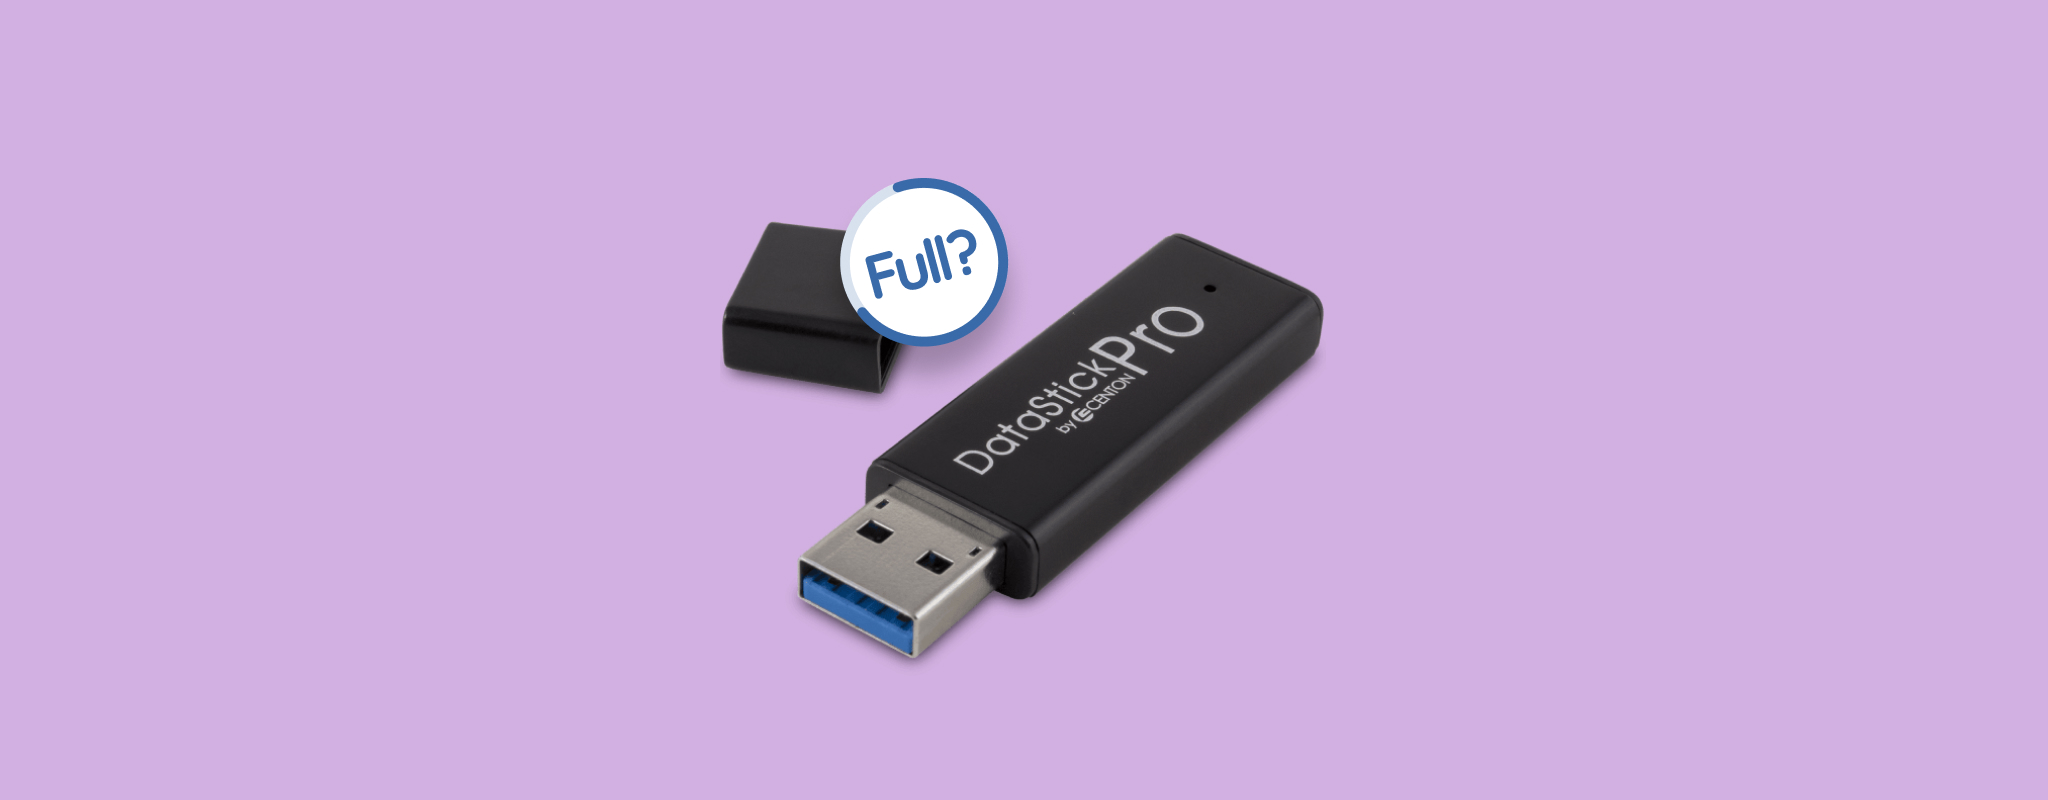
If you just tried to copy some files to your USB drive only to get an error saying there’s not enough space, even though it looks empty, you’re not the first. We’ve seen tons of posts from people online, and plenty of messages from folks asking us what’s going on. So we decided to put everything into a simple guide that explains why your USB drive shows full but looks empty, and how to fix it safely (without losing your files in the process).
Why Flash Drive Says It’s Full But It’s Actually Empty?
Now, the reason your USB flash drive is empty but still isn’t letting you copy files usually comes down to one of these two things:
| Reason | Description |
| Logical issues | If you’ve been using the USB flash drive for some time, it’s possible that the drive has developed bad sectors. Bad sectors are portions of data on the drive that your computer isn’t able to read. To fix this, you’ll need to repair the file structure. Fortunately, you can fix most logical issues with DIY methods. |
| Copying large files to FAT32 drives | Another reason that your flash drive is empty but has no space is that you may be trying to copy a large file on a flash drive that’s formatted as FAT32. |
We’ll talk about how to fix your flash drive shortly. However, before you attempt to fix the USB flash drive, it’s important to at least recover your files so you don’t lose them if something doesn’t go as planned.
If you’re totally sure there’s nothing important on the drive, and you just want it to work again, you can skip ahead to the fixes.
How to Recover Files from a Flash Drive that Says It’s Full?
If your USB drive says it’s full but doesn’t show any files, there’s a good chance it’s facing a logical issue (not physical damage). That’s the “good” kind of problem, because your data might still be there. It’s just not being displayed properly.
When this happens, recovery software can help. These tools are designed to scan the drive for lost data and can pull back files from corrupted USB drives. Even if the file system is messed up or files were accidentally deleted, recovery tools don’t rely on the usual folder view. They look directly at what’s stored on the disk.
We’ve tested and reviewed a bunch of the best USB recovery tools out there, so if you want to explore your options, we’ve got a full comparison you can check out. There are solid free picks if you’re on a budget, and a few paid ones that offer extra features or higher recovery limits. For this walkthrough though, we’re going to use Disk Drill. It’s one of our favorites for cases like this. What makes it stand out, especially for less techy users, is how easy it is to use. The steps are clear, the filters are smart, and the previews help you avoid recovering what you don’t need.
Here’s a simple four-step guide to walk you through the process:
Step 1. Download and Install Disk Drill
Download Disk Drill on your Windows PC. Run the installation wizard and once the installation completes, launch Disk Drill. If you’re on the free version, you’ll be able to recover 100MB of data using Disk Drill.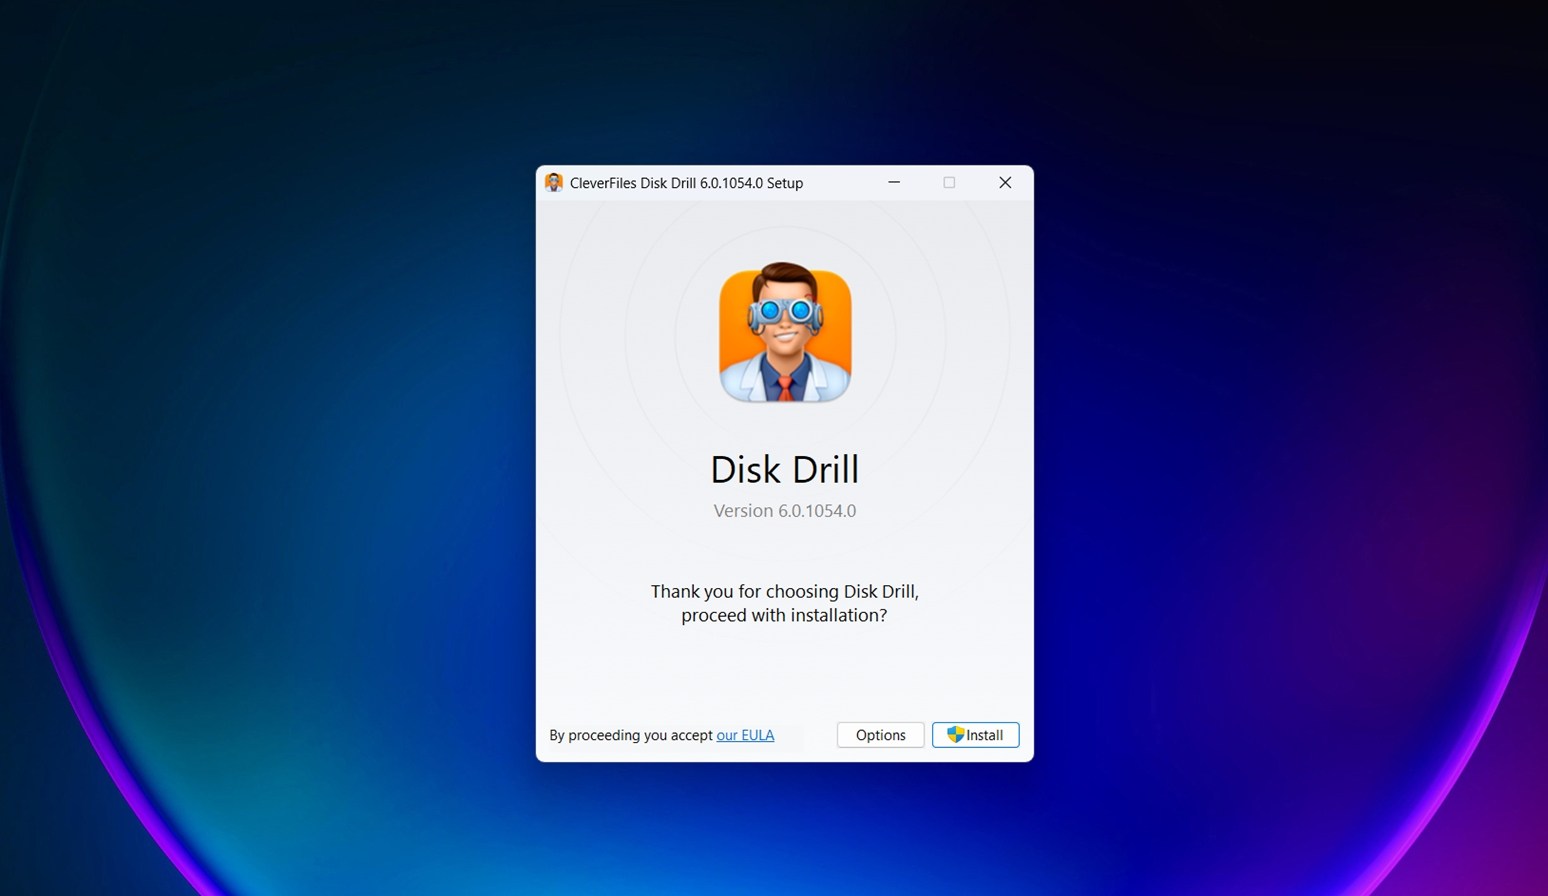
Step 2. Insert Your USB Flash Drive and Select It on Disk Drill
Insert the flash drive that’s empty but still has no space. Once your computer detects it, select the flash drive from Disk Drill’s home screen. 
If you’re not sure which one is your USB, look for these:
- Under the Connection/FS column, it’ll say USB.
- You can also check the Capacity – if you know it’s a 32GB or 64GB stick, that’s a giveaway.
- Sometimes the name might look generic (like “Generic Flash Disk” or “No Name”), but that’s totally normal for flash drives.
Step 3. Scan the Flash Drive
Go ahead and click Search for lost data.
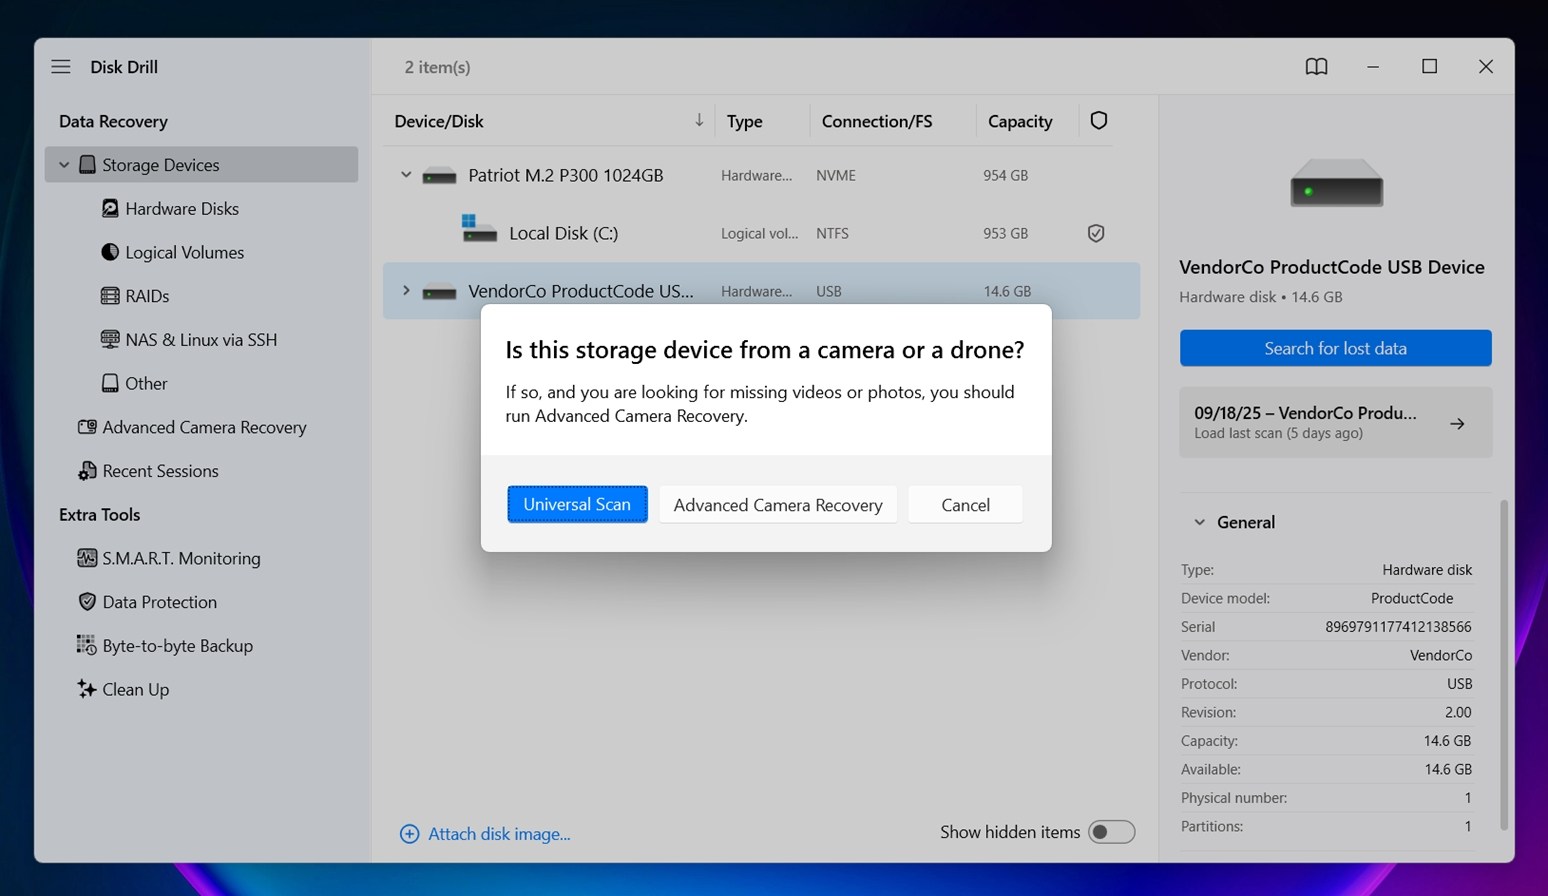
Disk Drill will give you a choice between Universal Scan and Advanced Camera Recovery. For most people – and especially in cases where the flash drive is empty but says full – Universal Scan is the way to go. It’s called that for a reason. It digs through everything: deleted files, hidden system folders, corrupted file paths – whatever’s still physically on the drive.
You can sit back and let it finish, or click Review found items while it’s running. Files will start showing up in real time – photos, videos, and documents.
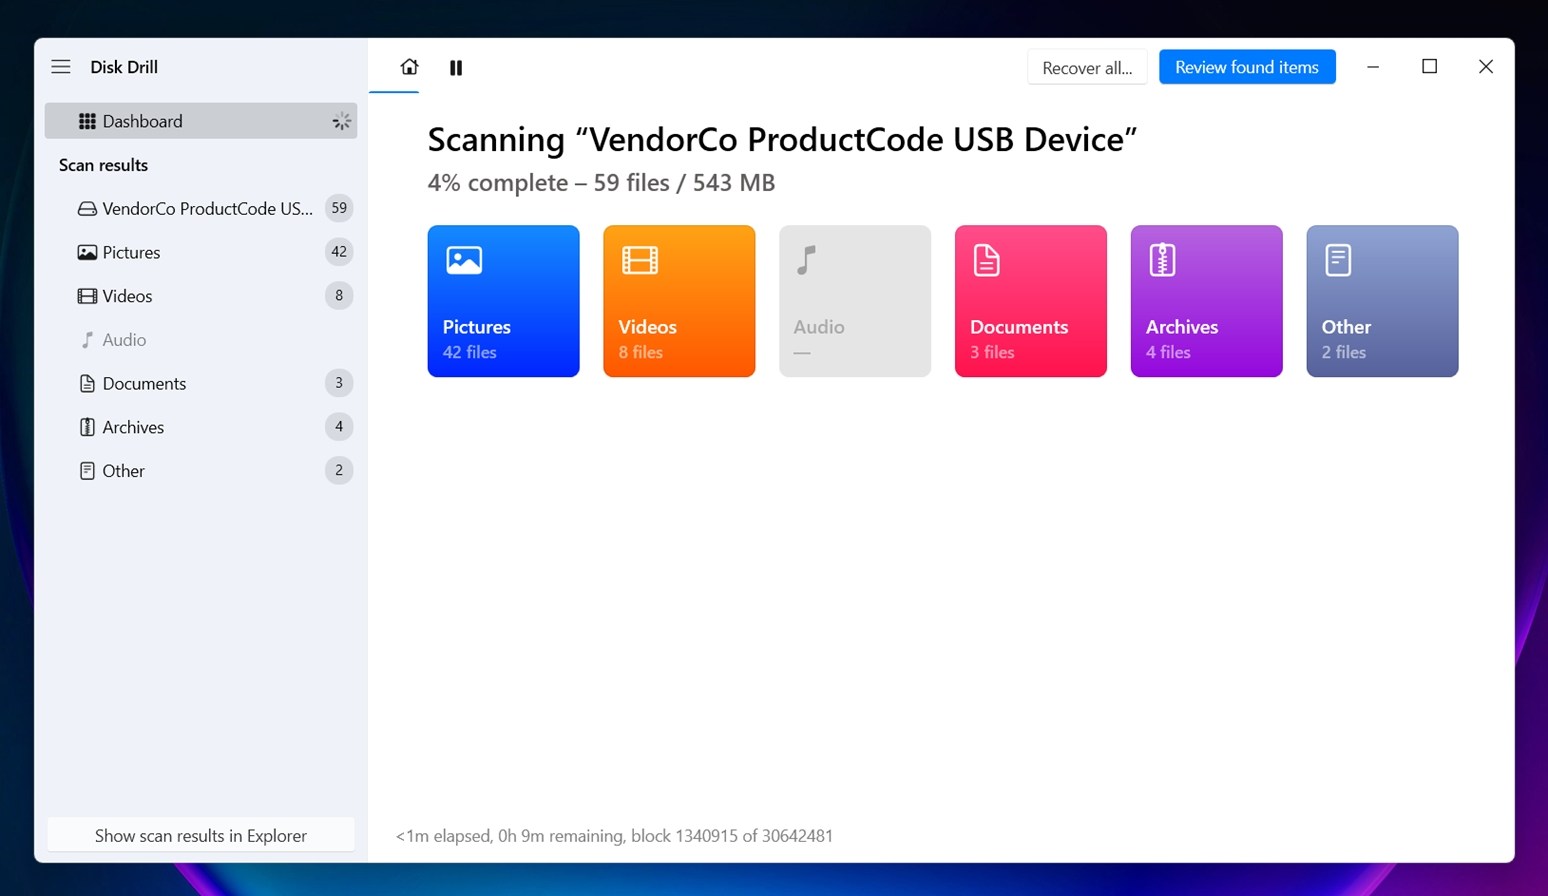
Step 4. Select and Recover Files
After the scan finishes (or while it’s still going), you’ll see a full list of what Disk Drill found. You can browse through folders, filter by file type (like documents, videos, pictures), or use the search bar if you’re looking for something specific.
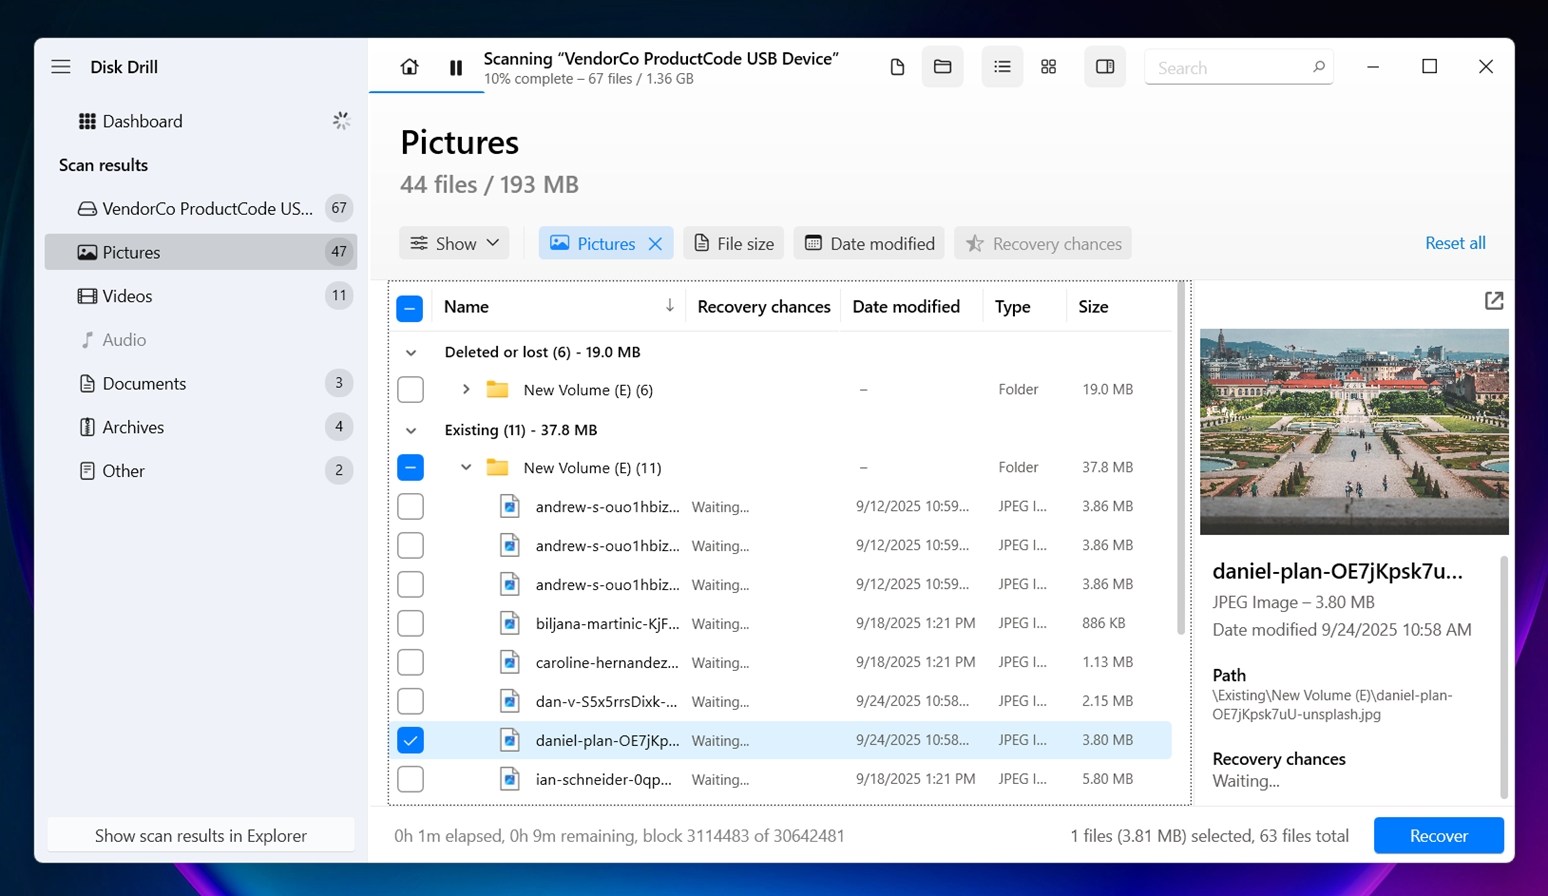
What’s nice here is that Disk Drill shows previews for most files (as long as your OS can open it, Disk Drill can too). That means you can click to make sure you’re recovering the right thing.
Once you’ve picked what you want, hit Recover. The software will ask where to save the files.
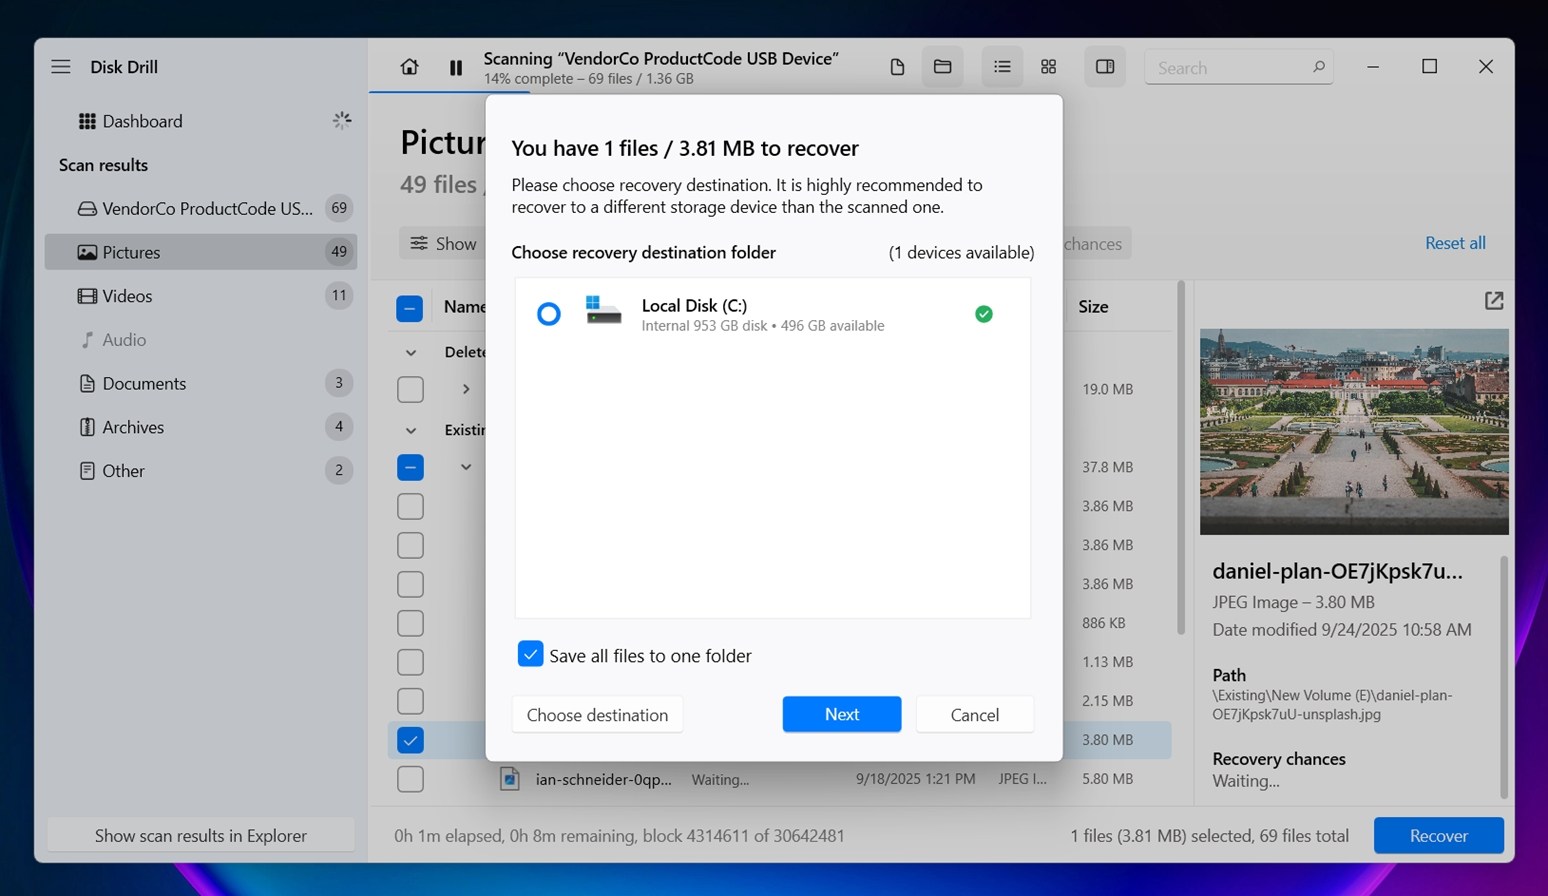
Important: don’t save them back to the same USB drive – that can overwrite the very data you’re trying to bring back. Pick your desktop or another internal drive instead.
A quick progress bar later, and your files are safe.
Now that you’ve recovered your files, you can start fixing your flash drive.
How to Fix Flash Drive That’s Empty But Has No Space?
As we already said earlier, if you’re unable to access your SD card, that could be potentially because of a logical issue. However, they’re usually not very difficult to fix.
We’re going to walk you through every possible solution – from quick, harmless checks to more advanced steps that take a little patience.
Method 1: Check for Hidden Files and the Drive’s Recycle Bin
Before you try anything complex, let’s start with the basics. If your USB is empty but space is used, it might be hiding stuff from you – literally. Hidden files, system folders, or deleted items sitting in the Recycle Bin could still be taking up space without showing up in File Explorer.
Do this first:
- Open File Explorer and go to the USB drive.
- Click the View tab at the top (or in Windows 11, click View > Show).
- Turn on Hidden items.
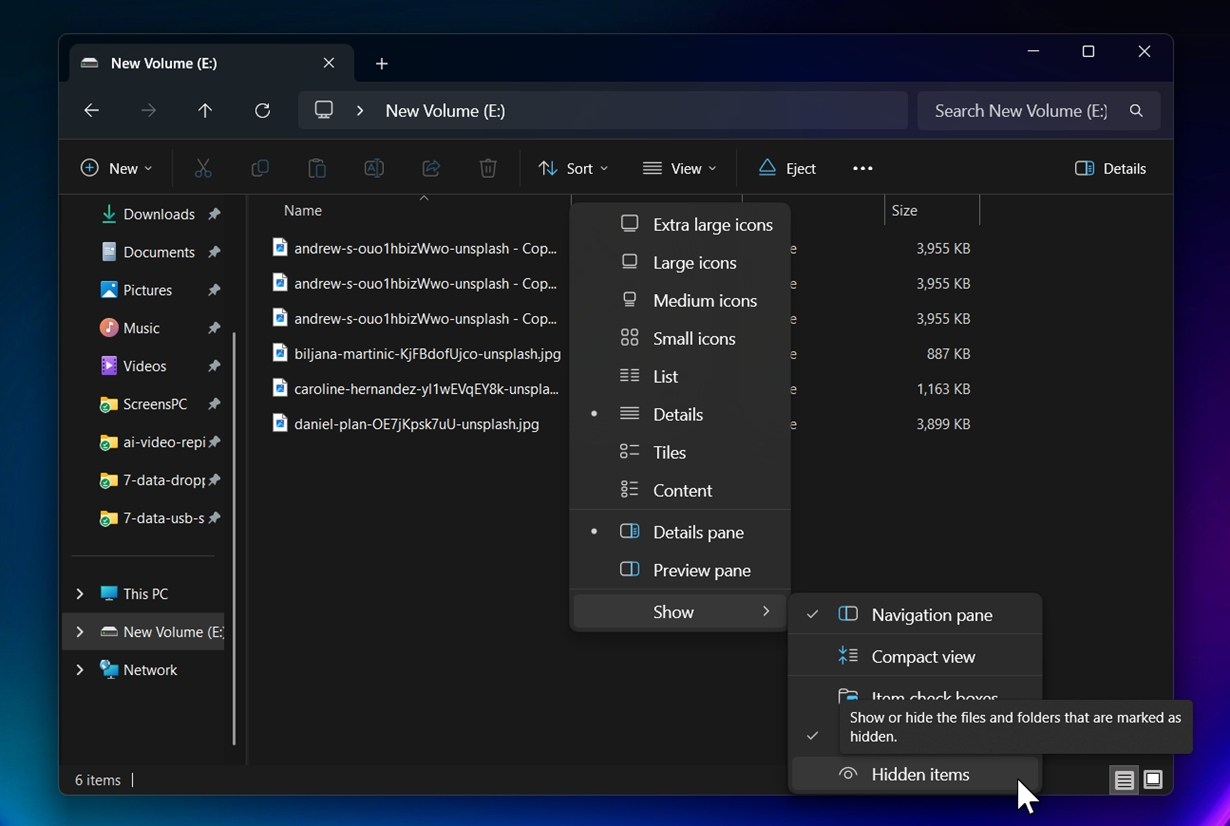
Now take another look at your flash drive. If it was hiding something like $RECYCLE.BIN, System Volume Information, .Trashes, or random junk folders, you’ll finally see them.
If you’ve ever deleted files from your pendrive while plugged into your PC, they might still be sitting in that hidden folder. To empty it:
- Right-click your system Recycle Bin icon while the USB is plugged in.
- Choose Empty Recycle Bin (Windows will clear deleted items from both your main drive and any connected storage, like the USB).
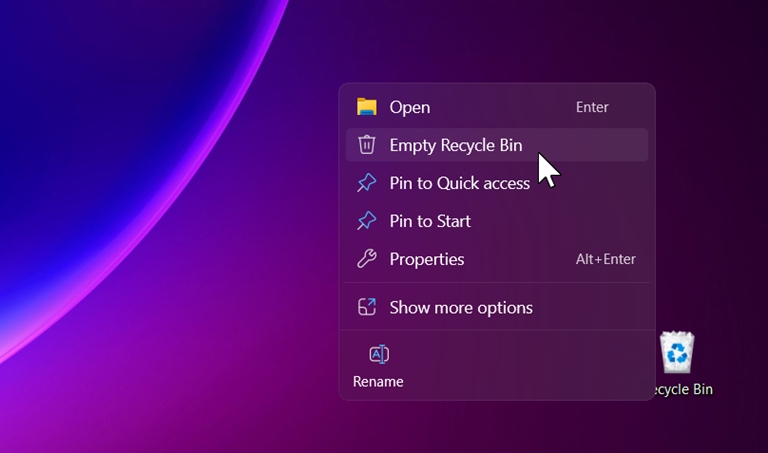
- Or, go into the $RECYCLE.BIN folder on the USB and delete the contents manually.
After this, check the drive’s properties again. You might already see more free space.
Method 2: Use CheckDisk
CheckDisk is a built-in command-line utility on Windows that can help you fix filesystem errors and bad sectors. If your USB flash drive is empty but says it’s full, it can potentially be a logical issue that you can fix using the CheckDisk utility. And while it’s not a guaranteed fix, it’s worth trying.
One heads-up: In some rare cases, CHKDSK can lead to minor data loss, especially if it finds severely damaged areas. That’s why we recommend recovering your data first, before running this.
- Launch the Command Prompt as an administrator. To do this, search for cmd in the Start Menu and click on Run as administrator from the right pane.

- Run the following chkdsk command in the Command Prompt:
chkdsk F: /r
(replace F with the drive letter assigned to your flash drive)
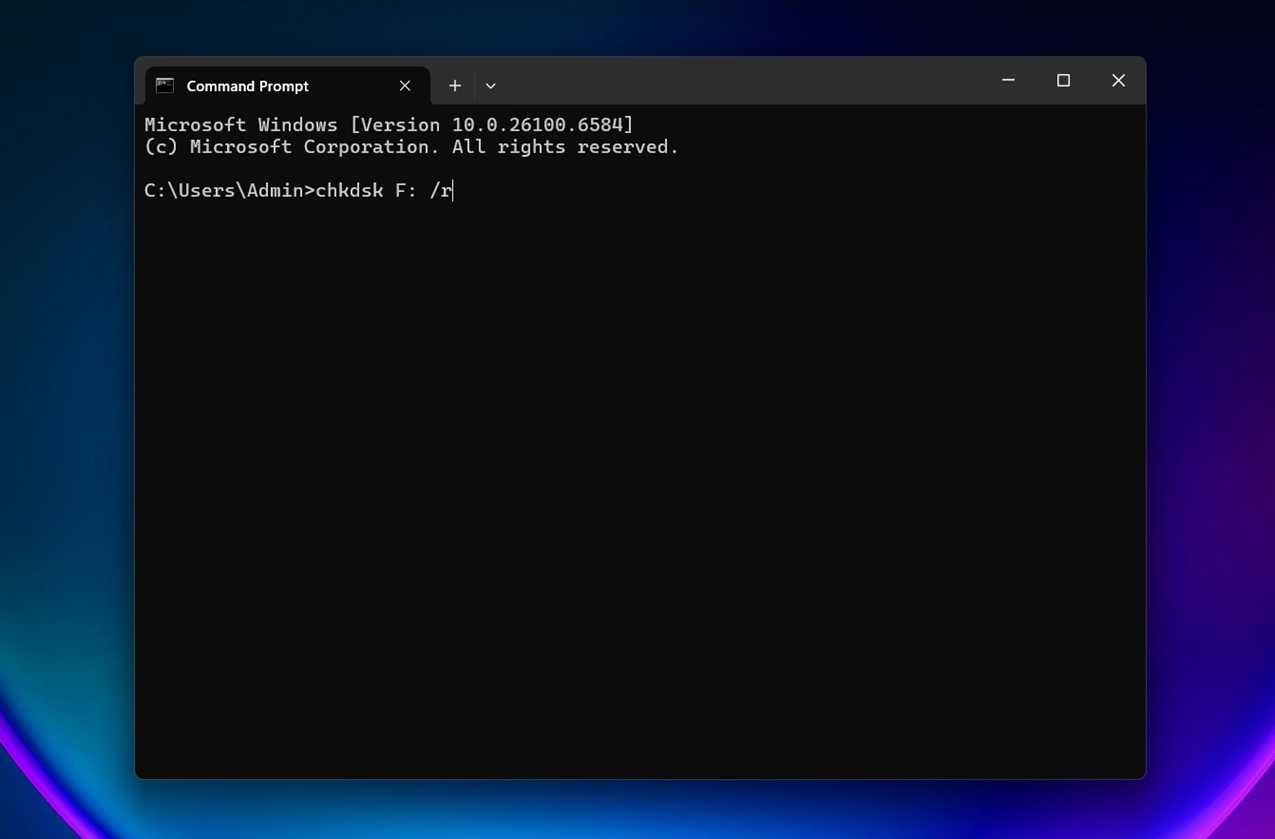
- The utility will automatically the logical issues it finds during the process. Once the process completes, exit the Command Prompt window.
It’s that simple. However, if you’d rather use a graphical interface than Command Prompt, use the next method.
Method 3: Use Error Checking Tool in Windows
Windows also has a more graphical way of checking your devices for disk errors. Here’s how you can use it:
- Press Ctrl + E to launch file explorer. Navigate to Computer (or This PC on Windows 10).
- Right-click on the flash drive that’s empty but has no space. Select Properties and switch to the Tools tab.
- Click the Check button. If prompted for confirmation, allow the scan.
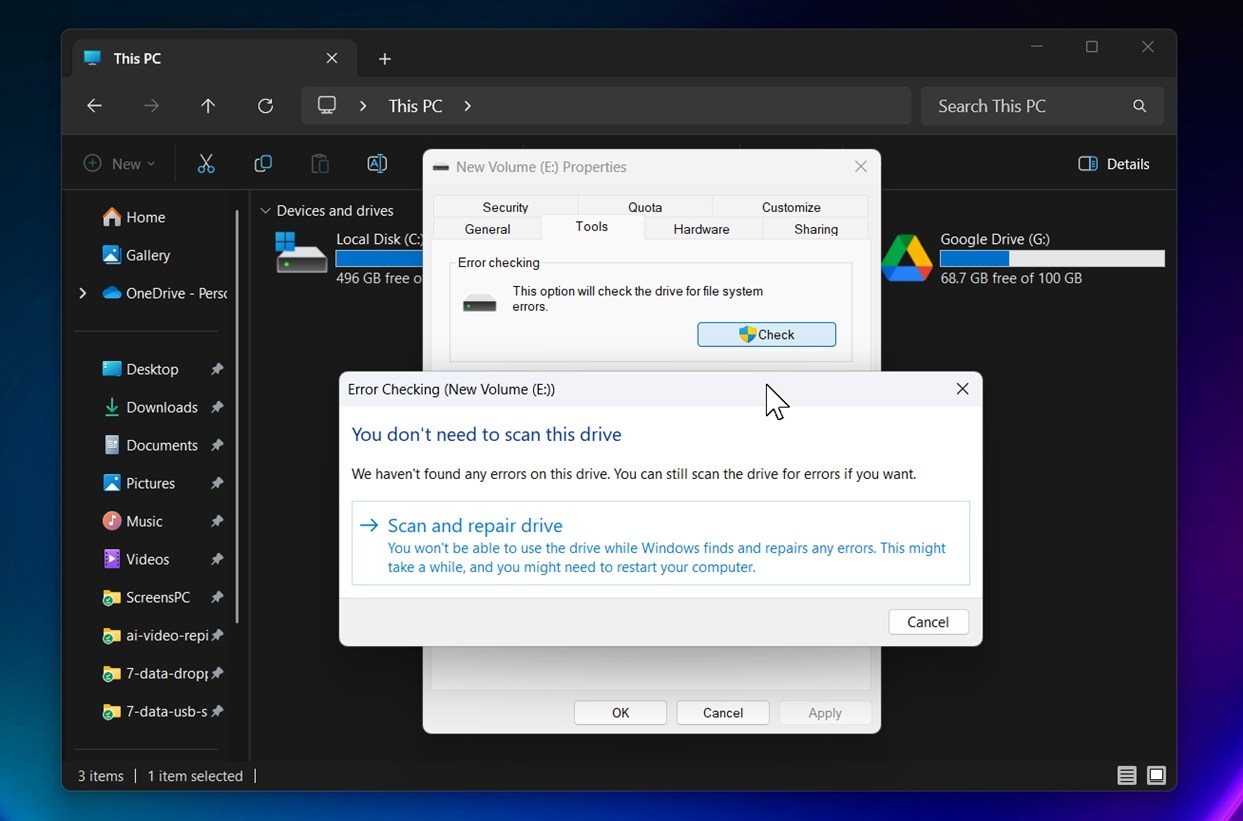
The scan will basically do the same job as the previous method, but you won’t need to run any commands. Once the process is complete, see if your flash drives works like it used to.
Method 4: Try Formatting the Flash Drive
This one is one of the most sure-fire ways to fix the problem, whether it’s because of how your USB is formatted or because something in the file system got corrupted.
In any case, formatting into a modern file system (like exFAT or NTFS) can clean things up and remove the 4GB file transfer cap that’s associated with FAT32-formatted devices.
However, you’ll end up losing all the data you have on your flash drive, so you’d want to use it as a last resort. To format:
- Press Ctrl + E to launch file explorer. Navigate to Computer (or This PC on Windows 10/11).
- Right-click on the flash drive and select Format.
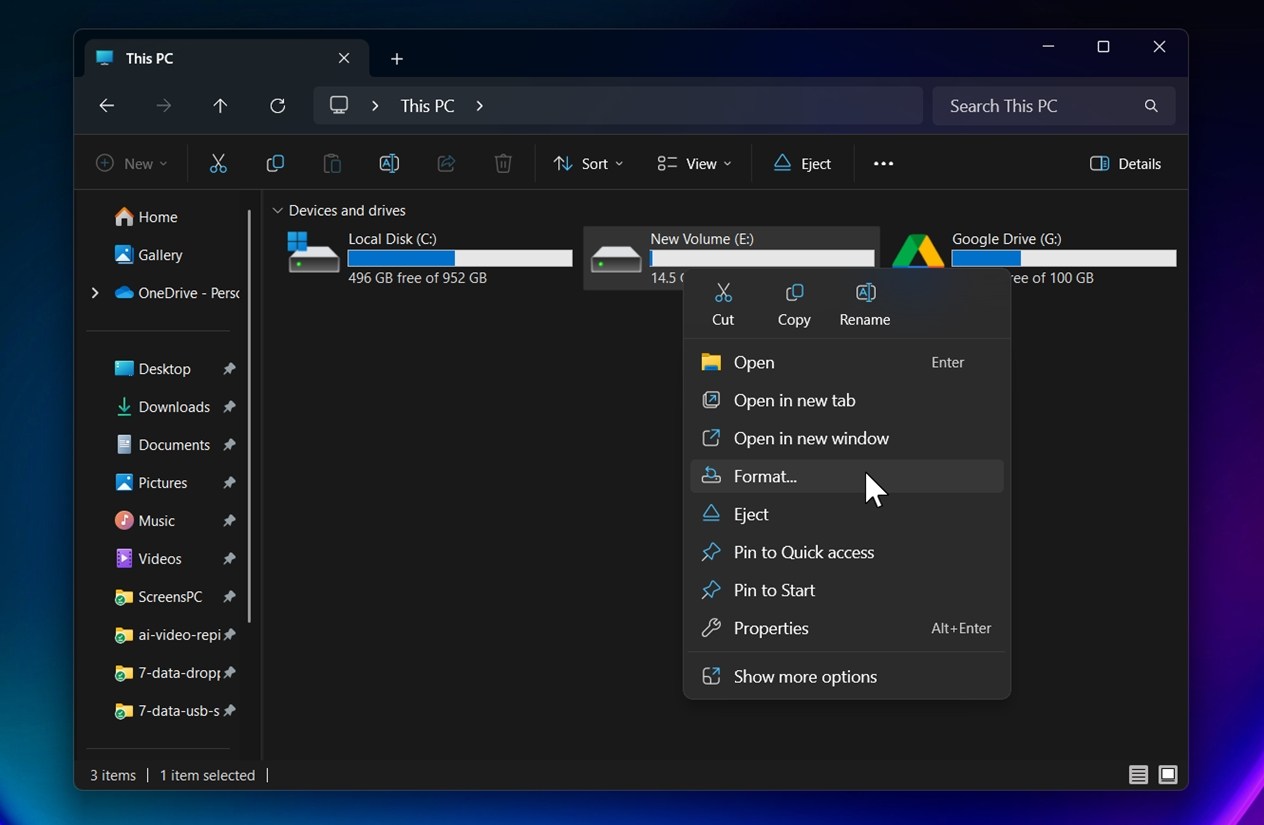
- You can choose to format it either as NTFS or exFAT. If you want to use the flash drive on Mac devices, select exFAT, because NTFS is only supported on Windows.
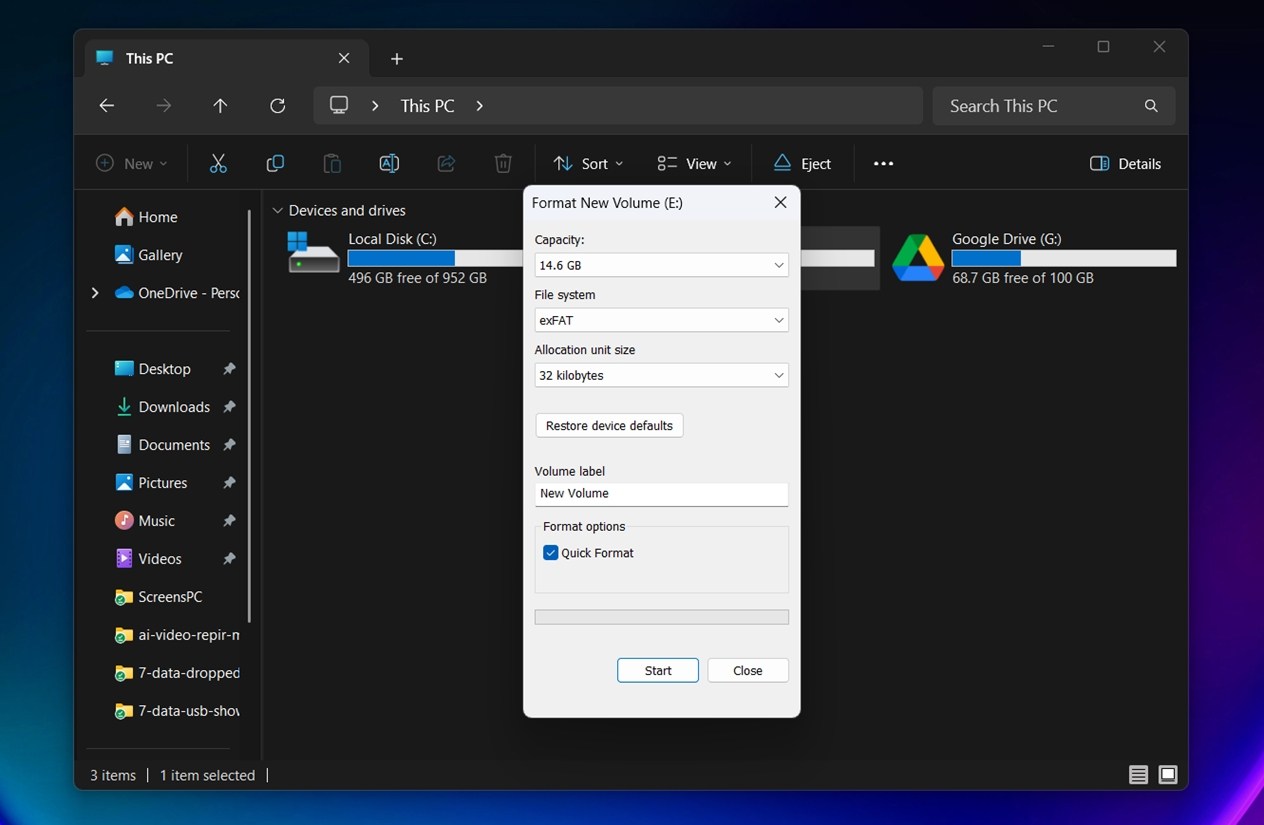
- Check the box next to Quick Format and click Start.
Once the format is complete, the flash drive should be good as new, unless it has some physical damage.
Method 5: Repair a Corrupted Partition Using TestDisk
Another way to fix a corrupted flash drive is with third-party tools like TestDisk. It’s free, open-source, and quite powerful. That said, it’s not as beginner-friendly as the other methods we’ve covered so far.
We saved this one for last because of that. It’s a little more technical, but worth knowing about. In cases where the drive’s partition table is damaged, and that’s what’s causing the issue where your flash drive says it’s full but empty, TestDisk can sometimes rebuild it and make your files accessible again.
Here’s how to repair a corrupted partition and fix a USB drive that says it’s full, using TestDisk:
- Download TestDisk and extract the downloaded archive.
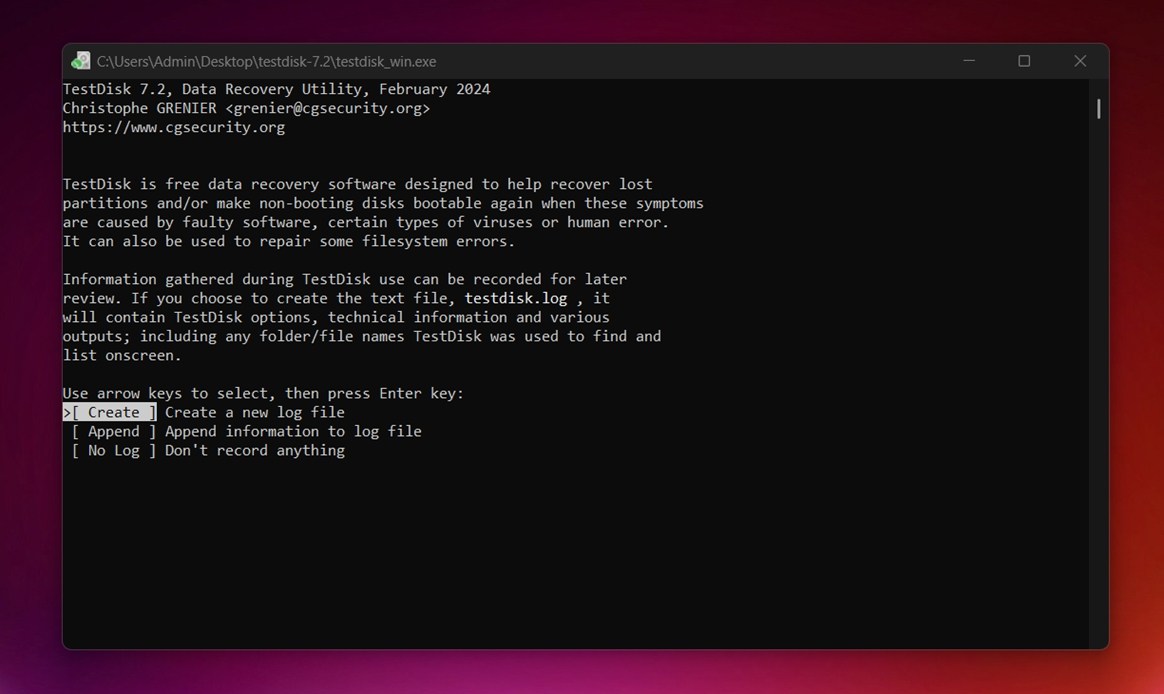
- Run TestDisk by double-clicking the testdisk_win.exe file. To navigate the TestDisk UI, use the Arrow keys. To select an option, press Enter.
- Choose whether you wish to create a log file or not, and press Enter to confirm your choice. This doesn’t affect the actual partition recovery/repair process in any way.
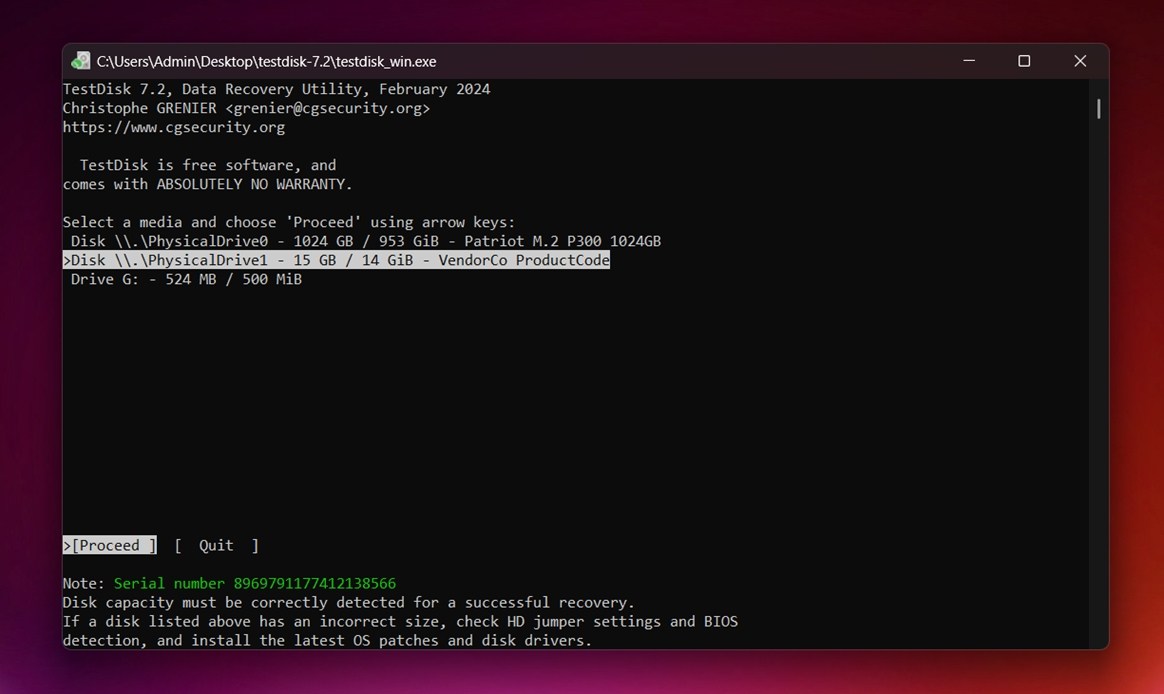
- Select the USB drive from the storage devices list. Select Proceed and press Enter.
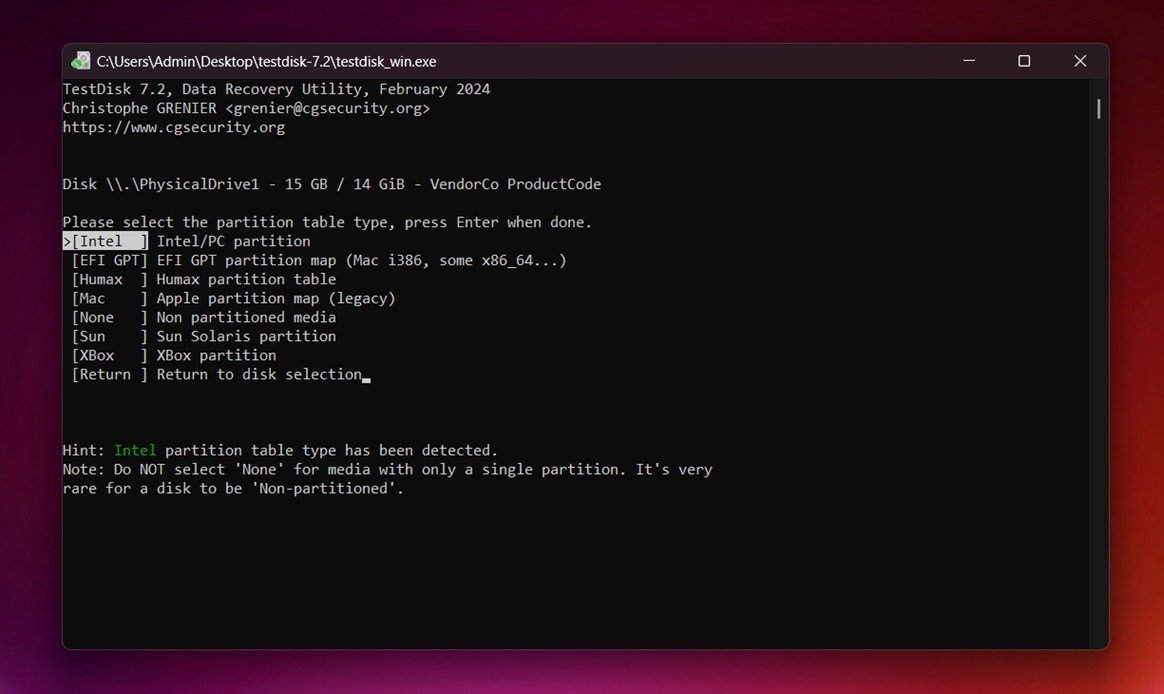
- Select the partition table type. TestDisk auto-detects this, so it’s better to simply press Enter on this screen.
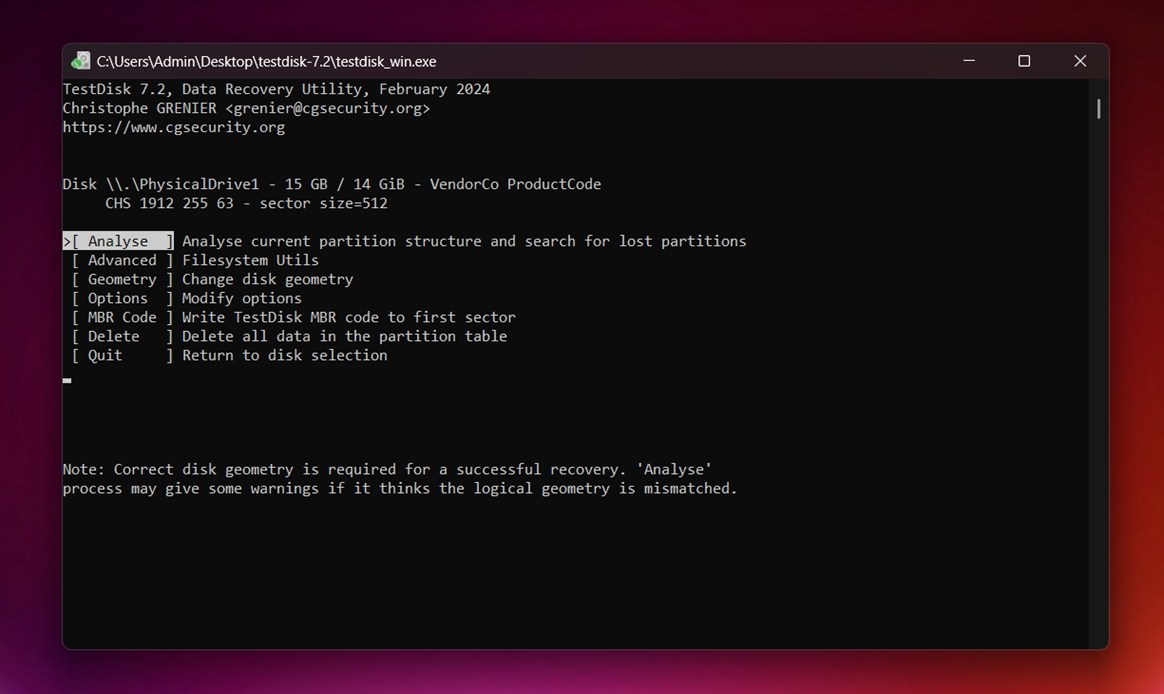
- Select Analyse and press Enter.
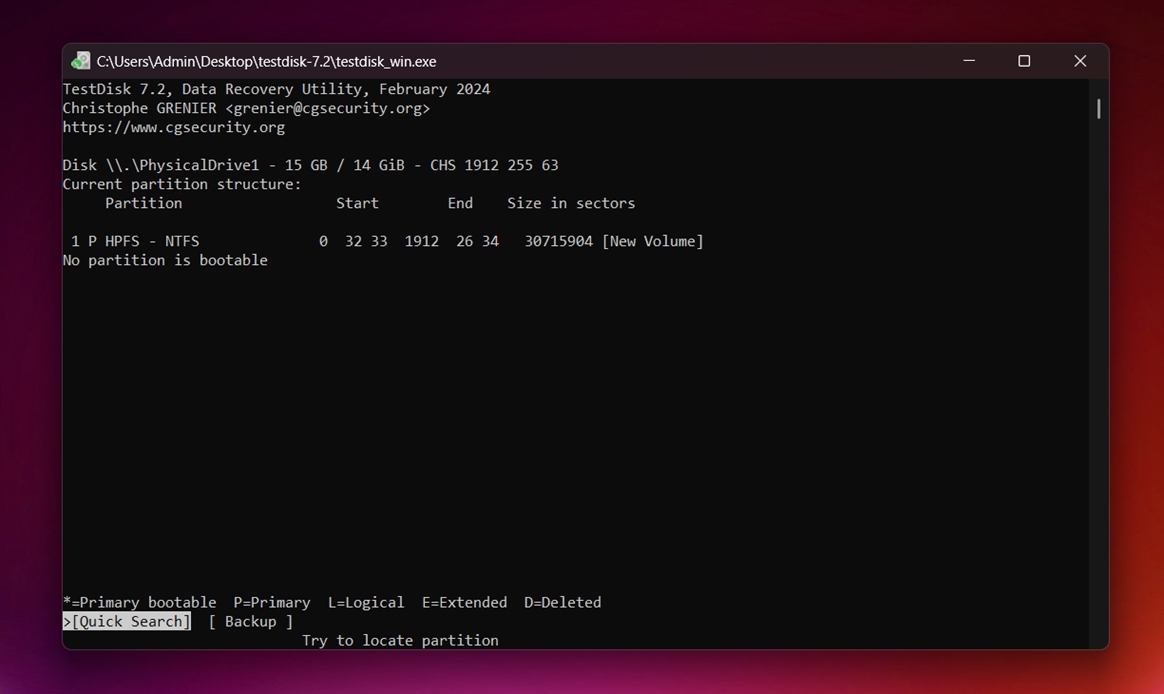
- Choose Quick Search and press Enter. TestDisk will list the partitions it finds.
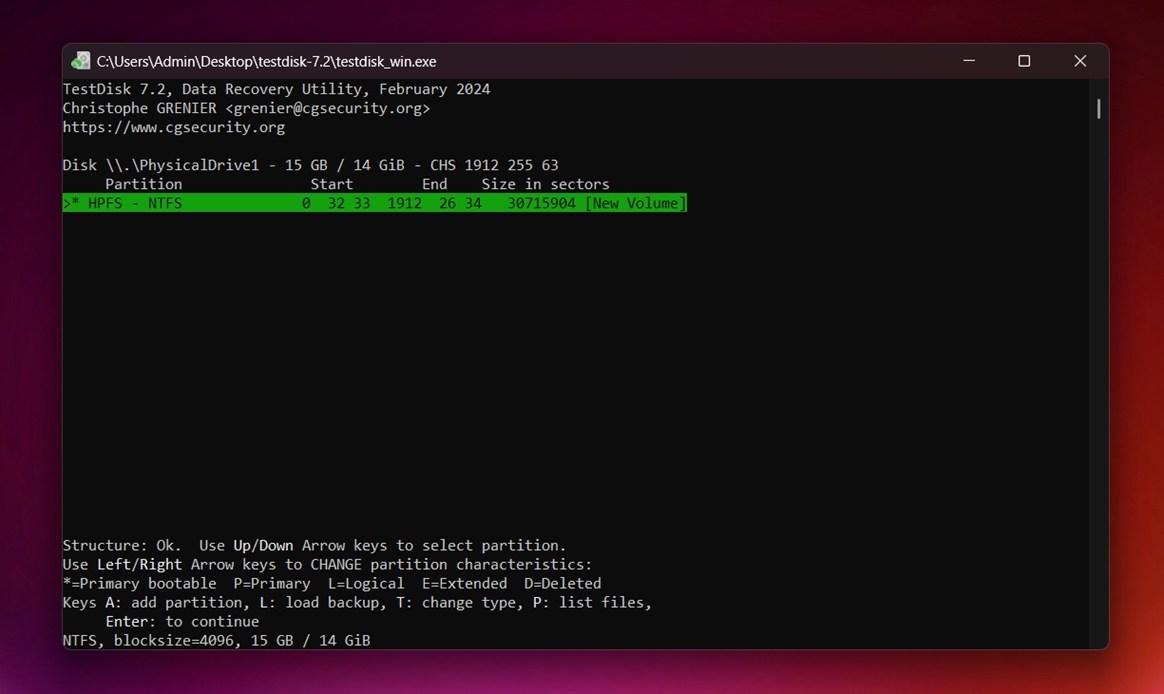
- Highlight the required partition and use the Left and Right arrow keys to cycle through the prefixes. Make sure there’s a P before the partition you wish to recover.
- Press P to list the partition’s files. Press Q to go back, and press Enter.
- If you saw the required files in the previous step, select Write and press Enter. If you didn’t see the required files, pick the Deeper Search option and follow Step 8, Step 9, and the first part of Step 10.
- Confirm by pressing Y on your keyboard.
- TestDisk will repair the corrupted USB partition, effectively resolving the USB drive says its full error.
TestDisk is often named among the best recovery utilities out there, and for good reason. Our team has tested it extensively and included it in our ranking of the best partition recovery tools. If you want to explore more alternatives, that guide is a solid place to start. Many of the tools we feature are completely free.
Why Your USB Capacity May Seem Wrong
To summarize, in our experience, most cases where a USB flash drive shows as full but looks empty boil down to file system issues. Either your drive is formatted with FAT32 and hitting its file size limit, or the file system has gotten corrupted in some way. Both are common and totally fixable.
But every now and then, we see cases where the “problem” isn’t really a problem – just confusion about USB storage. A possible explanation for why your USB seems full when you thought there was still some space could be how digital storage is measured and displayed.
Manufacturers advertise using GB (gigabytes), where 1 GB equals 1,000,000,000 bytes. But operating systems like Windows report size in GiB (gibibytes), where 1 GiB equals 1,073,741,824 bytes. So a 64 GB drive holds the right number of bytes, but your computer sees that as about 57.6 GiB.
What adds to the confusion is that Windows actually displays GiB, but labels them as GB. Why? Because Microsoft follows JEDEC standards, and in JEDEC’s interpretation, a gigabyte (GB) is 1024 megabytes (not 1000), which aligns more closely with binary-based computing but clashes with how storage manufacturers label their products.
So in short, you’re seeing it reported through a different lens.
FAQ
- Connect the USB drive to your PC.
- Open Windows Explorer (Windows Key + E).
- Right-click the pen drive and choose Format.
- Uncheck the Quick format option and click Start.
- Plug in your USB flash drive.
- Open the Trash on your Dock.
- If you see files that were deleted from the USB, empty the Trash while the USB is still connected.
- Eject the drive, plug it back in, and check available space again.
- Use Disk Utility > First Aid to check for file system issues.
- Or format the drive to exFAT (after backing it up).
- Show hidden files and folders. Your files might still be there - just marked as hidden or moved to system folders like $RECYCLE.BIN or .Trashes.
- Empty the Recycle Bin (Windows) or Trash (macOS). Deleted files often sit in a hidden trash folder on the USB itself and still take up space until it’s emptied while the drive is connected.
- Run CHKDSK (Windows). This built-in tool can fix logical file system issues. Open Command Prompt and run
- System or deleted files (like from the Recycle Bin or macOS Trash) can stay on the drive and take up space without appearing unless you enable hidden file visibility.
- If the drive’s file structure is damaged, Windows may think it’s full even though it can’t display the files properly.
- Infected drives sometimes hide real files and replace them with fake shortcuts.
- Rarely, the drive’s partition may be misaligned or broken, which makes part of the storage inaccessible even though it counts toward total usage.


